

Vibrant Autumn Pumpkin Lid Suncatchers for Fall Decor You may also find Witch Hat Diy Halloween Collage Craft For Kids useful.
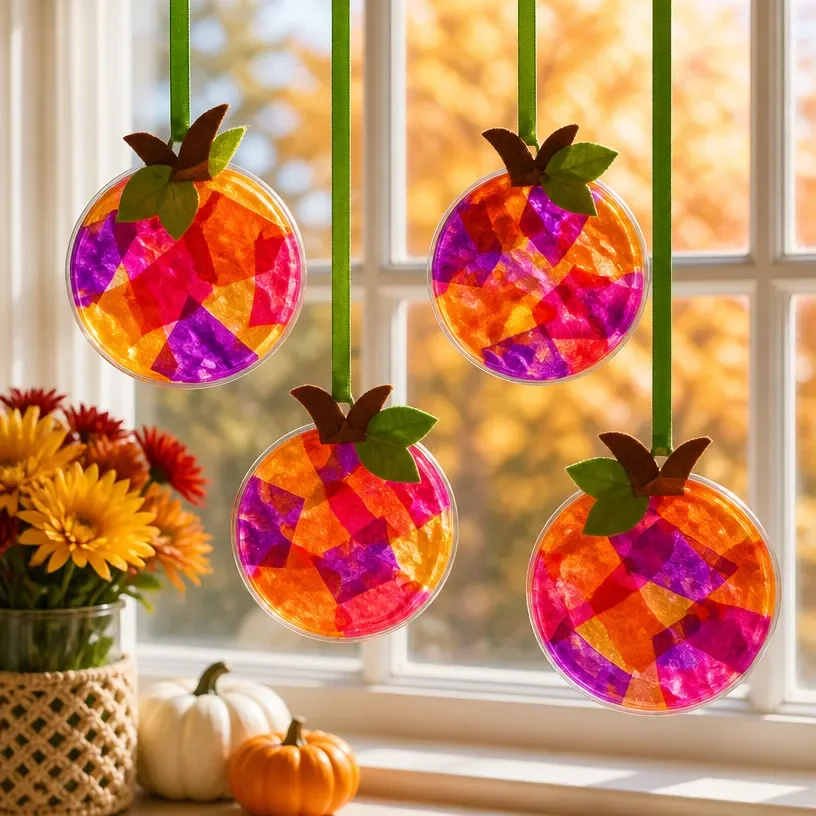
Autumn is a wonderful time to welcome the beauty of seasonal changes into our homes, and creating your own decorating pieces can be such a gratifying project. One delightful DIY craft that introduces a burst of color and warmth is making Vibrant Autumn Pumpkin Lid Suncatchers. These cheerful decorations can be displayed in windows, adding a soft glow to your home when sunlight shines through them.
The beauty of this craft lies not only in its visual appeal but also its simplicity, making it perfect for crafters of all skill levels. The combination of vibrant fall colors and the rustic charm of pumpkin shapes brings a cozy feel to any space. You can use them to adorn your windows, hang them in a cozy corner of your home, or even display them on your porch during the harvest season. If you appreciate DIY projects that combine fun crafting with enhancing your home decor, you’ll find this project especially rewarding. Plus, just like my other DIY ideas like the DIY Butterfly Crystal Window Decor, it encourages the use of bright colors and creativity within your living space.
Why You’ll Love This Project
One of the reasons you’ll adore making autumn pumpkin lid suncatchers is the delightful experience it provides as a seasonal project. This creative endeavor allows you to play with colors that reflect the vibrancy of fall – think rich oranges, deep reds, and sunny yellows that inspire warmth. Additionally, the materials required are inexpensive and often repurposed from items you already have at home, aligning perfectly with a sustainable crafting philosophy.
The flexibility of these suncatchers is also a major perk. You can customize their size and design, which makes them suitable for any area of your home, be it the kitchen, dining room, or even your front porch as part of your seasonal decor. As you create these charming pieces, you may find yourself unexpectedly drawn to the warmth they convey, as well as the joy they bring when displayed.
Before You Start
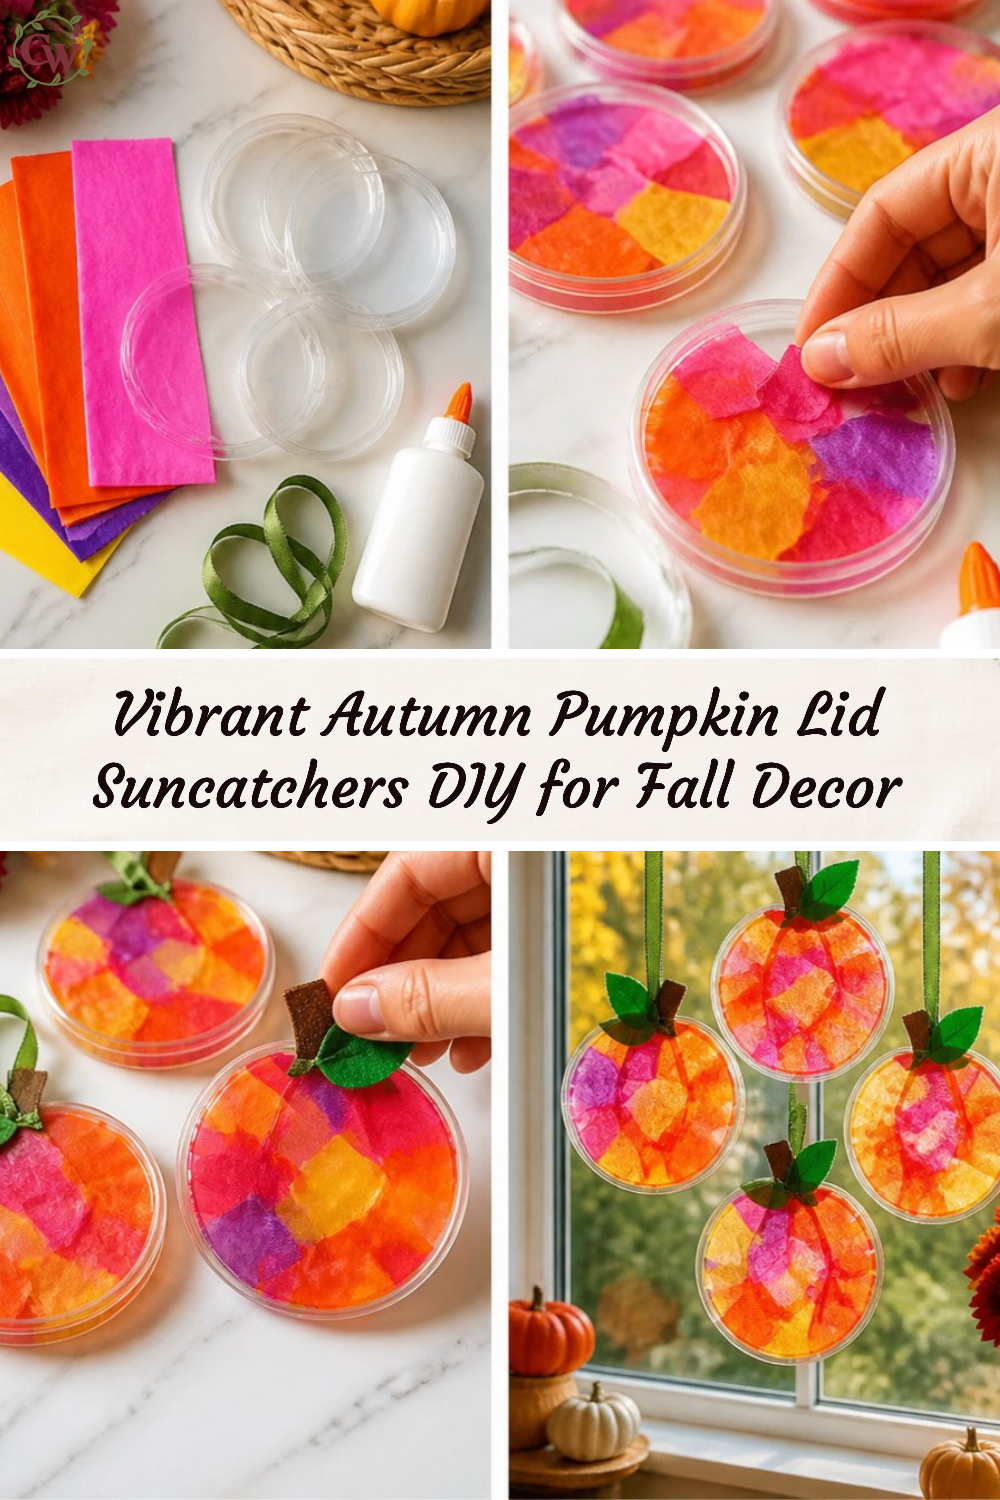
Before diving into this fun crafting session, it’s essential to visualize what your finished suncatchers will look like. They should have a whimsical, colorful appearance that captures the essence of autumn. When creating them, pay special attention to the details such as smooth edges and balanced designs, ensuring all elements come together cohesively.
To make the assembly process smoother, gather your materials in one space, so everything you need is within reach. This approach will help maintain focus, and I often find that planning ahead makes the crafting experience more enjoyable.
“A handmade touch makes every home feel warmer.”
Materials and Supplies
Materials and Supplies
- Various colored plastic or glass lids (for the pumpkin shapes)
- Orange, yellow, green, and brown paint or transparent colored tissue paper
- Black marker or adhesive vinyl for faces
- Glue (hot glue or craft glue)
- Decorative ribbons or twine
- Scissors
- Hole punch or sharp object (for creating hanging holes)
Choosing the right materials can significantly influence the visual outcome. For instance, using transparency in your colors will allow light to reflect beautifully, enhancing the suncatcher effect. If you’re opting for paint, consider using acrylics for a bright and lasting finish.
How to Make Vibrant Autumn Pumpkin Lid Suncatchers for Fall Decor
Step 1: Prepare the Lids
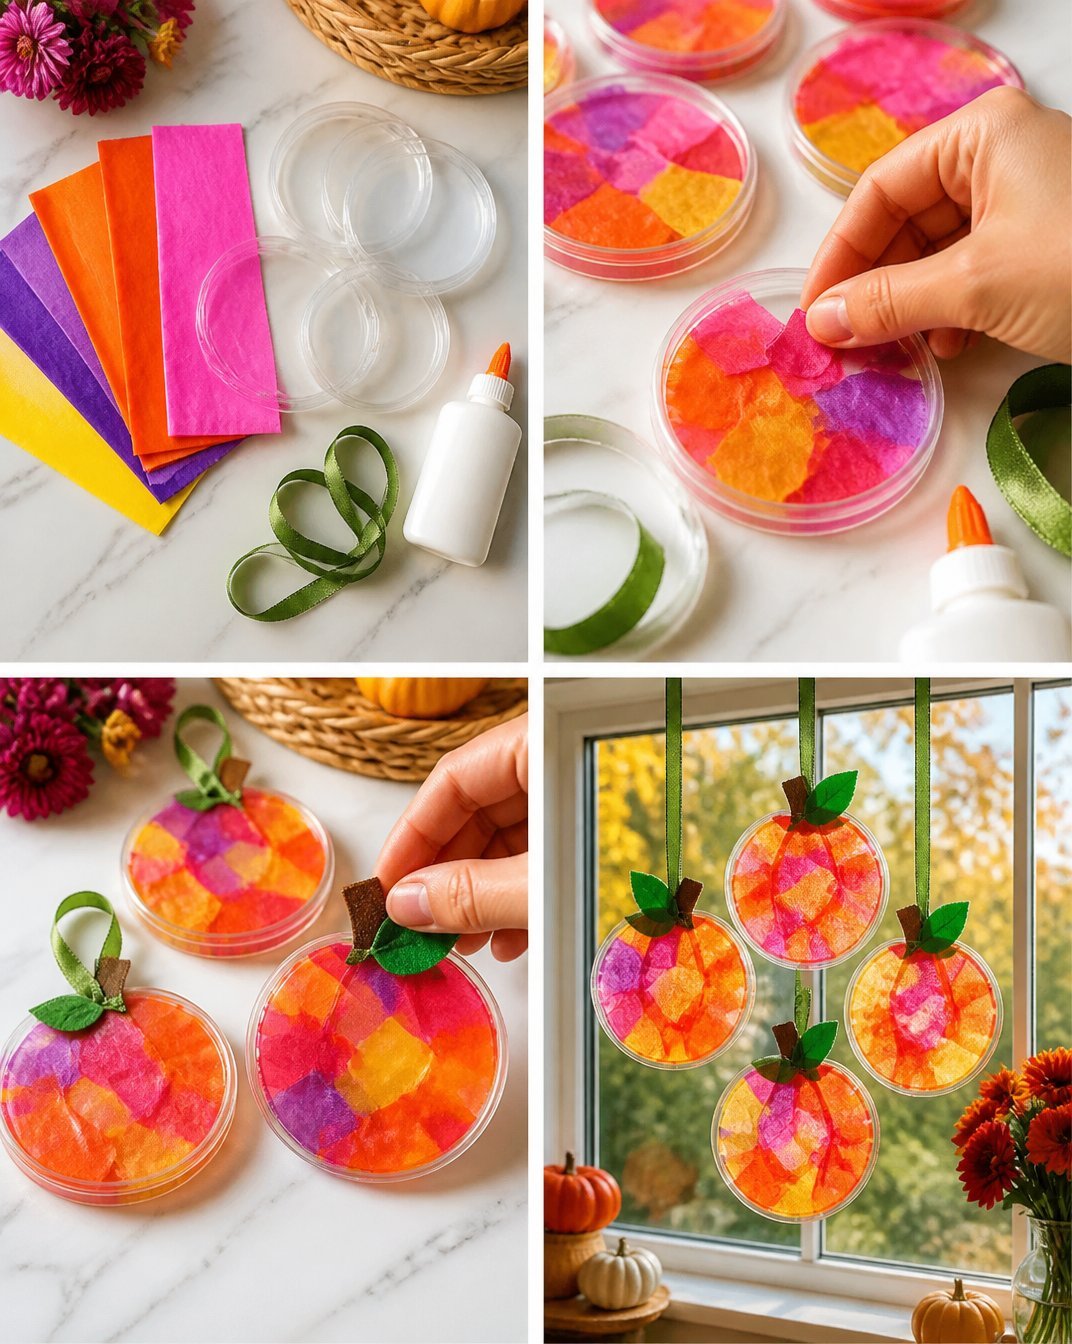
Start by cleaning your selected lids thoroughly to remove any grime or stickers. We want the paint to adhere well. If you’re using colored tissue paper, cut it into shapes that can be glued in layers.
Step 2: Paint or Layer Colors
Create pumpkin shapes on the lids by either painting them with orange and yellow shades or applying layers of colored tissue paper. If you choose to paint, apply a couple of coats for vibrant coverage, allowing each layer to dry completely before adding the next.
Step 3: Add Faces
Using the black marker or adhesive vinyl, draw simple jack-o’-lantern faces on the dried lids, making each pumpkin unique. The joy is in the details! You might want to create silly or spooky expressions based on your theme.
Step 4: Create Hanging Holes
Using your hole punch, carefully place a hole at the top center of each lid, making sure it’s large enough for your ribbon or twine. This step allows for easy hanging later.
Step 5: Finish with Ribbons and Twine
Cut the ribbons to your desired lengths and thread them through the holes. This not only makes your suncatchers ready to hang but also adds a lovely touch of softness to the overall design. Knot the ends securely to prevent any slips.
How to Style Your Finished Vibrant Autumn Pumpkin Lid Suncatchers for Fall Decor
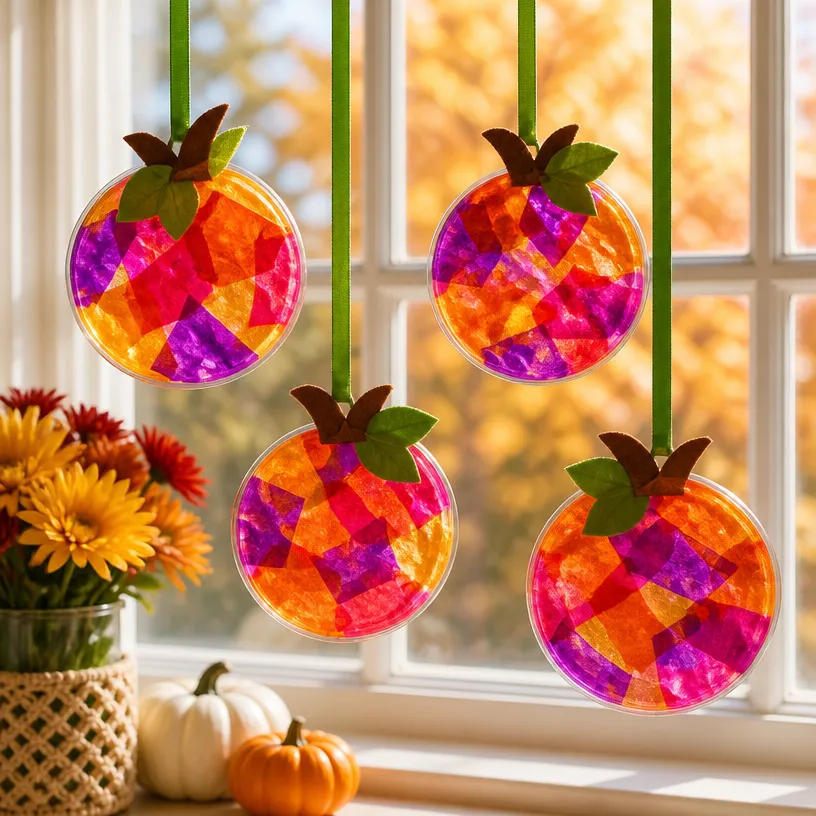
Bringing your vibrant autumn pumpkin lid suncatchers into your home can enhance the overall ambiance beautifully. Consider hanging them in your front windows where they can catch the light, or use them as colorful accents on your mantel or dining table. They can be paired wonderfully with other autumn elements such as small pumpkins, gourds, or a rustic runner to create a cozy fall vignette.
To prevent a cluttered appearance, remember to keep your arrangements simple and intentional. A few well-placed suncatchers, combined with candles or natural elements like pinecones and acorns, can create a charming display of autumn’s best features.
Maggie’s Tips for the Best Results
- Dry-fit all your pieces before gluing to ensure proper alignment and spacing.
- Use layers when applying tissue paper for a more dynamic look.
- Allow your paint to dry between coats to maintain a smooth finish.
- Avoid adding too much hot glue, as it can affect the visibility of the design.
- Keep ribbon tails proportional to the size of the lids for a balanced look.
- Consider incorporating different shapes and sizes of lids for variety.
Easy Ways to Customize This Project
There are endless possibilities for customizing your pumpkin lid suncatchers! Think about experimenting with different colors that reflect your personal style or seasonal themes. You could incorporate metallic paints for a touch of elegance or use burlap accents to enhance the rustic feel of your decor. Adding small artificial leaves or flowers can also bring an additional layer of charm and seasonal character.
How to Care for Your Handmade Decor
To keep your vibrant autumn pumpkin lid suncatchers looking their best, dust them gently with a soft cloth when needed. If you’ve used paint, keep them out of direct sunlight to prevent fading. Store them carefully when the season is over; a simple box or a few layers of tissue paper can help protect them from damage.
FAQs About Vibrant Autumn Pumpkin Lid Suncatchers for Fall Decor
Can I use real pumpkin lids?
Using real pumpkin lids is not advisable as they will not last long. Opt for plastic or glass lids for durability.
What if I don’t have all the colors listed?
Feel free to mix and match colors based on availability. The charm comes from personalizing the project!
How long should I let the paint dry?
Allow at least an hour for the paint to dry between coats, and longer if the humidity is high.
Can I use these suncatchers outdoors?
If you use durable materials and seal them adequately, they can be hung outside. Just ensure they are shielded from the harshest weather.
What other designs can I make with lids?
You can transform any lid into a creative design, such as ghost or bat shapes for Halloween or flowers for spring decor.
A Handmade Touch for the Season
Creating Vibrant Autumn Pumpkin Lid Suncatchers allows you to engage with the season while making something truly special for your home. Every handmade piece embodies warmth and care, reminding us that our living spaces are reflections of our personal styles and memories made over time. When you bring these suncatchers to life, you’re not just making decor; you’re crafting joy and welcoming the spirit of autumn into your home.
For more enchanting autumn-inspired crafts, you may explore other creative projects like those found in Scrap Ribbon Pumpkin Suncatchers – Fireflies and Mud Pies.
Print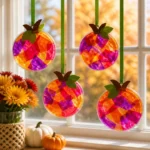
Vibrant Autumn Pumpkin Lid Suncatchers
- Total Time: 30 minutes
- Makes: 4 suncatchers
Description
Create colorful pumpkin lid suncatchers for a cheerful fall decor project that brightens any space.
Materials
- Various colored plastic or glass lids
- Orange, yellow, green, and brown paint or transparent colored tissue paper
- Black marker or adhesive vinyl for faces
- Glue (hot glue or craft glue)
- Decorative ribbons or twine
- Scissors
- Hole punch or sharp object for hanging holes
Instructions
- Prepare the lids by cleaning them thoroughly to remove any grime or stickers.
- Paint or layer colors on the lids using orange and yellow shades or colored tissue paper.
- Add faces with a black marker or adhesive vinyl on the dried lids.
- Create hanging holes using a hole punch at the top center of each lid.
- Finish by cutting ribbons to your desired lengths and threading them through the holes.
Notes
Experiment with different colors and designs to personalize each suncatcher. Dust gently with a soft cloth for maintenance.