

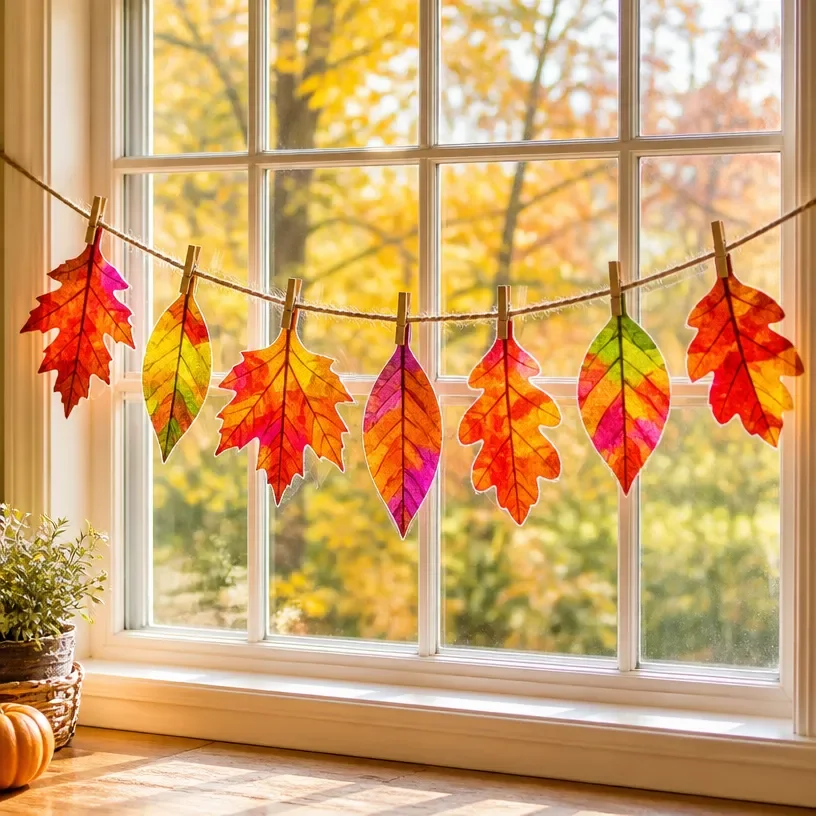
Autumn brings a vibrant display of colors, and what better way to celebrate the season than by creating a delightful Autumn Rainbow Leaf Suncatcher Garland for your window decor? This charming piece not only brightens up your space but also infuses it with the warmth of handcrafted decoration. Imagine the soft sunlight casting colorful hues across your room as the leaves dance in the breeze, making it an enchanting addition to your fall decor. Plus, this project is approachable for crafters at any level, allowing you to bring a personal touch to your home. You may also find Vibrant Autumn Pumpkin Suncatchers Diy Fall Decor useful.
Making this suncatcher garland involves using natural materials that capture the spirit of fall. It’s perfect for adorning windows, entryways, or any spot that could use a splash of seasonal beauty. You’ll find joy in the process of gathering materials and assembling them into a lovely display. For an inspiring twist, consider exploring other projects like this rainbow butterfly fall leaf mobile, which beautifully echoes autumn themes.
Why You’ll Love This Project
Creating your own Autumn Rainbow Leaf Suncatcher Garland is an experience filled with creativity and character. This project is not only fun but also offers the chance to customize each piece, ensuring your garland reflects your unique style. The materials are inexpensive and often reusable, making it a budget-friendly option for seasonal decorating. You can hang it in various places such as your dining room, porch, or even in a child’s room, bringing natural beauty wherever it is displayed. You may also find Diy Blue Unicorn Suncatcher Fall Leaf Design useful.
Before You Start
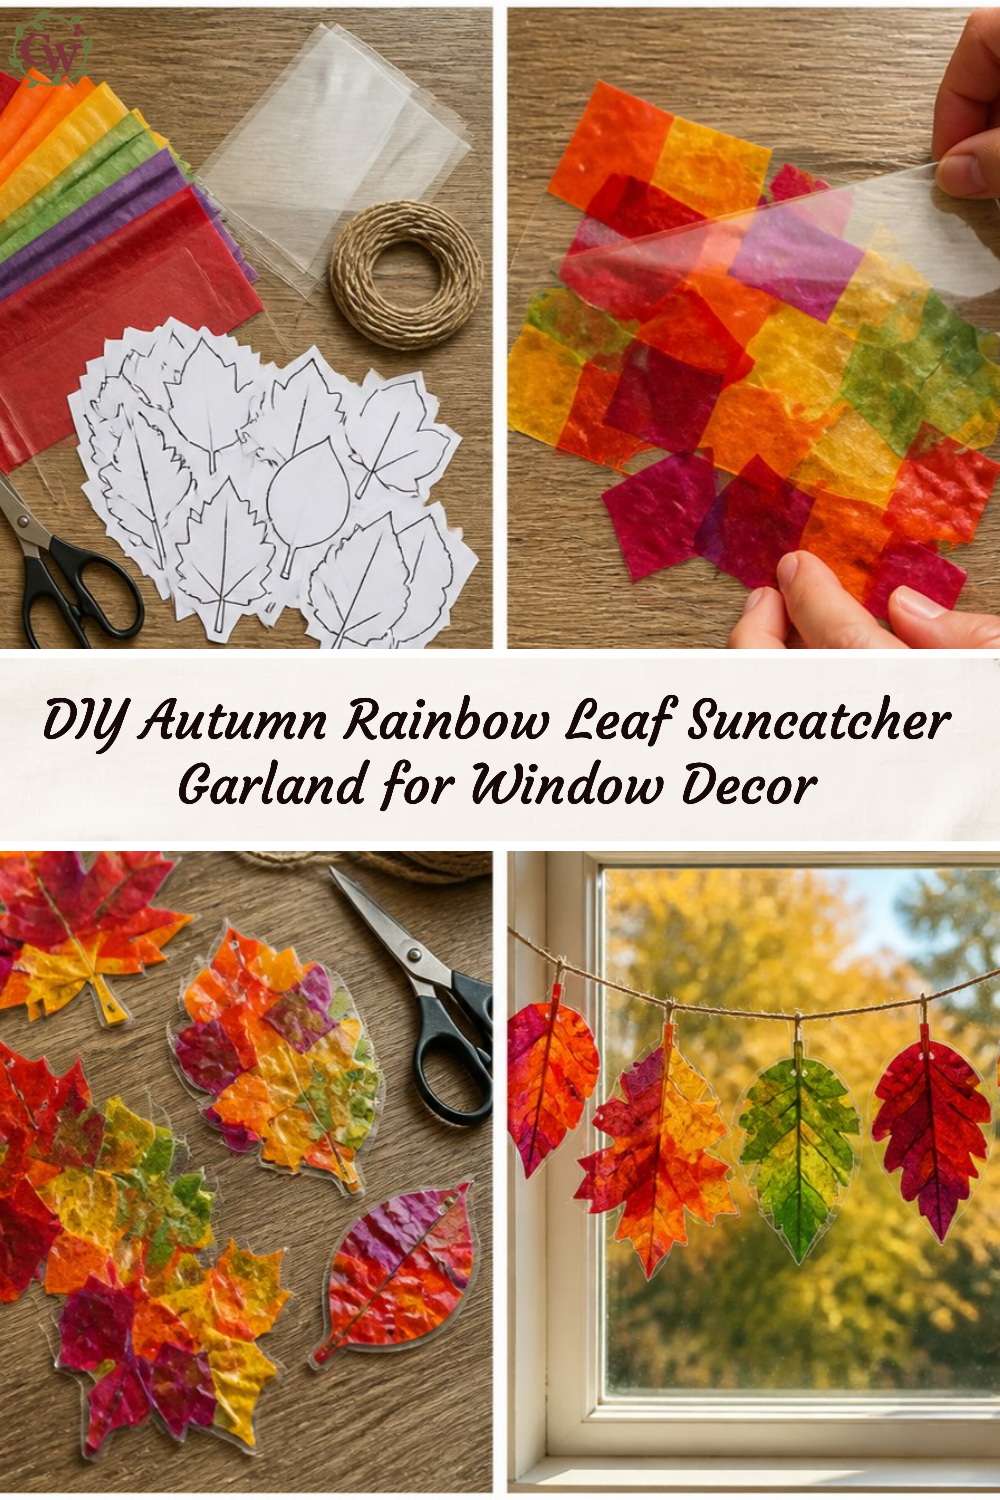
Before diving into the project, take a moment to envisage the finished piece. Picture a garland adorned with colorful leaves that sway gently in the light. The most important detail for this project is ensuring the leaves are vibrant and well-defined. Gather a clean workspace where you can easily attach and arrange your leaves without clutter.
“A handmade touch makes every home feel warmer.”
Materials and Supplies
Materials and Supplies
- Colorful leaves (dried or preserved)
- Transparency sheets or wax paper
- Natural twine or string
- Scissors
- Glue (clear-drying)
- Hole puncher
- Optional: ribbon for hanging
Choosing the right leaves is essential. Opt for a variety of shapes and colors to create visual interest in your garland. Using transparency sheets will help capture the light, making the colors pop beautifully.
How to Make Autumn Rainbow Leaf Suncatcher Garland for Window Decor
Gather Your Leaves
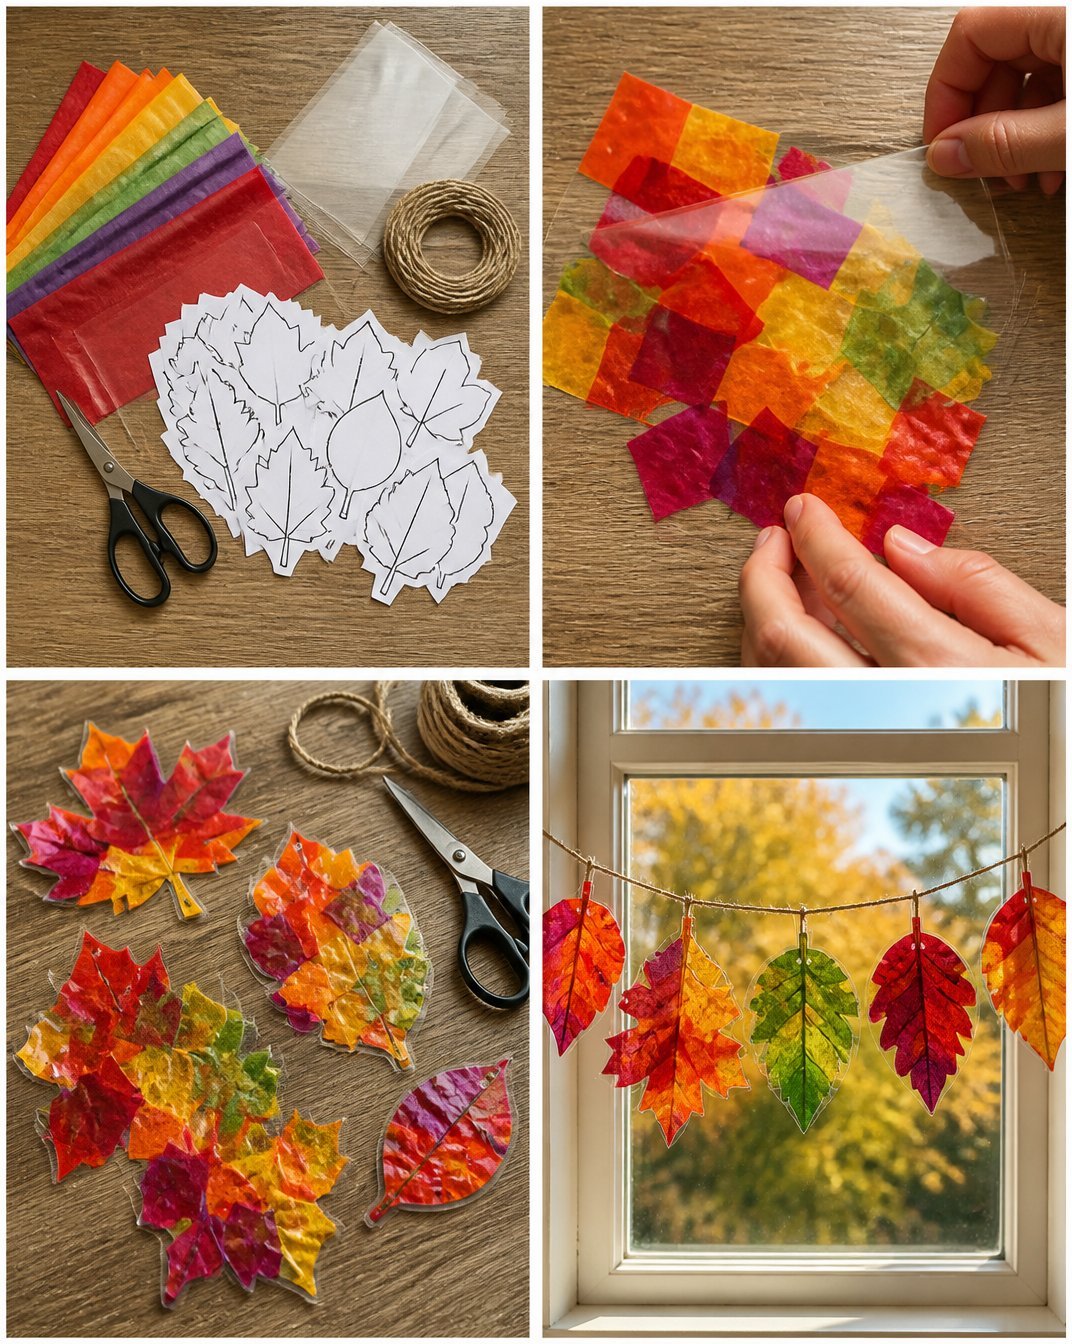
Collect a variety of leaves in different shapes, sizes, and colors. If you’re using fresh leaves, dry them between the pages of a heavy book for a few days until they are flat.Cut the Transparency Sheets
Cut the transparency sheets or wax paper into your desired shapes to frame the leaves. Cut them slightly larger than the leaves for a nice border.Arrange the Leaves
Lay your leaves out on the transparency sheet to decide your arrangement. Play with colors and shapes until you find a look you love.Adhere the Leaves
Apply glue to the back of the leaves and place them on the transparency sheets. Press gently and allow them to dry completely.Seal Your Leaves
Once the glue is dry, place another transparency sheet on top of the leaves, sealing them inside. Use a hot iron on a low setting to gently seal the edges, being careful not to burn the paper.Punch Holes
Use a hole punch to make holes at the top of your transparency sheets. This is where you will thread the twine or string.String the Leaves
Cut the twine or string to your desired length for the garland. Thread the twine through the holes and tie secure knots, spacing the leaves evenly.Display Your Garland
Finally, hang your beautiful garland where it can catch the light and bring joy to your home.
How to Style Your Finished Autumn Rainbow Leaf Suncatcher Garland for Window Decor
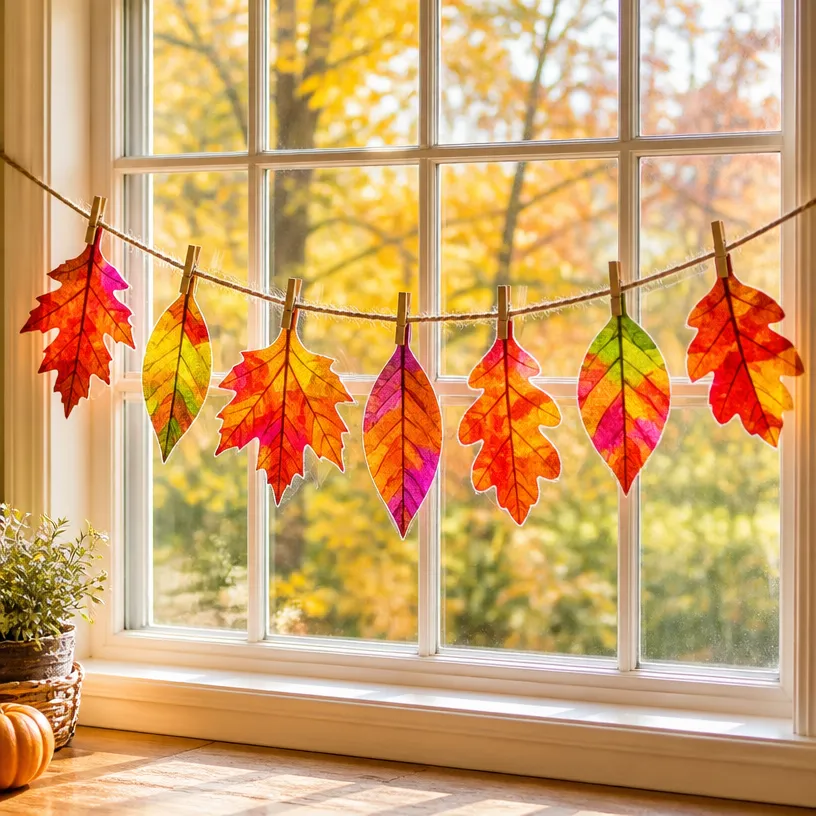
Once your Autumn Rainbow Leaf Suncatcher Garland is complete, consider how best to showcase it in your home. It can be gracefully draped across a window or hung from a mantel to catch the soft autumn light. For an even cozier atmosphere, pair it with seasonal decorations like small pumpkins or candle holders for a warm, inviting display.
Maggie’s Tips for the Best Results
- Dry-fit your leaves before gluing to ensure an attractive arrangement.
- Work in layers for added texture and depth in your suncatcher.
- Allow sufficient drying time for glue to prevent pieces from falling apart.
- Balance the use of twine and ribbon to maintain a rustic feel while ensuring durability.
- Test different light conditions by moving your suncatcher to see how it reflects different angles of light.
Easy Ways to Customize This Project
You might try using different seasonal colors when making your Autumn Rainbow Leaf Suncatcher Garland. For example, mixing in gold or burgundy ribbons can enhance the elegance of the piece. You can also incorporate small embellishments like acorns or tiny gourds to create a unique twist that suits your home style.
How to Pack This Project Away for Next Season
To keep your suncatcher looking its best, carefully store it away in a dry, dark place to preserve the colors. Avoid crushing the leaves by wrapping it in soft tissue paper. If you notice any dust, a light, dry cloth can help keep it clean for next season.
FAQs About Autumn Rainbow Leaf Suncatcher Garland for Window Decor
Can I use fresh leaves?
Yes, but make sure to dry them first to help preserve their shape and color.
What if I don’t have transparency sheets?
Wax paper can work as a great alternative for this project.
How long does it take to dry?
Allow at least 2-4 hours for the glue to dry completely before moving on to the next steps.
Can I hang it outdoors?
It’s best suited for indoor use since moisture can damage the leaves and paper.
Is it possible to use other materials?
Absolutely! You could experiment with different types of decorative paper or even fabric for a unique look.
A Handmade Touch for the Season
Creating your own Autumn Rainbow Leaf Suncatcher Garland is not just about making a beautiful piece of decor; it’s about embracing the warmth and comfort that comes from crafting with your own hands. As you hang this garland in your home, it will serve as a reminder of the joy of creation and the beauty found in simplicity. Every time you see the sun catch the colors of your suncatcher, you’ll be reminded that a handmade touch truly makes every home feel warmer.
For those looking to explore more fall-inspired crafts, check out the fall leaf suncatcher ornaments that can add even more seasonal flair to your home.
Print
Autumn Rainbow Leaf Suncatcher Garland
- Total Time: 30 minutes
- Makes: 1 garland
Description
Create a vibrant Autumn Rainbow Leaf Suncatcher Garland to brighten up your home with seasonal beauty.
Materials
- Colorful leaves (dried or preserved)
- Transparency sheets or wax paper
- Natural twine or string
- Scissors
- Glue (clear-drying)
- Hole puncher
- Optional: ribbon for hanging
Instructions
- Gather your leaves by collecting a variety of shapes, sizes, and colors.
- Cut the transparency sheets or wax paper into larger shapes to frame the leaves.
- Arrange the leaves on the transparency sheet to decide your design.
- Adhere the leaves using glue and allow them to dry completely.
- Seal the leaves by placing another sheet on top and using a hot iron on low to seal the edges.
- Punch holes at the top of the transparency sheets for the twine.
- String the twine through the holes, spacing the leaves evenly.
- Display your garland where it can catch the light.
Notes
Test different light conditions to see how your suncatcher reflects different angles of light.