

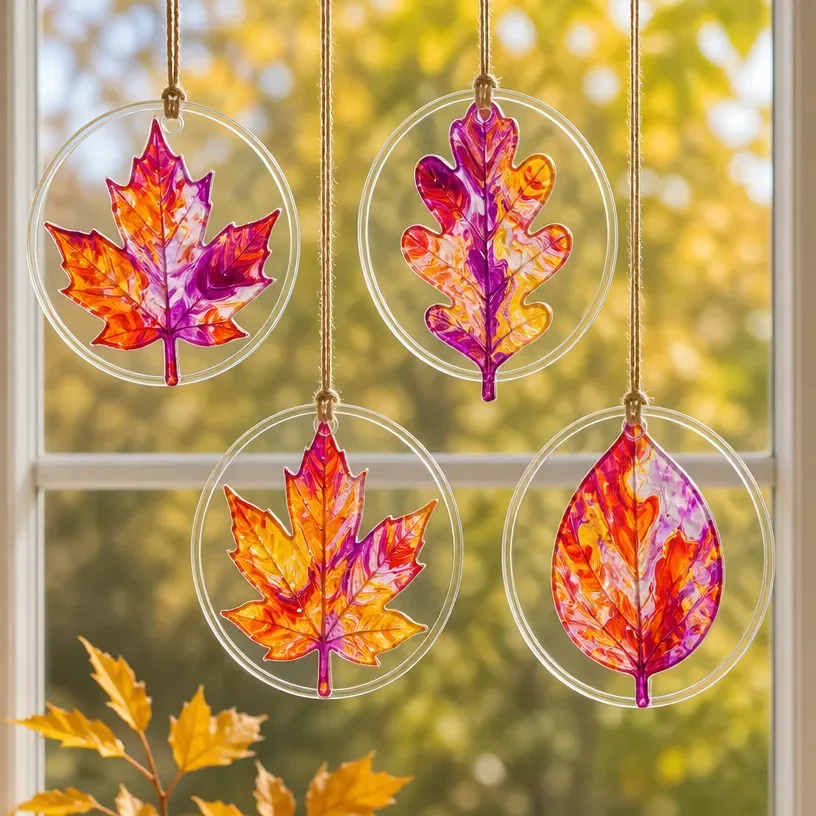
Marbled Rainbow Fall Leaf Suncatchers DIY You may also find Diy Blue Unicorn Suncatcher Fall Leaf Design useful.
Embrace the beauty of autumn with a delightful DIY project that brings the vibrant colors of fall right into your home. The Marbled Rainbow Fall Leaf Suncatchers DIY offers a creative and fun way to celebrate the season. With their striking hues and translucent designs, these suncatchers can brighten any window, making them an eye-catching focal point in your décor.
This project is not only visually appealing but also quite approachable for crafters of all skill levels. With minimal materials and simple steps, you’ll find joy in creating these lovely pieces that catch the light beautifully. Display them in your kitchen, living room, or even hang them from your porch to greet guests with a warm and inviting seasonal touch.
Why You’ll Love This Project
Creating marbled rainbow suncatchers is a fantastic way to engage with the colorful spirit of autumn. The flowing designs resemble the beautiful transition of leaves as they turn, making them perfect for your seasonal décor. This project is also cost-effective, requiring only a few materials that you may already have at home.
The versatility of these suncatchers means they can fit into any part of your home, from brightening up a dining table to adding interest to a dull hallway. You can easily customize the colors and patterns to reflect your personal style or seasonal themes. For those looking for similar projects, you might enjoy making a DIY autumn rainbow leaf suncatcher garland as a complementary decoration.
Before You Start
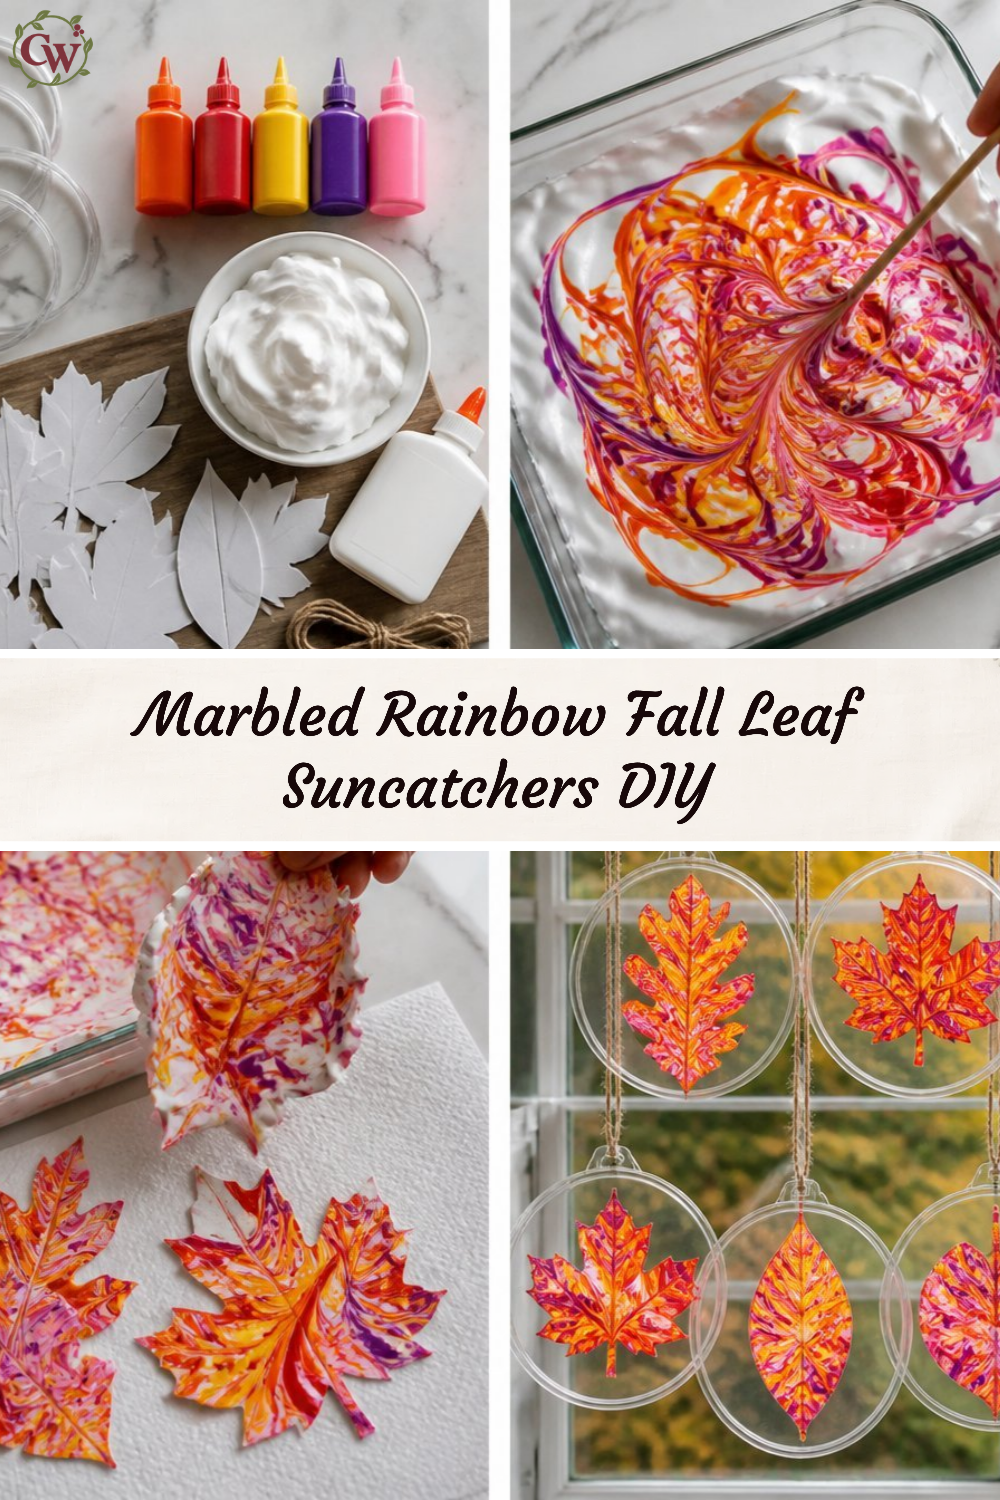
Before diving into this project, it helps to have a clear vision of how you want your finished suncatchers to look. Envision a swirl of colors coming together to mimic the vibrant leaves of fall. Pay special attention to the marbling process, as it significantly contributes to the overall aesthetic of the piece.
Make sure you prepare your workspace with plenty of flat surfaces to allow for easy assembly, and gather all your materials ahead of time. A little organization goes a long way in making the crafting process smoother.
“A handmade touch makes every home feel warmer.”
Materials and Supplies
Materials and Supplies
- Clear plastic or glass sheets
- Acrylic paints (various autumn colors)
- Paintbrushes or sponges
- Mod Podge or another adhesive
- Scissors
- String or fishing line for hanging
- Optional: glitter for extra sparkle
When selecting your colors, think about the rich palette of fall yellows, oranges, reds, and even some deep greens. Using glossy or metallic finishes can also enhance the marbling effect if you want a touch of shimmer.
How to Make Marbled Rainbow Fall Leaf Suncatchers DIY
Step 1: Prepare Your Workspace
Clear a dedicated workspace where you can paint and assemble your suncatchers without interruptions. It’s best to use a flat, well-lit surface that allows for easy movement.
Step 2: Cut Your Base
Using scissors, cut the clear sheets into leaf shapes or any other fall-inspired designs you prefer. These will serve as the base for your suncatchers. Ensure the edges are smooth for a polished look.
Step 3: Paint the Base
Next, take your acrylic paints and apply different colors onto the plastic or glass sheets. Use a paintbrush or sponge to blend colors together, creating a marbled effect. This is where you can get creative, so feel free to experiment with different techniques for unique outcomes!
Step 4: Let Them Dry
After you’re satisfied with your designs, allow the painted pieces to dry completely. This may take a few hours, so plan to step away and come back later to complete the project.
Step 5: Apply Adhesive
Once dry, coat the painted side with a thin layer of Mod Podge or another adhesive to protect the paint and give it some extra shine.
Step 6: Add Hanging String
While the adhesive is still wet, make a small hole at the top of the suncatcher and insert a piece of string or fishing line. This will allow you to hang the suncatcher where desired.
How to Style Your Finished Marbled Rainbow Fall Leaf Suncatchers DIY
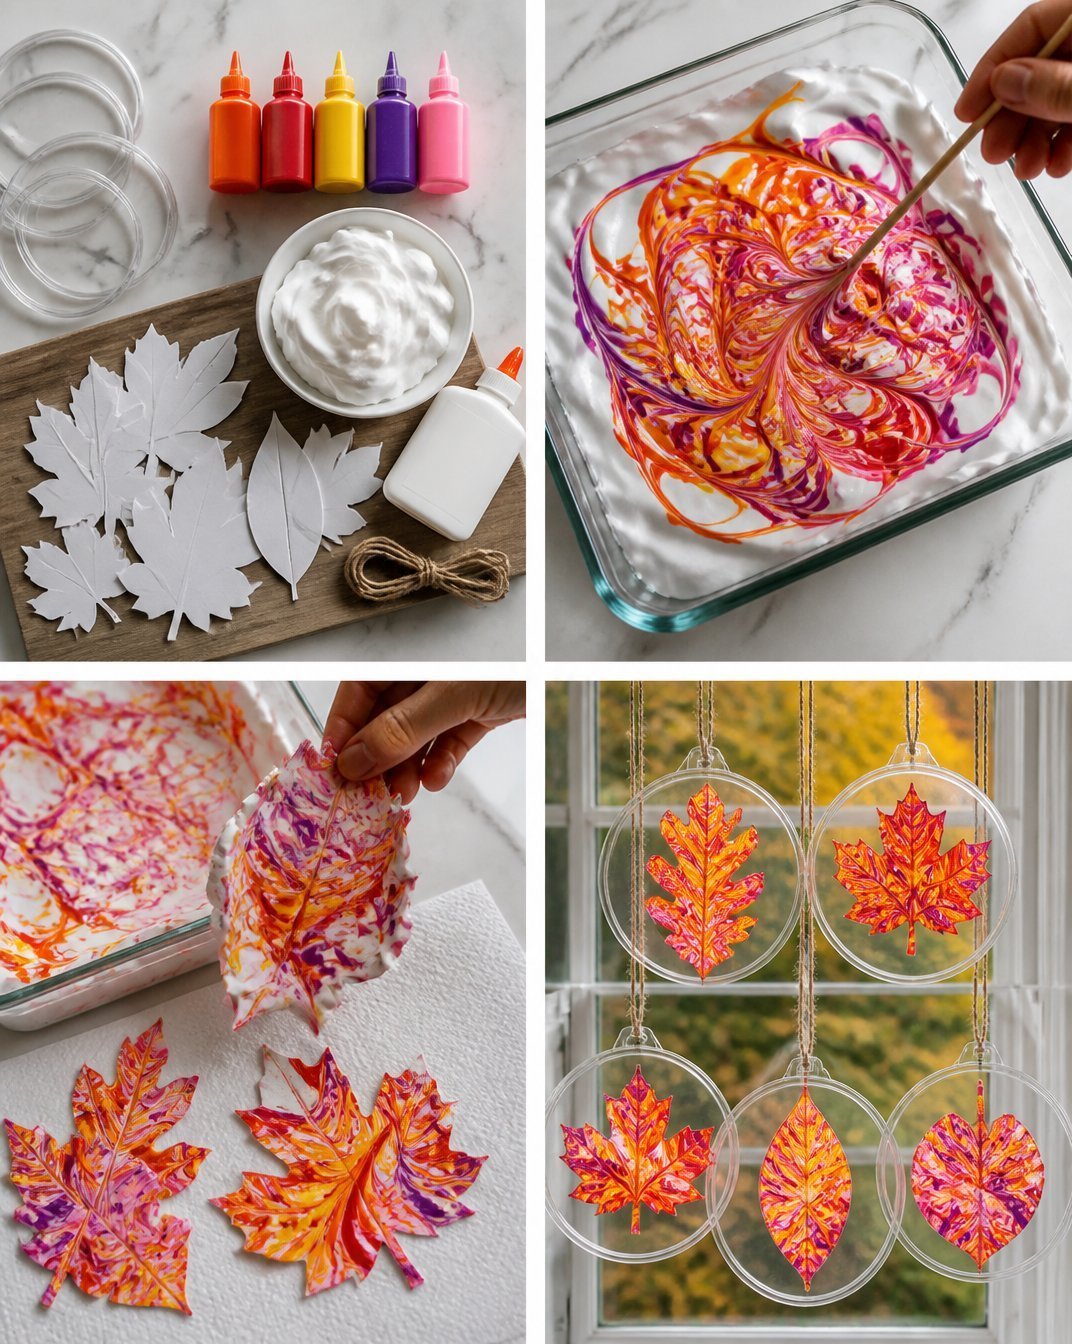
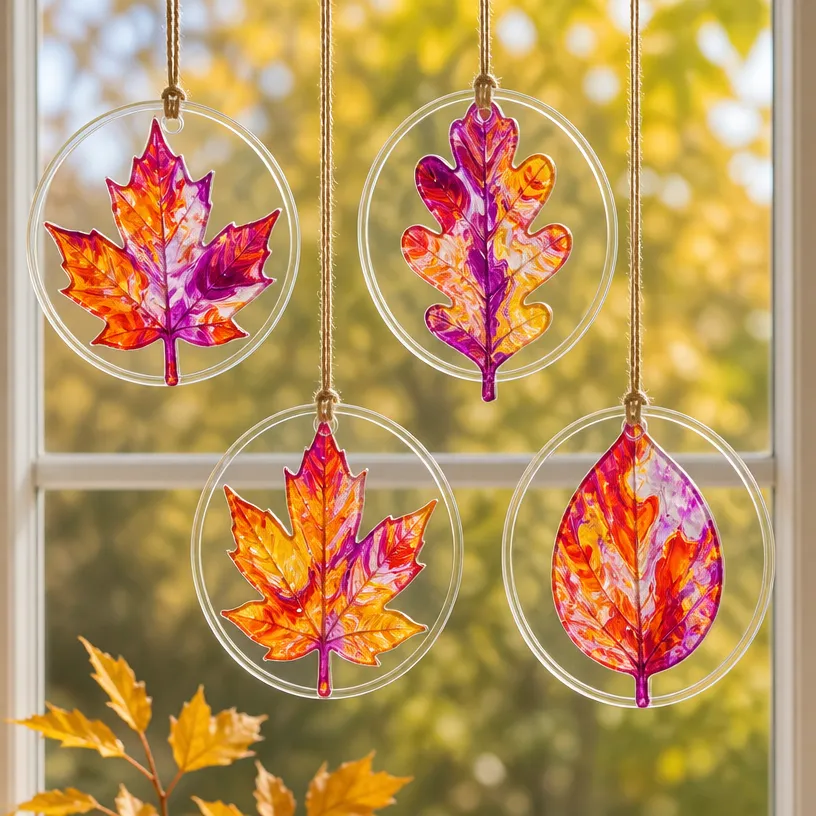
Finding the right place to display your beautiful marbled suncatchers is essential. They work wonderfully in windows where natural light can pour through, casting colorful reflections in your space. Consider hanging them in your kitchen, dining area, or any room that could use a pop of color.
Pair these suncatchers with other natural elements, like small pumpkins or autumn leaves, to create a cohesive seasonal display. Remember to keep your decor warm and inviting, allowing these handcrafted pieces to shine.
Maggie’s Tips for the Best Results
- Experiment with color combinations before you paint to find the perfect blend that suits your style.
- When applying paint, try layering colors to achieve a more dynamic marbled effect.
- Make sure to let each layer dry fully before adding additional layers or applying adhesive for the best results.
- Test the site where you plan to hang them to ensure they catch the light beautifully.
- Avoid overloading on paint, as it can lead to a cluttered look; let the base color shine through!
Easy Ways to Customize This Project
Once you finish your initial set of suncatchers, consider personalizing them further. You can add lettering that reflects seasonal sentiments or use different shapes to celebrate other holidays. Adding small embellishments like sequins, pressed flowers, or additional layers of paint can also take your design to new heights.
Caring for Your Handmade Decor
Since your suncatchers are designed to catch sunlight, it’s essential to keep them clean and in good shape. Regularly dust them off with a soft cloth and avoid placing them in direct harsh sunlight for extended periods, as this can fade the colors over time.
FAQs About Marbled Rainbow Fall Leaf Suncatchers DIY
What if I don’t have clear plastic sheets?
You can use the same technique on glass or even transparent containers; just ensure that the paint is suitable for the material.
How long does it take for the paint to dry completely?
Drying times can vary depending on the paint used, but typically, allow at least 2-4 hours before handling.
Can I use these suncatchers outside?
Yes, but be mindful of the weather. They should be protected from extreme elements to preserve the paint finish.
Are there other projects similar to this one?
Absolutely! You may enjoy similar crafts like creating a rainbow butterfly fall leaf mobile to complement your suncatchers.
A Handmade Touch for the Season
Creating your Marbled Rainbow Fall Leaf Suncatchers is a beautiful way to celebrate the warmth and color of autumn. The act of making something with your hands not only beautifies your home but also imbues it with personal touches that store memories and warmth. Remember that every handmade piece doesn’t need to be perfect; its charm often lies in the imperfections that tell your unique story.
As you embark on this crafting journey, I encourage you to enjoy the process and celebrate the creativity that flows through each brushstroke. The final result will be more than just a suncatcher; it will be a cherished piece of art that brings the spirit of the season into your home.
Conclusion
To explore more exciting crafting options, take a look at this wonderful rainbow suncatchers craft kit that can inspire your next project.
Print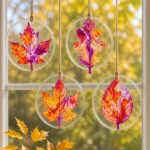
Marbled Rainbow Fall Leaf Suncatchers DIY
- Total Time: 120 minutes
- Makes: Multiple suncatchers
Description
Create vibrant marbled rainbow suncatchers to celebrate the beauty of autumn, brightening your home with colorful decor.
Materials
- Clear plastic or glass sheets
- Acrylic paints (various autumn colors)
- Paintbrushes or sponges
- Mod Podge or another adhesive
- Scissors
- String or fishing line for hanging
- Optional: glitter for extra sparkle
Instructions
- Prepare your workspace
- Cut your base
- Paint the base
- Let them dry
- Apply adhesive
- Add hanging string
Notes
Keep your suncatchers clean and avoid direct harsh sunlight to prevent fading.