

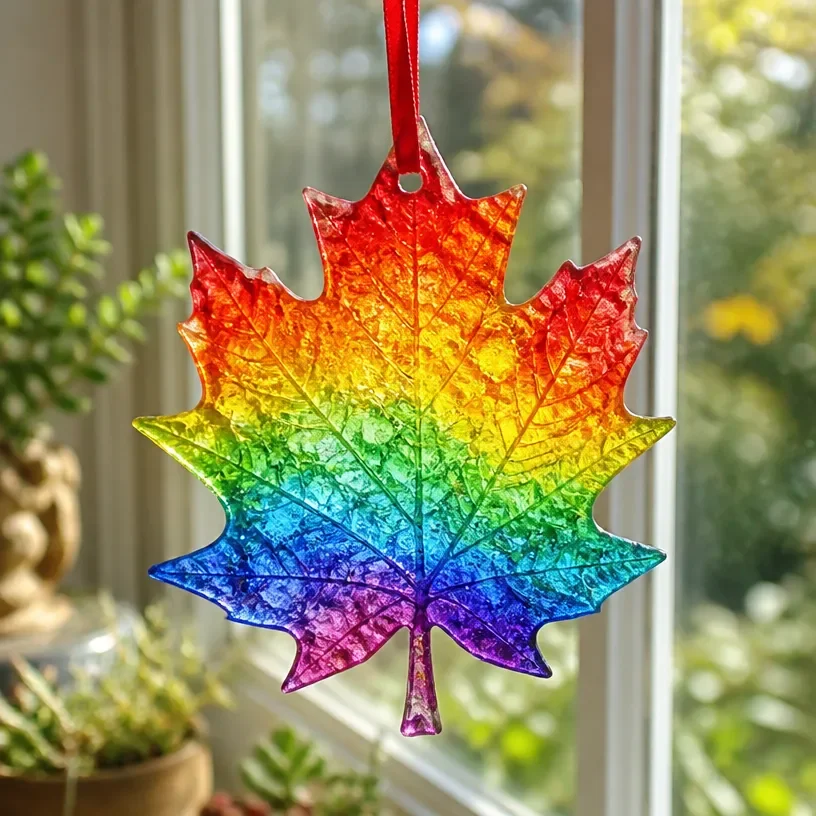
The vibrant colors of fall inspire so many lovely craft projects, but few can brighten your home quite like the DIY Rainbow Crayon Melt Fall Leaf Suncatcher. This project is not only visually stunning but also serves as a delightful way to involve kids in seasonal decorating. It captures the warm, changing colors of autumn, making it perfect for a window or as a festive centerpiece. Best of all, it’s an approachable craft that uses materials you may already have at home. You may also find Diy Autumn Rainbow Leaf Suncatcher Garland useful.
Creating your own suncatcher brings a unique, handmade touch to your decor, transforming any room with bursts of color when the sunlight passes through it. This easy-to-follow DIY project invites you to experience the joy of crafting while celebrating the beauty of the fall season. You can even find inspiration for more suncatcher designs, such as marbled rainbow fall leaf suncatchers.
Why You’ll Love This Project
The DIY Rainbow Crayon Melt Fall Leaf Suncatcher is a fantastic project for several reasons. Its construction is simple, making it accessible even for novice crafters. With inexpensive materials, you can keep the costs low while crafting something beautiful. This suncatcher offers seasonal versatility, making it perfect not only for autumn but also as a vibrant addition to any room throughout the year. You may also find Diy Blue Unicorn Suncatcher Fall Leaf Design useful.
Additionally, because there’s plenty of room for creativity, you can customize the colors and patterns to fit your style. Whether you place it on a windowsill, in the entryway, or as part of a fall display on the dining table, it will undoubtedly draw attention.
Before You Start
Preparing Your Crafting Space
Before diving into this colorful project, it’s helpful to have a clear workspace. Make sure you have all of your materials ready to go; this will streamline your crafting experience. The finished suncatcher should have a radiant color display that mimics the beauty of fall leaves, drawing people’s eyes with every sunbeam.
The melting process calls for some attention, as it’s vital to monitor the temperature of the crayons to achieve the best results. Remember to wear proper safety gear, such as gloves and goggles, especially when handling hot surfaces.
“A handmade touch makes every home feel warmer.”
Materials and Supplies
Materials and Supplies
To create your DIY Rainbow Crayon Melt Fall Leaf Suncatcher, you will need:
- Clear contact paper
- Crayons in fall colors (or any colors you prefer)
- Leaf-shaped cookie cutters
- An oven-safe tray
- Parchment paper (for easier cleanup)
- Scissors
- A craft knife (for detailed cutting)
These materials are generally easy to find, and you might already have some at home. Crayons can also be recycled from old, broken pieces, making this a budget-friendly craft.
How to Make DIY Rainbow Crayon Melt Fall Leaf Suncatcher Tutorial
Step 1: Prepare the Crayons
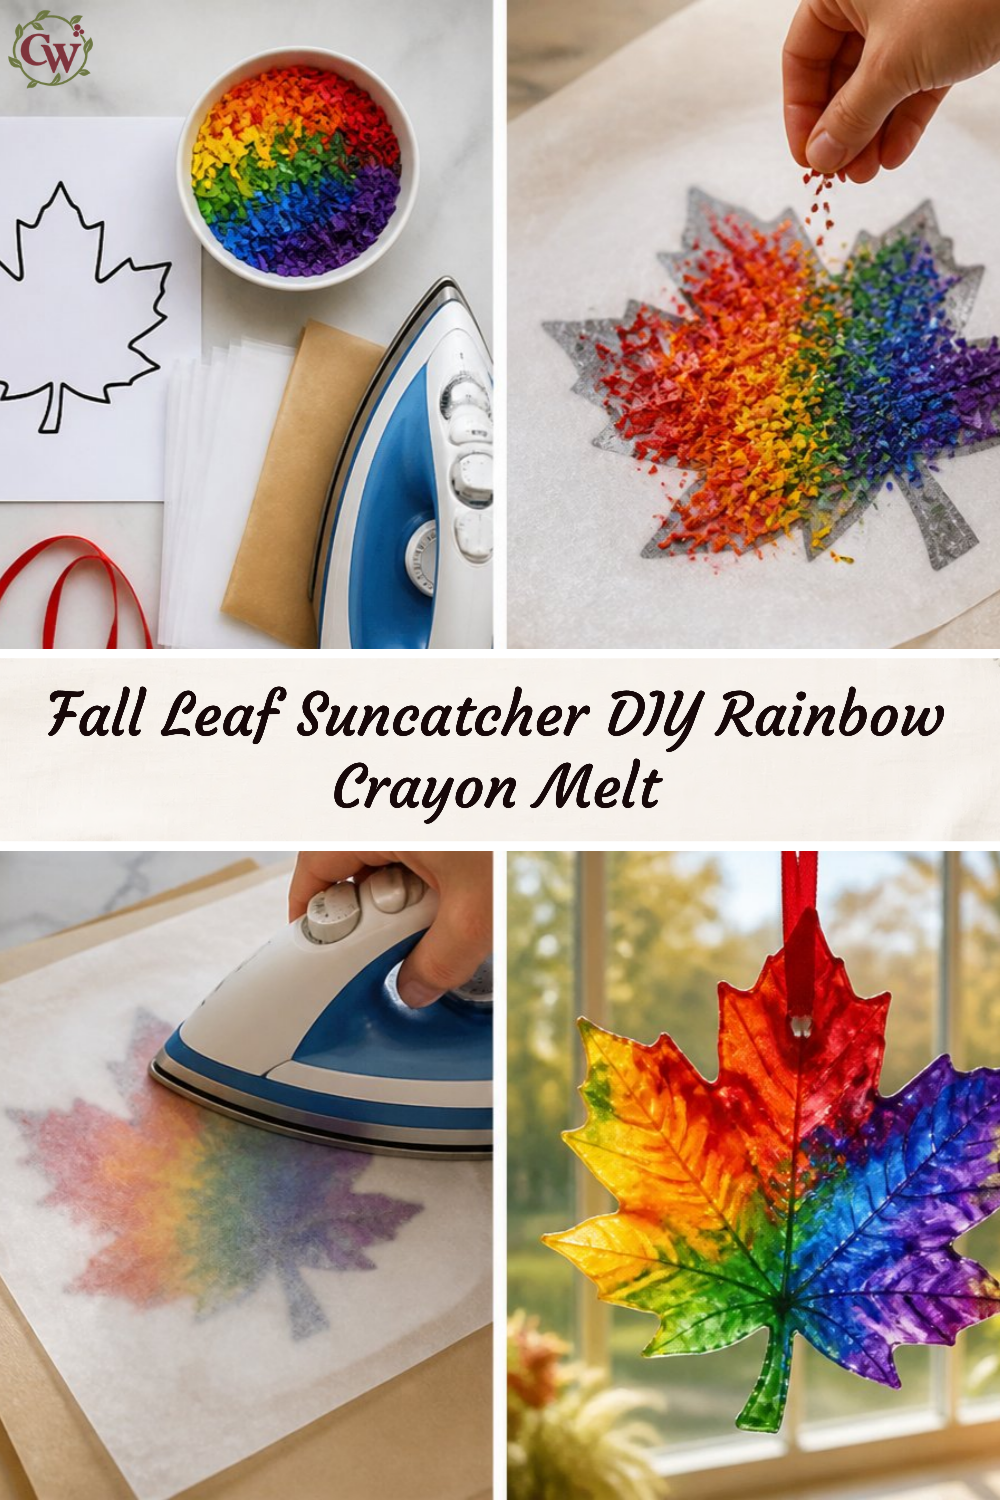
Start by peeling the wrappers off your crayons. Cut them into small pieces roughly half an inch long works well. You can mix the colors for a vibrant blend or keep them separate for distinct tonal areas.
Step 2: Set Up Your Suncatcher Design
Take the clear contact paper and cut it into the desired size for your suncatcher. Lay down a piece of parchment paper on an oven-safe tray. Using the leaf-shaped cookie cutters, arrange the crayon pieces within the cookie cutters. Be as creative as you like, mixing colors to create a beautiful blend.
Step 3: Melt the Crayon Pieces
Preheat your oven to about 200°F (93°C). Place the tray in the oven, watching closely as the crayons melt. This should take around 10-15 minutes. Once melted, remove the tray carefully (it will be hot), and allow the melted crayon to cool just a bit.
Step 4: Assemble Your Suncatcher
Carefully peel away the cookie cutter from the melted crayon once it’s slightly cooled but still soft. Then, take another piece of clear contact paper, placing it over the top of the crayon design, encasing it. Trim any excess contact paper and seal the edges to ensure no crayon bits can escape.
How to Style Your Finished DIY Rainbow Crayon Melt Fall Leaf Suncatcher Tutorial
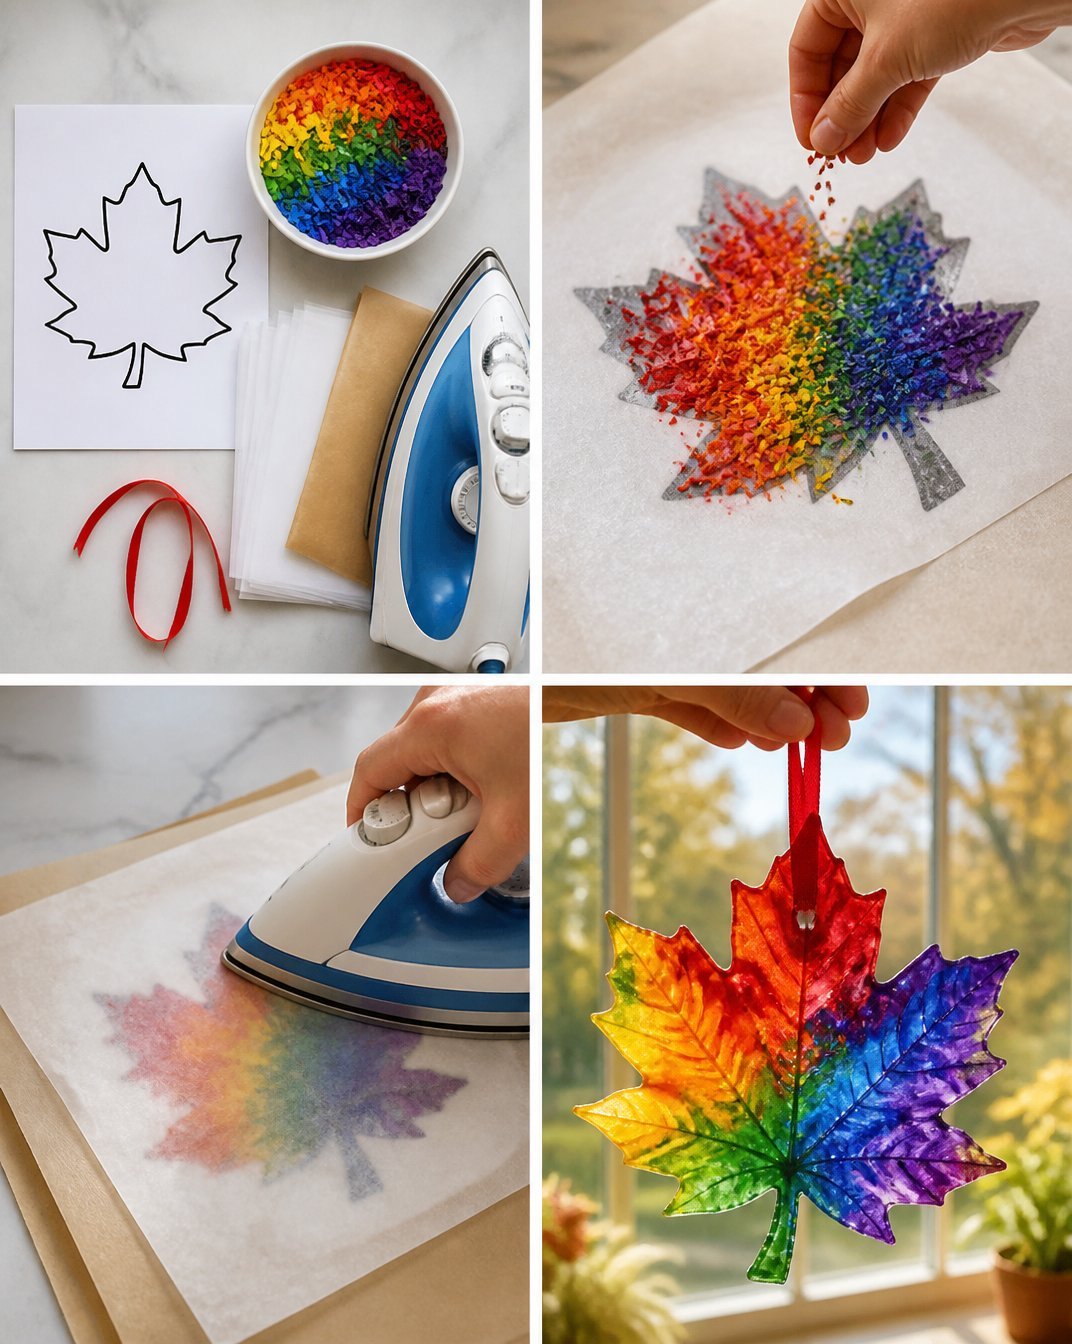
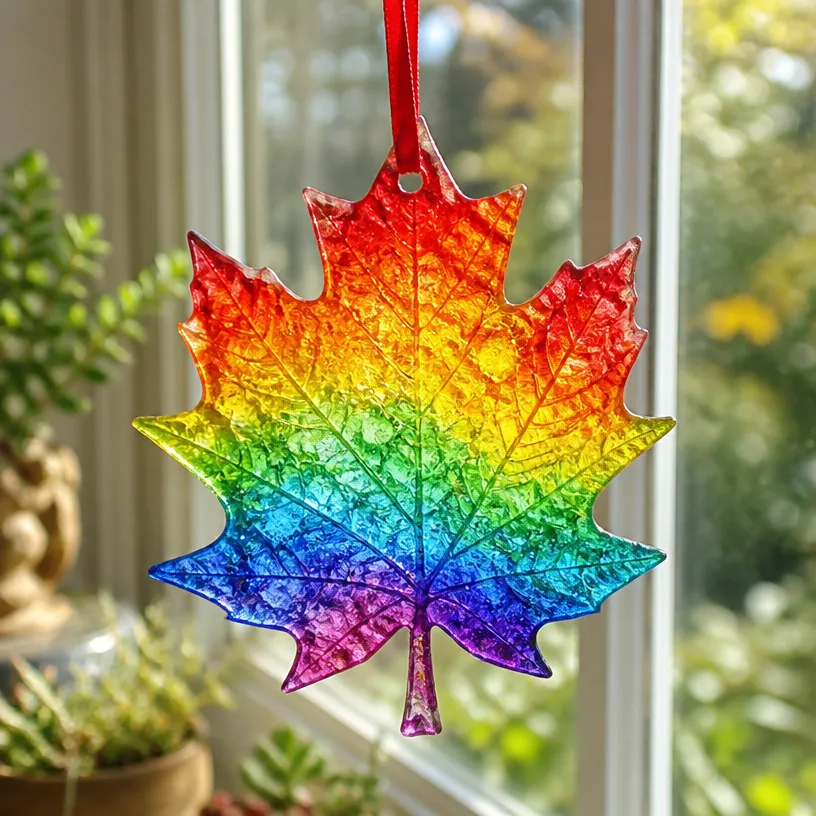
Now that your suncatcher is complete, it’s time to style and display it! These charming suncatchers look stunning in any window, catching the light beautifully. You might consider hanging them in your entryway or in front of a window in your living room to create a warm and inviting space.
Pair your suncatcher with other autumn-themed decorations, such as small pumpkins or a simple wreath, to enhance the seasonal feel.
Maggie’s Tips for the Best Results
- Dry Fit Before Melting: Always dry-fit the crayon pieces in the cookie cutter before melting to visualize the finished design.
- Watch the Temp: Keep an eye on the oven and avoid overheating the crayons to prevent burning.
- Clean As You Go: Use parchment paper to catch spills while working with melted crayons, making cleanup a breeze.
- Sealing Edges: Ensure you press the edges of the contact paper firmly to avoid any leaks.
- Experiment with Shapes: Try using different cookie cutter shapes, such as hearts or stars, for varied seasonal decorations.
Easy Ways to Customize This Project
Add a personal touch by using unique colors that fit your home’s decor. Consider:
- Using metallic or glitter crayons for added sparkle.
- Layering different shapes for a more complex look.
- Incorporating fall-themed ribbon around the edges for a finished touch.
How to Care for Your Handmade Decor
Your DIY Rainbow Crayon Melt Fall Leaf Suncatcher is relatively low-maintenance. However, to keep it looking sharp, avoid placing it in direct sunlight for long periods, as this could lead to fading. Wipe it gently with a soft cloth if it gets dusty, ensuring not to scratch the surface.
FAQs About DIY Rainbow Crayon Melt Fall Leaf Suncatcher Tutorial
Can I use any crayon brand?
Yes, any crayons will work, but higher-quality crayons may melt better.
What if I don’t have cookie cutters?
You can create your own leaf shapes by cutting them from cardboard or using a stencil.
How do I make adjustments to the size?
Adjust the size of your clear contact paper accordingly to the size of the cookie cutter you choose.
Can it be displayed outdoors?
While these suncatchers are primarily for indoor use, if displayed outdoors, be mindful of weather conditions that could damage them.
A Handmade Touch for the Season
Crafting the DIY Rainbow Crayon Melt Fall Leaf Suncatcher is not just a fun activity; it’s also a beautiful way to celebrate the changing seasons. Remember, it’s the imperfections and the handmade aspects that give it charm and character. As you fill your home with these heartfelt pieces, you’ll create a cozy atmosphere that embodies the essence of fall.
To explore more fun options for crafting with kids, consider checking out easy wax sun catchers.
Print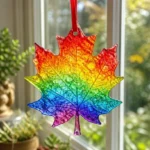
DIY Rainbow Crayon Melt Fall Leaf Suncatcher
- Total Time: 30 minutes
- Makes: 1 suncatcher
Description
Create a vibrant and visually stunning suncatcher using melted crayons to celebrate the beauty of fall.
Materials
- Clear contact paper
- Crayons in fall colors
- Leaf-shaped cookie cutters
- An oven-safe tray
- Parchment paper
- Scissors
- A craft knife
Instructions
- Prepare the crayons by peeling the wrappers and cutting them into small pieces.
- Set up your suncatcher design using the clear contact paper and cookie cutters.
- Melt the crayon pieces in a preheated oven at 200°F for 10-15 minutes.
- Assemble your suncatcher by encasing the melted crayons with another piece of clear contact paper.
Notes
Use metallic or glitter crayons for added sparkle. Keep suncatchers out of direct sunlight to prevent fading.