

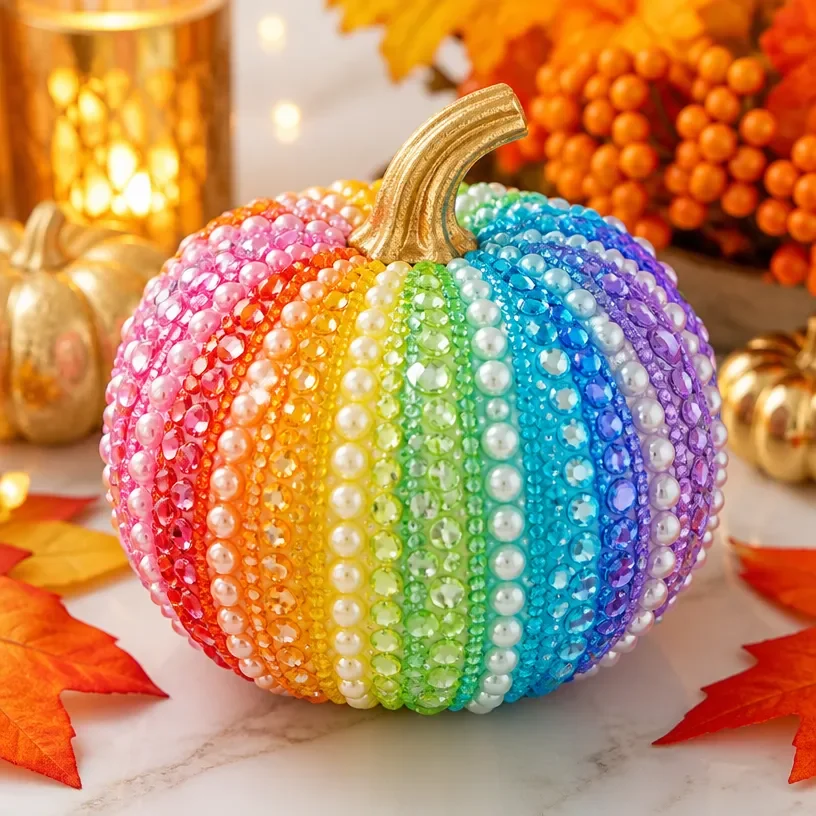
Sparkly Rainbow Pumpkin Decor for Fall and Halloween You may also find Diy Rainbow Ghost Cupcake Liner Garland Halloween Decor useful.
The Sparkly Rainbow Pumpkin Decor is a delightful project that celebrates the vibrant colors of fall while adding a touch of sparkle to your home. This cheerful decoration can grace your entryway, brighten your mantel, or serve as a standout centerpiece for your dining table during Halloween festivities. The warm hues and glimmering accents not only elevate the decor but also make it an approachable project for both new and seasoned crafters alike. With just a few materials and simple steps, you can create a piece that brings joy to your seasonal displays. You may also find Rainbow Butterfly Fall Leaf Mobile Diy Autumn Decor useful.
By incorporating this decor, you can enjoy a festive atmosphere that welcomes guests and family alike. The handmade charm of this project makes it perfect for those looking to personalize their decorations for the season, ensuring your home reflects your unique style. Plus, if you’re interested in exploring other fun projects, don’t miss out on creating a colorful DIY crayon leaf garland for fall.
Why You’ll Love This Project
This Sparkly Rainbow Pumpkin Decor is not only visually appealing but also easy to customize for your own home. The approachable construction means you aren’t burdened by complicated techniques, making it fun for everyone. With inexpensive materials and endless creative possibilities, you can cater your rainbow pumpkin to fit any space in your home.
Moreover, you can use it to add character to various locations like your porch, dining table, or even as a focal point on your coffee table. The seasonal versatility is an added bonus, allowing you to transition this decor piece from fall to Halloween effortlessly. The sparkle provides a festive flair while maintaining a rustic charm that reflects the cozy warmth of farmhouse decor.
Before You Start
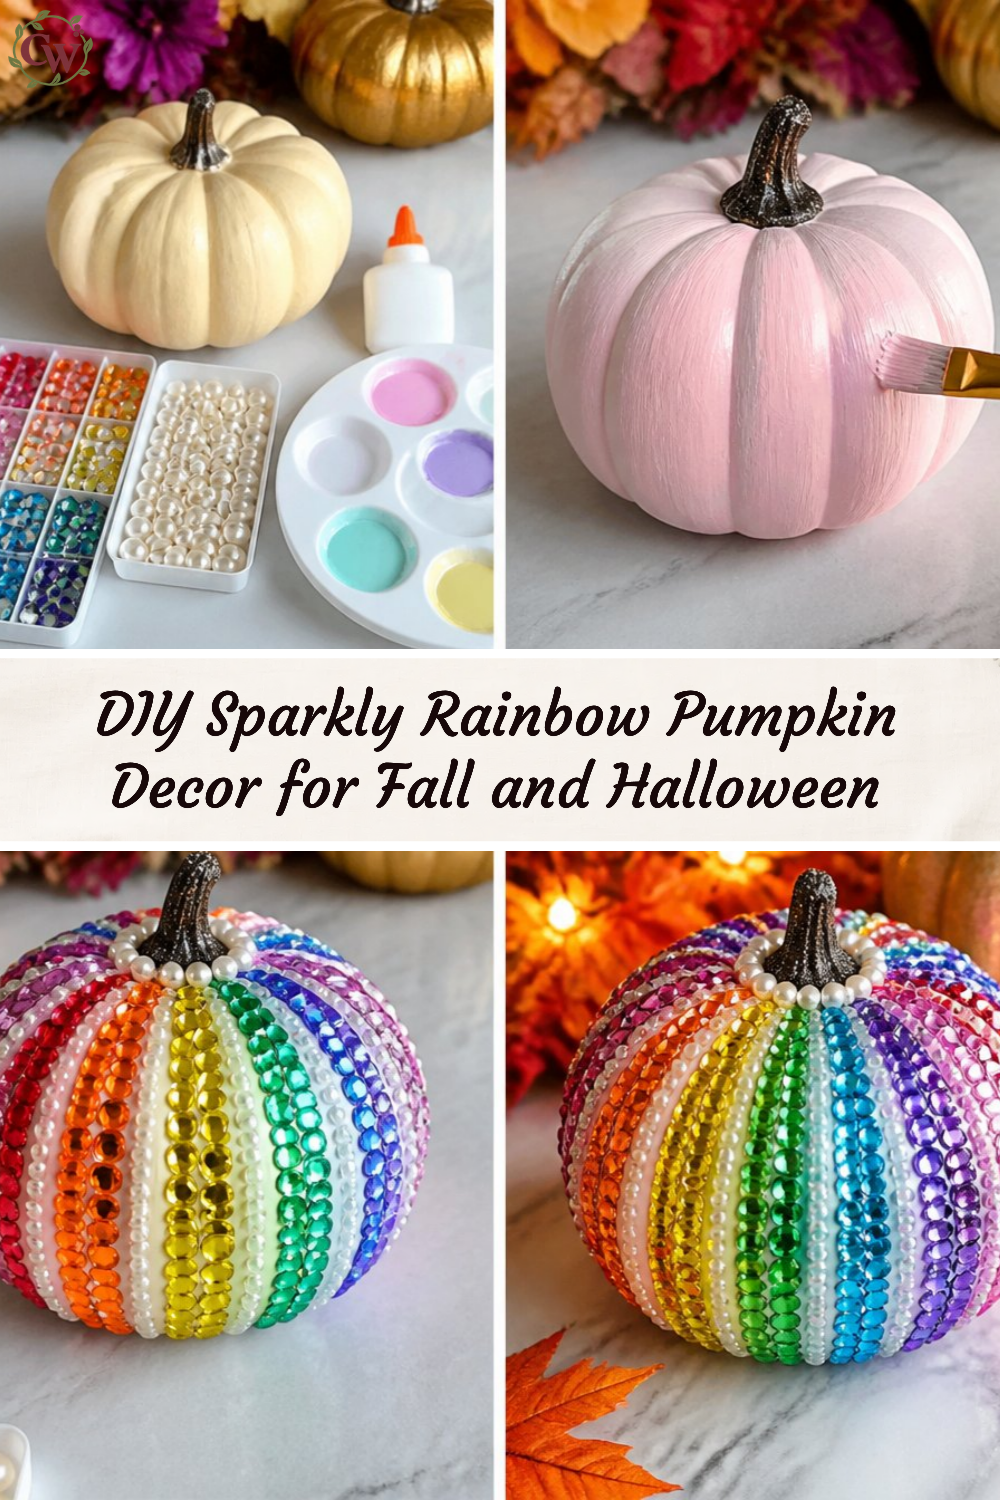
Before diving into your Sparkly Rainbow Pumpkin creation, it’s helpful to visualize the final piece. Aim for a cheerful, colorful look that draws attention yet feels cozy. The pumpkin should radiate warmth and joy, making it perfect for display in your home. One key area to focus on is ensuring an even distribution of sparkling embellishments to maintain visual balance. It’s wise to gather all your materials before starting, which will streamline the process significantly.
“A handmade touch makes every home feel warmer.”
Materials and Supplies
Materials and Supplies
- Craft pumpkin (foam or faux for longevity)
- Acrylic paint (in rainbow colors)
- Paintbrushes (various sizes)
- Glitter or sparkling paint
- Clear sealant (optional)
- Ribbon or twine (for decoration)
- Hot glue gun and glue sticks
- Scissors
- Craft knife (for cutting details)
Choosing the right type of craft pumpkin is crucial, as a foam pumpkin can be painted and reused year after year. The choice of paint finishes like glossy or matte affects the final look, so consider your personal style when selecting colors. Additionally, using a clear sealant can help maintain the integrity of your paint job, especially if your decor will see any moisture.
How to Make Sparkly Rainbow Pumpkin Decor for Fall and Halloween
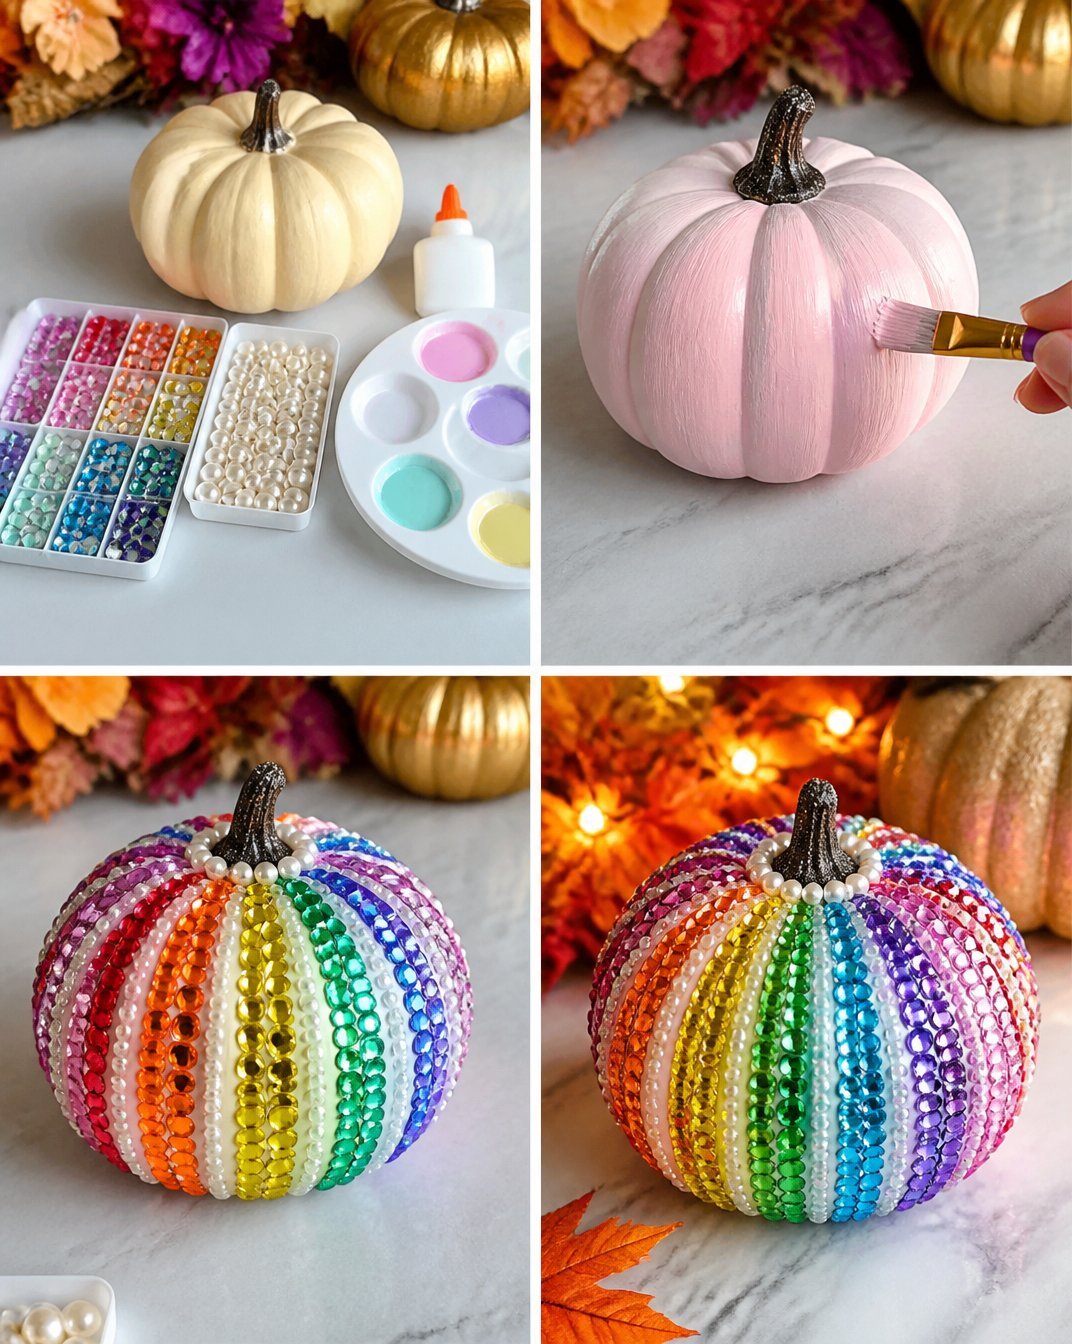
Step 1: Prepare the Pumpkin
Start by selecting a clean, dry craft pumpkin. If using a faux pumpkin, ensure it’s free from dust to facilitate better paint adhesion.
Step 2: Painting the Base Colors
Using a paintbrush, apply the first layer of acrylic paint in the color of your choice. Apply multiple coats where necessary to achieve the desired brightness and intensity. Take your time to allow each layer to dry fully this could take a few hours if you’re applying thicker coats of paint.
Step 3: Adding the Sparkle
Once your base color has dried, apply a layer of glitter or sparkling paint. You can use a brush for even coverage or sprinkle it for a textured finish. Ensure to work over a surface that can catch excess glitter.
Step 4: Attach Decorative Elements
Cut lengths of ribbon or twine to embellish your pumpkin. Use the hot glue gun to securely attach these decorative elements where you see fit. This not only adds character but also emphasizes the handcrafted quality.
Step 5: Finishing Touches
Finally, step back and assess your pumpkin. If necessary, touch up spots or add more glitter to areas that need it. If you’ve used a sealant, follow the drying instructions on the product for the best finish. Once everything is set and dry, your crafty masterpiece is ready to show off!
How to Style Your Finished Sparkly Rainbow Pumpkin Decor for Fall and Halloween
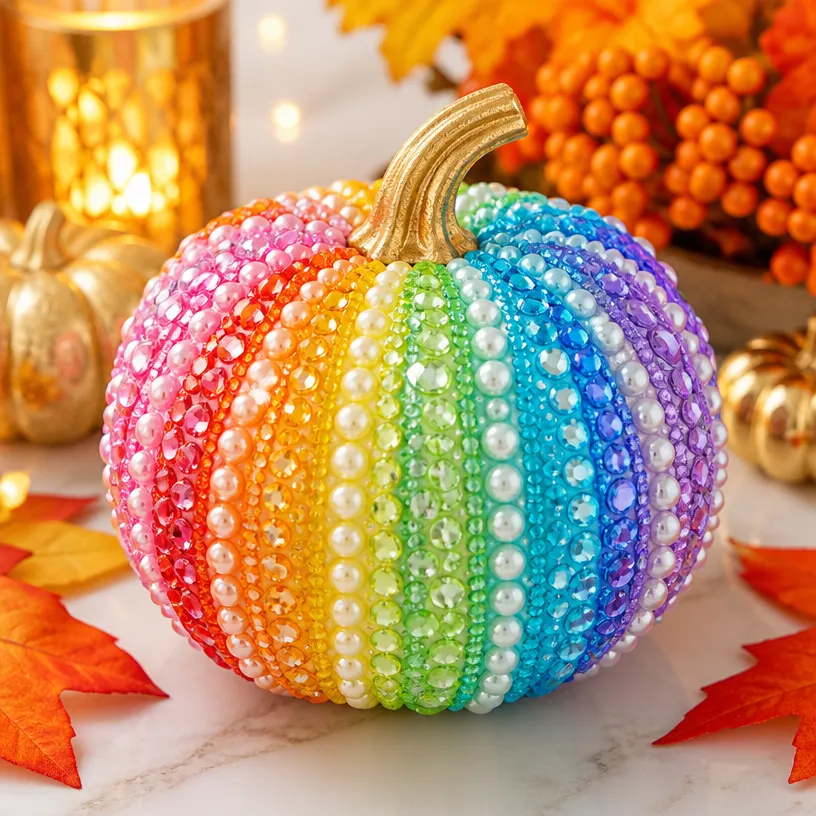
Integrating your Sparkly Rainbow Pumpkin Decor into your home decor can elevate your seasonal displays significantly. Consider placing it prominently on your mantel, pairing it with other autumnal items like small gourds or fall foliage for a cohesive look. The pumpkin can also work beautifully on a dining table, surrounded by candles or flowers to create a vibrant centerpiece.
For a lovely outdoor display, arrange your decorated pumpkin near your front door, enlivening your entryway. This decoration can also be part of a plush seating area on your porch, making it warm and inviting for guests. Just keep the accompanying decor simple so that your rainbow pumpkin remains the focal point.
Maggie’s Tips for the Best Results
- Always dry-fit your decorative pieces before gluing to gauge placement.
- Experiment with layering colors to create a more dynamic finish.
- If you’re using hot glue, apply it sparingly to avoid overrun on decorative elements.
- Consider using natural textures alongside your pumpkin to elevate the farmhouse charm.
- Working in sections can help keep the paint and glitter more controlled and manage drying times.
Easy Ways to Customize This Project
Your Sparkly Rainbow Pumpkin can be tailored to suit various seasonal themes. Swap out color choices for deeper autumn hues like burgundy or forest green as the season progresses. Ribbons can also vary in texture think velvet for a luxurious feel or natural jute for a rustic touch. Adding elements like faux greenery or small seasonal accents like acorns can further enhance your decor’s character.
How to Pack This Project Away for Next Season
When the season comes to a close, caring for your Sparkly Rainbow Pumpkin is essential. Lightly dust it with a soft cloth to keep it clean, avoiding harsh chemicals that may damage the paint or sparkle. Store your pumpkin in a cool, dry place in a box or surrounded by other soft materials to prevent it from being crushed. This way, you can reuse this lovely decor for many seasons to come.
FAQs About Sparkly Rainbow Pumpkin Decor for Fall and Halloween
Can I use real pumpkins instead of craft pumpkins?
While real pumpkins can work, they will not hold up as long and might require more preparation.
What if I want to change the color scheme later?
As long as sealant is not applied, you can repaint the pumpkin as you wish.
Is this decor suitable for outdoor use?
If you’re planning to display it outdoors, consider a weather-resistant sealant to protect it.
How long does the paint take to dry?
Depending on the thickness of your paint application, drying time may vary from 30 minutes to a few hours.
A Handmade Touch for the Season
Creating your own Sparkly Rainbow Pumpkin Decor is not only a delightful way to celebrate the season, but it also imbues your space with a personal touch. As you craft this piece, enjoy the journey and remember that each handmade project carries its own unique charm and imperfections. Your home should reflect your personality, making it engaging and warm.
For additional Halloween crafting inspiration, be sure to check out this article on no-carve pumpkin ideas.
Print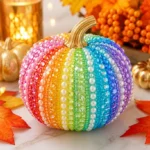
Sparkly Rainbow Pumpkin Decor for Fall and Halloween
- Total Time: 15 minutes
- Makes: 1 pumpkin
Description
Create a delightful Sparkly Rainbow Pumpkin to celebrate fall and Halloween with a burst of color and sparkle for your seasonal decor.
Materials
- Craft pumpkin (foam or faux)
- Acrylic paint (in rainbow colors)
- Paintbrushes (various sizes)
- Glitter or sparkling paint
- Clear sealant (optional)
- Ribbon or twine
- Hot glue gun and glue sticks
- Scissors
- Craft knife
Instructions
- Prepare the pumpkin by ensuring it is clean and dry.
- Using a paintbrush, apply the first layer of acrylic paint and allow to dry.
- Once the base color has dried, apply a layer of glitter or sparkling paint.
- Cut lengths of ribbon or twine and use hot glue to attach them.
- Finally, assess and touch up any areas before displaying your completed pumpkin.
Notes
For best results, dry-fit decorative pieces before gluing and consider the use of different textures for a more dynamic look.