

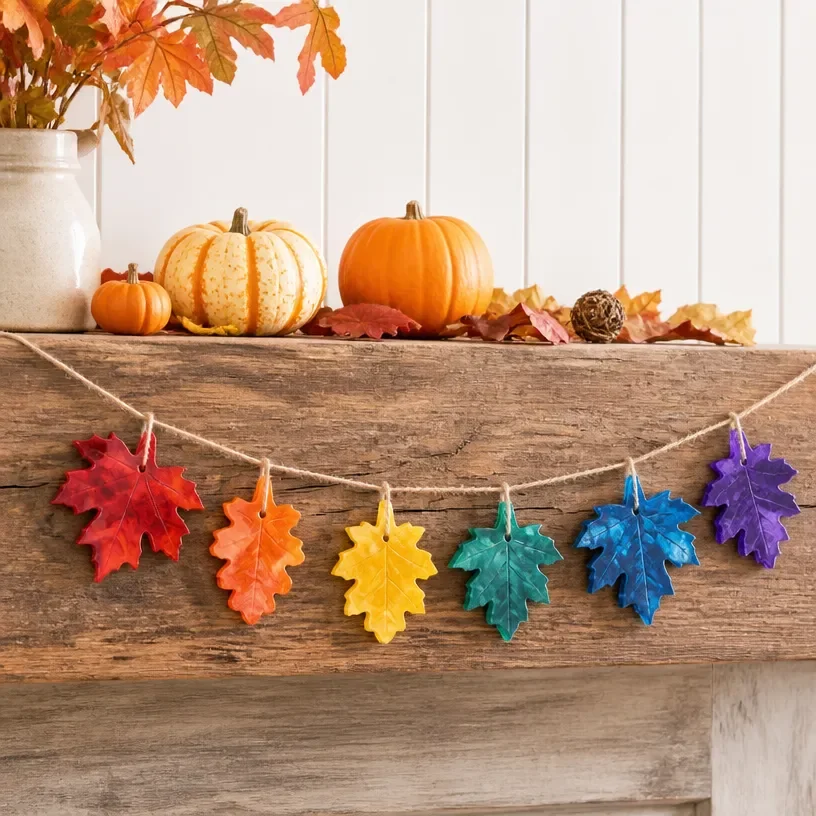
Rainbow Melted Crayon Leaf Garland for Autumn Decor brings a vibrant touch to your seasonal decorating this fall. This charming project combines the brilliance of melted crayons with the beauty of autumn leaves, creating a garland that is not only colorful but also incredibly easy to make. Whether draped across your mantel, used to adorn your door, or hung in a window, this garland offers a friendly nod to the changing seasons, making any space feel warm and inviting. You may also find Diy Crayon Leaf Garland Fall Decor useful.
The best part about this DIY project is its accessibility. It’s perfect for home crafters of all skill levels, and with just a few supplies, you can create a beautiful decoration that won’t break the bank. This project is a lovely way to engage with the kids as well, introducing them to the joy of crafting and the satisfaction of creating something special for your home. You may also find Rainbow Autumn Leaf Suncatcher Garland useful.
Why You’ll Love This Project
Making a Rainbow Melted Crayon Leaf Garland is as satisfying as it is enjoyable. The project allows for a wide range of creativity and personalization, making it appealing to everyone. You’ll appreciate how inexpensive materials can transform into such a delightful decor item that encapsulates the spirit of fall.
This garland is versatile enough to brighten up various areas in your home, be it the dining table, porch, or an airy window. Plus, its rustic charm aligns beautifully with farmhouse aesthetics, making it a perfect addition to any fall decor theme. To see another creative option for autumn decorations, check out this autumn rainbow leaf suncatcher garland for inspiration.
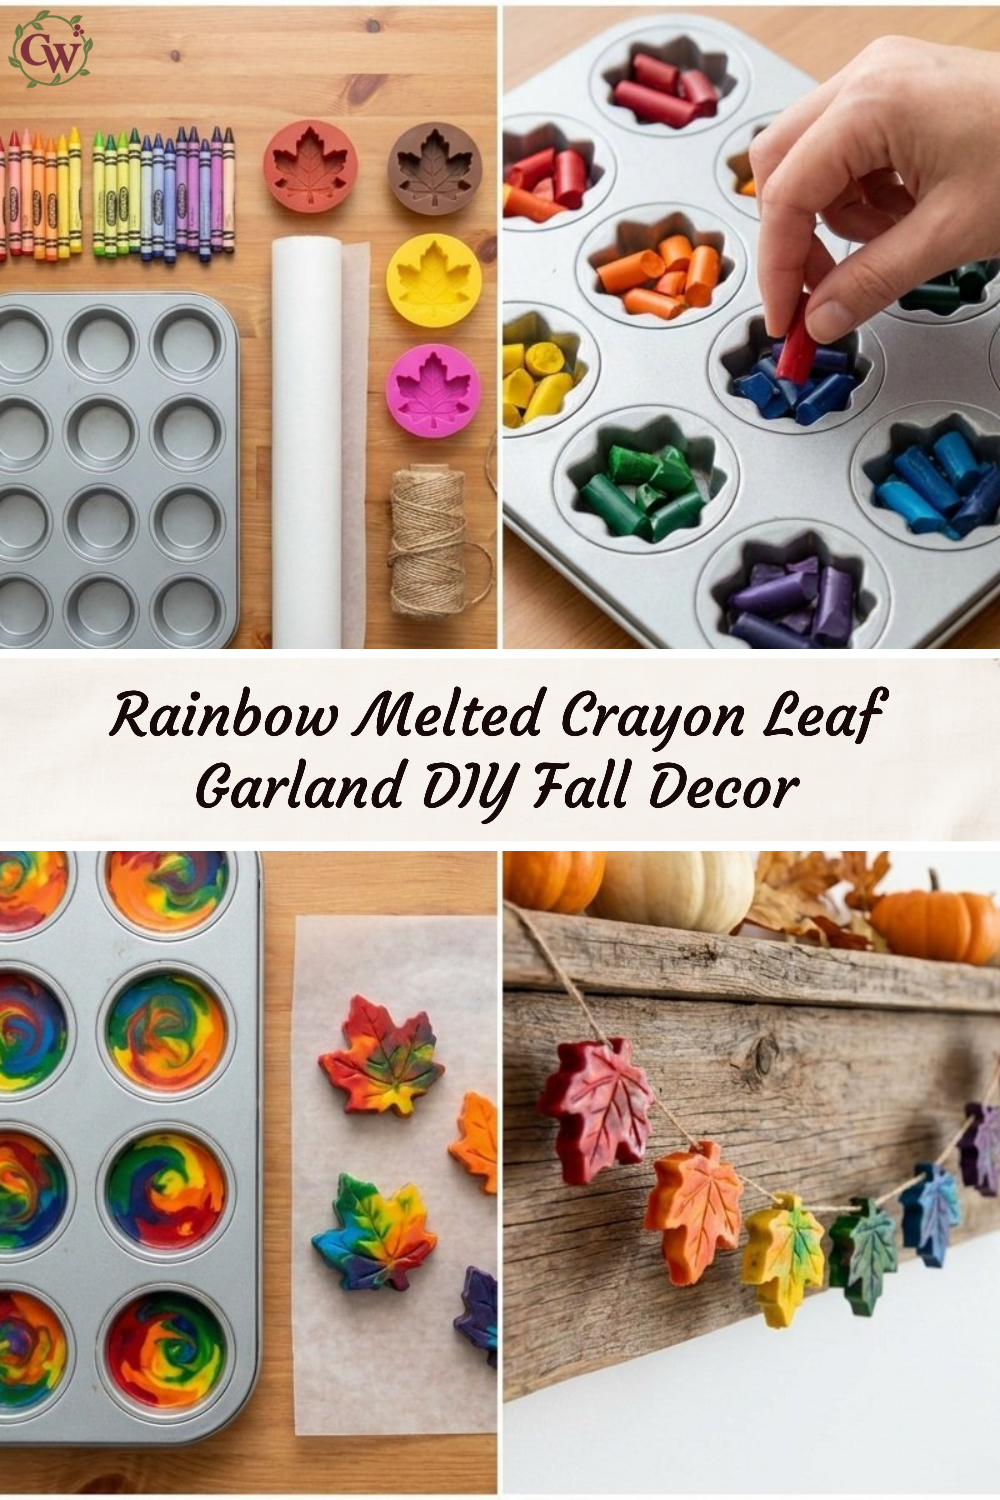
Before You Start
Before diving into your Rainbow Melted Crayon Leaf Garland, take a moment to envision what the finished product will look like. Ideally, you want a flowing garland rich in color, mimicking the vibrant hues of autumn leaves. The most attention should be given to the melting process; careful monitoring will ensure that the colors come through brilliantly without burning.
Make sure your workspace is prepared with newspaper or a disposable tablecloth to catch any drips. This way, cleanup will be a breeze, and you can focus solely on enjoying the process.
“A handmade touch makes every home feel warmer.”
Materials and Supplies
Materials and Supplies
- Crayons (autumn colors: reds, oranges, yellows)
- Wax paper
- Parchment paper
- Scissors
- Iron
- String or twine
- Plastic leaf cutouts (optional for shape)
- Hole puncher (if not using plastic leaves)
When choosing crayons, feel free to mix brands and types to create unique color combinations. The quality of the wax can affect the melted outcome, so try to stick with standard crayons for the best results.
How to Make Rainbow Melted Crayon Leaf Garland for Autumn Decor
Step 1: Prepare Your Crayons
Start by peeling the wrappers off your chosen crayons. This can be an enjoyable task, allowing children to help out. Once peeled, break the crayons into small pieces to maximize melting efficiency.
Step 2: Set Up the Wax Paper
Cut a large rectangle of wax paper roughly 12×18 inches will work well. For a more structured garland, you may want to use plastic leaf cutouts as a template. Layer the broken crayon pieces on one half of the wax paper, arranging them into a colorful pattern.
Step 3: Iron the Crayons
Once your crayons are arranged, carefully fold the other half of the wax paper over the crayons. Using a hot iron set to medium-low heat, gently press down on the wax paper. Keep the iron moving to avoid burning the wax, and in just a few moments, you’ll see the crayons melt and blend into beautiful, vibrant colors.
Step 4: Shape Your Leaves
After the crayon wax has fully melted, remove the wax paper from heat and let it cool for a few minutes. Once cooled, you can cut out leaf shapes if you used plain wax paper, or you can peel the leaves away if you used plastic. Be methodical so each piece retains its leaf shape.
Step 5: Assemble the Garland
Using a puncher, create holes at the top of each leaf shape. Thread your string or twine through these holes to create your garland. Space the leaves evenly or cluster them for a more whimsical effect, whatever suits your decorating style.
How to Style Your Finished Rainbow Melted Crayon Leaf Garland for Autumn Decor
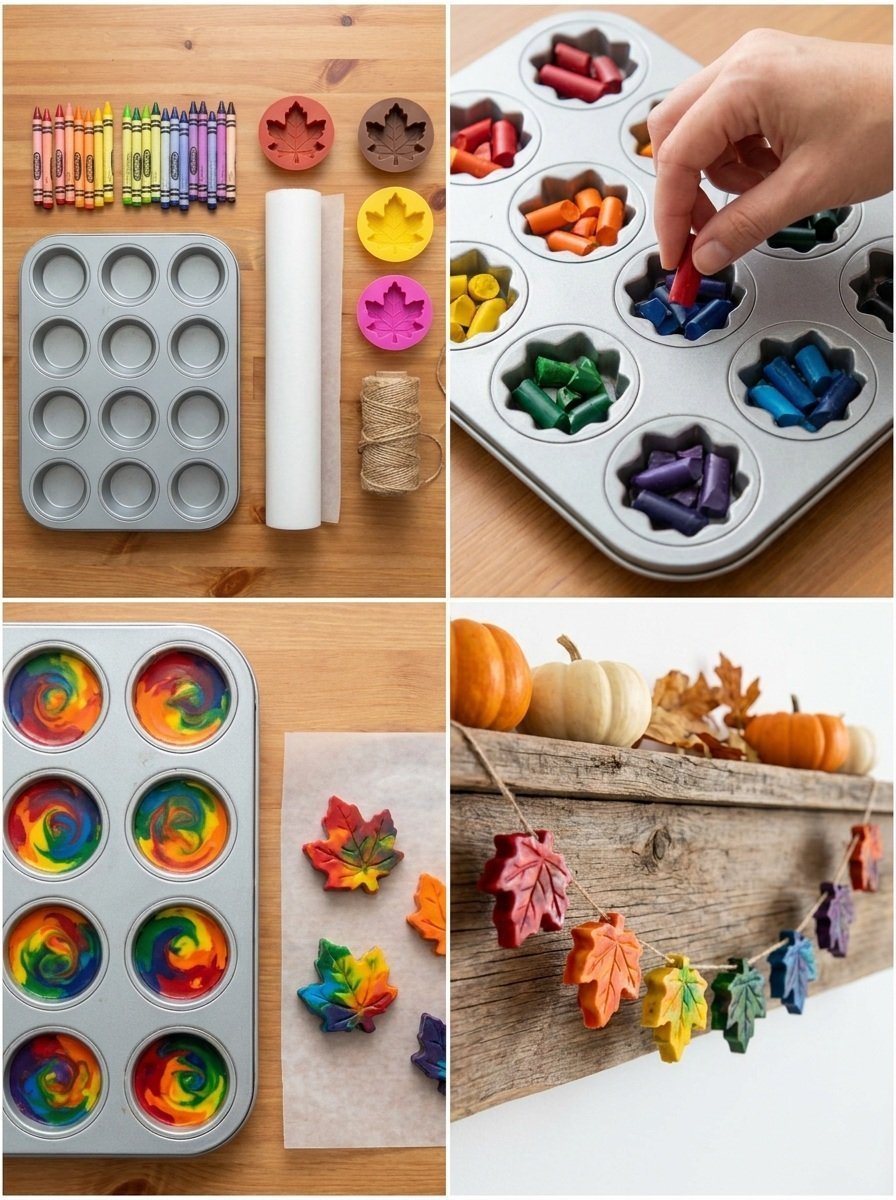
Once your Rainbow Melted Crayon Leaf Garland is complete, find spaces in your home to showcase this lovely decor. It’s perfect for draping over a mantel, hanging across a front door, or even framing a window. Pair it with soft autumn-themed decor like mini pumpkins or scented candles to create a cozy atmosphere.
Your garland can easily complement any number of styles. Consider pairing it with natural elements like pinecones or faux greenery to emphasize rustic charm. Remember, the goal is to create a warm, welcoming environment that reflects your personal touch.
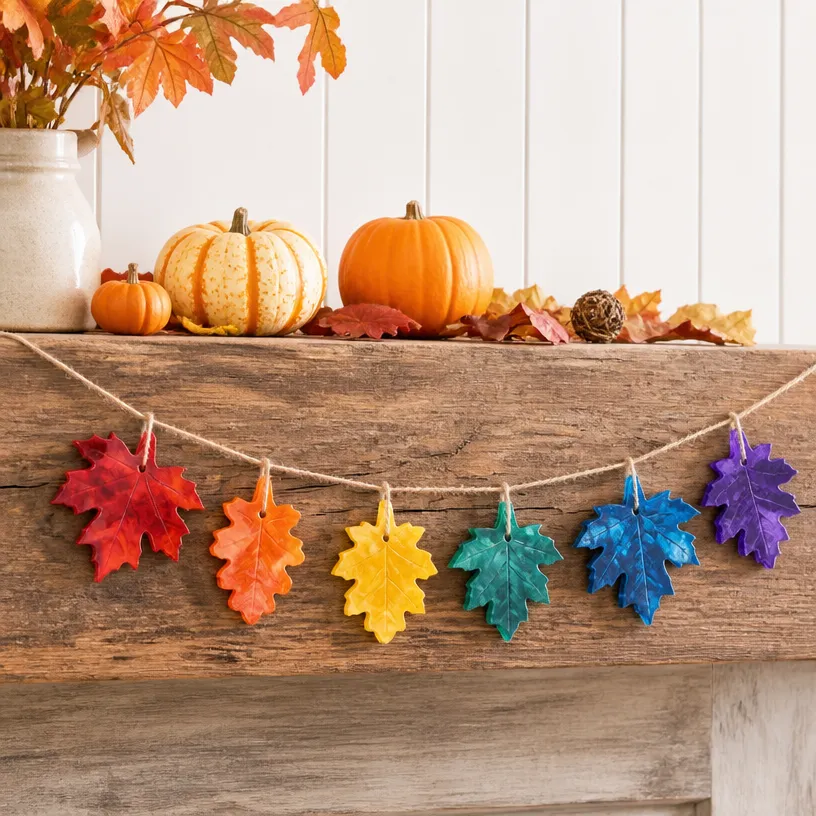
Maggie’s Tips for the Best Results
- Always dry-fit the pieces before committing to give yourself flexibility with placement.
- Work in layers; this will help maintain a cleaner look as you add new elements.
- Take your time when melting the crayons to avoid burning and maintain vibrant colors.
- Be generous with spacing when stringing the leaves for a more flowing look.
- Keep your workspace organized, as melted crayon wax can be messy!
- Test a small piece first to get the hang of melting before doing a larger batch.
Easy Ways to Customize This Project
This project allows for plenty of customization to fit your style. You can vary your color palette to fit more neutrals or even holiday-specific themes as autumn transitions into winter. Adding elements like ribbon, fabric flowers, or personalized beads could enhance its charm. Don’t hesitate to experiment with different types of greenery, such as eucalyptus or pine branches, to find what beautifully completes your garland.
Caring for Your Handmade Decor
To ensure your Rainbow Melted Crayon Leaf Garland remains vibrant and beautiful, store it out of direct sunlight. If any dust accumulates, gently wipe it away with a soft, dry cloth. If you decide to store it away for the next season, place it in a padded envelope or a safe box to protect your hard work.
FAQs About Rainbow Melted Crayon Leaf Garland for Autumn Decor
Can I use other materials instead of crayons?
You can try different wax materials, but crayons typically provide the best mix of color and meltability.
How long does it take for the melted crayon pieces to cool?
Let the melted pieces cool for about 10 minutes before handling.
Is this garland suitable for outdoor use?
If displaying outdoors, consider using weather-resistant materials or limiting exposure to moisture to maintain the garland’s integrity.
What are some alternative adhesives I can use?
While string works best for this project, hot glue or crafting glue could also be suitable for attaching extra elements.
A Handmade Touch for the Season
Creating your own Rainbow Melted Crayon Leaf Garland is more than just a fun craft; it’s a way to infuse your home with the spirit of autumn. As you engage in this project, you may find joy and satisfaction in every step, from melting the crayons to hanging the final product. Remember, handmade decor doesn’t need to be flawless to be full of meaning and charm.
Enjoy this season of change and create wonderful memories with each handcrafted piece. For an additional festive project, consider trying out a unique crayon craft such as this Halloween DIY: Rainbow Pumpkin Crayon Melt. Happy crafting!
Print
Rainbow Melted Crayon Leaf Garland for Autumn Decor
- Total Time: 25 minutes
- Makes: 1 garland
Description
A vibrant and creative autumn garland made from melted crayons shaped like leaves, perfect for seasonal decoration.
Materials
- Crayons (autumn colors: reds, oranges, yellows)
- Wax paper
- Parchment paper
- Scissors
- Iron
- String or twine
- Plastic leaf cutouts (optional for shape)
- Hole puncher (if not using plastic leaves)
Instructions
- Prepare your crayons by peeling the wrappers and breaking them into small pieces.
- Set up the wax paper by cutting a large rectangle and layering crayon pieces on one half.
- Iron the crayons by folding the other half of the wax paper over and pressing with a hot iron on medium-low heat.
- Shape your leaves after the crayon wax has melted and cooled.
- Assemble the garland by punching holes in the leaves and threading string or twine through.
Notes
Work in layers for a cleaner look and be cautious while melting crayons to maintain vibrant colors.