

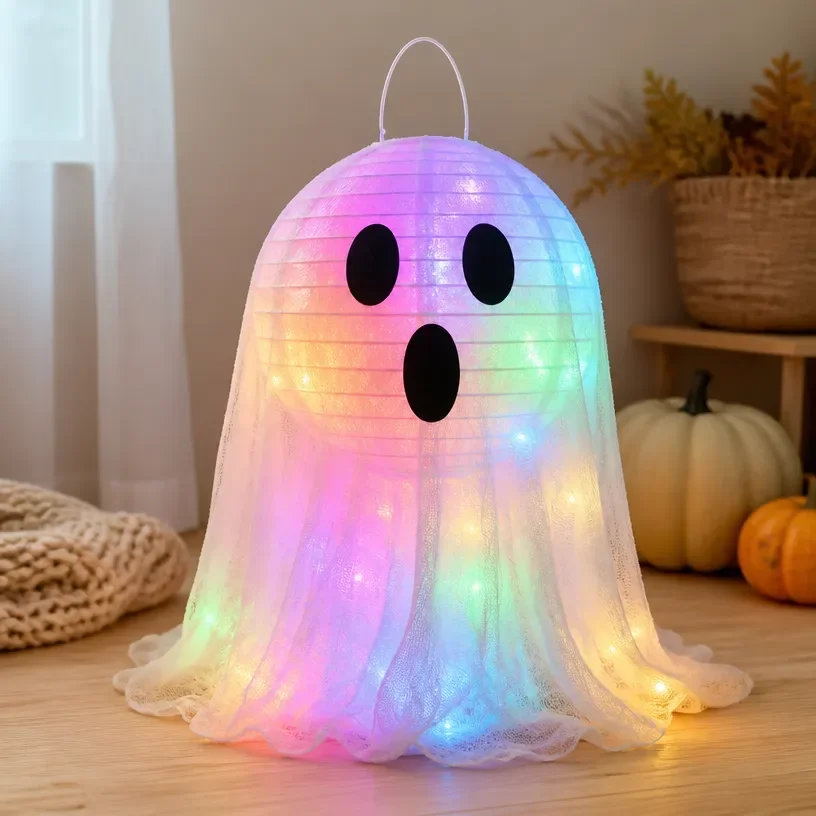
The Glowing Rainbow Ghost Lantern for Halloween Decor is a delightful project that brings a colorful twist to your seasonal decorations. This cheerful lantern will not only light up your home but also add a whimsical touch to your Halloween festivities. By combining some basic crafting items, you can create a glowing piece that’s perfect for your entryway, porch, or even as a centerpiece for your festive gatherings. The project is approachable for any home crafter looking to infuse a handmade touch into their holiday decor. You may also find Diy Rainbow Ghost Cupcake Liner Garland Halloween Decor useful.
The lantern shines brightly in any setting, making it a charming addition to your Halloween decor. Its glowing effect will capture the attention of your guests and create a warm, inviting atmosphere. You can easily customize the colors and styles to match your personal taste or the overall theme of your decor. You may also find Halloween Rainbow Panda Ghost Wreath Spooky Cute Decor useful.
Why You’ll Love This Project
Creating your own Glowing Rainbow Ghost Lantern allows you to explore your creativity while making something that adds character to your home. The construction is straightforward, and the materials are mostly inexpensive or reusable. You’ll love how this project fits seamlessly into the autumn season, making it versatile enough to use as a holiday craft for years to come. You may also find Rainbow Stained Glass Ghost Window Garland Halloween Decor useful.
This lantern can beautifully decorate areas such as your mantel, table, or front door, welcoming guests with its charming glow. It also reflects farmhouse character and allows for customization, letting you make adjustments such as color variations to suit your personal style or seasonal themes.
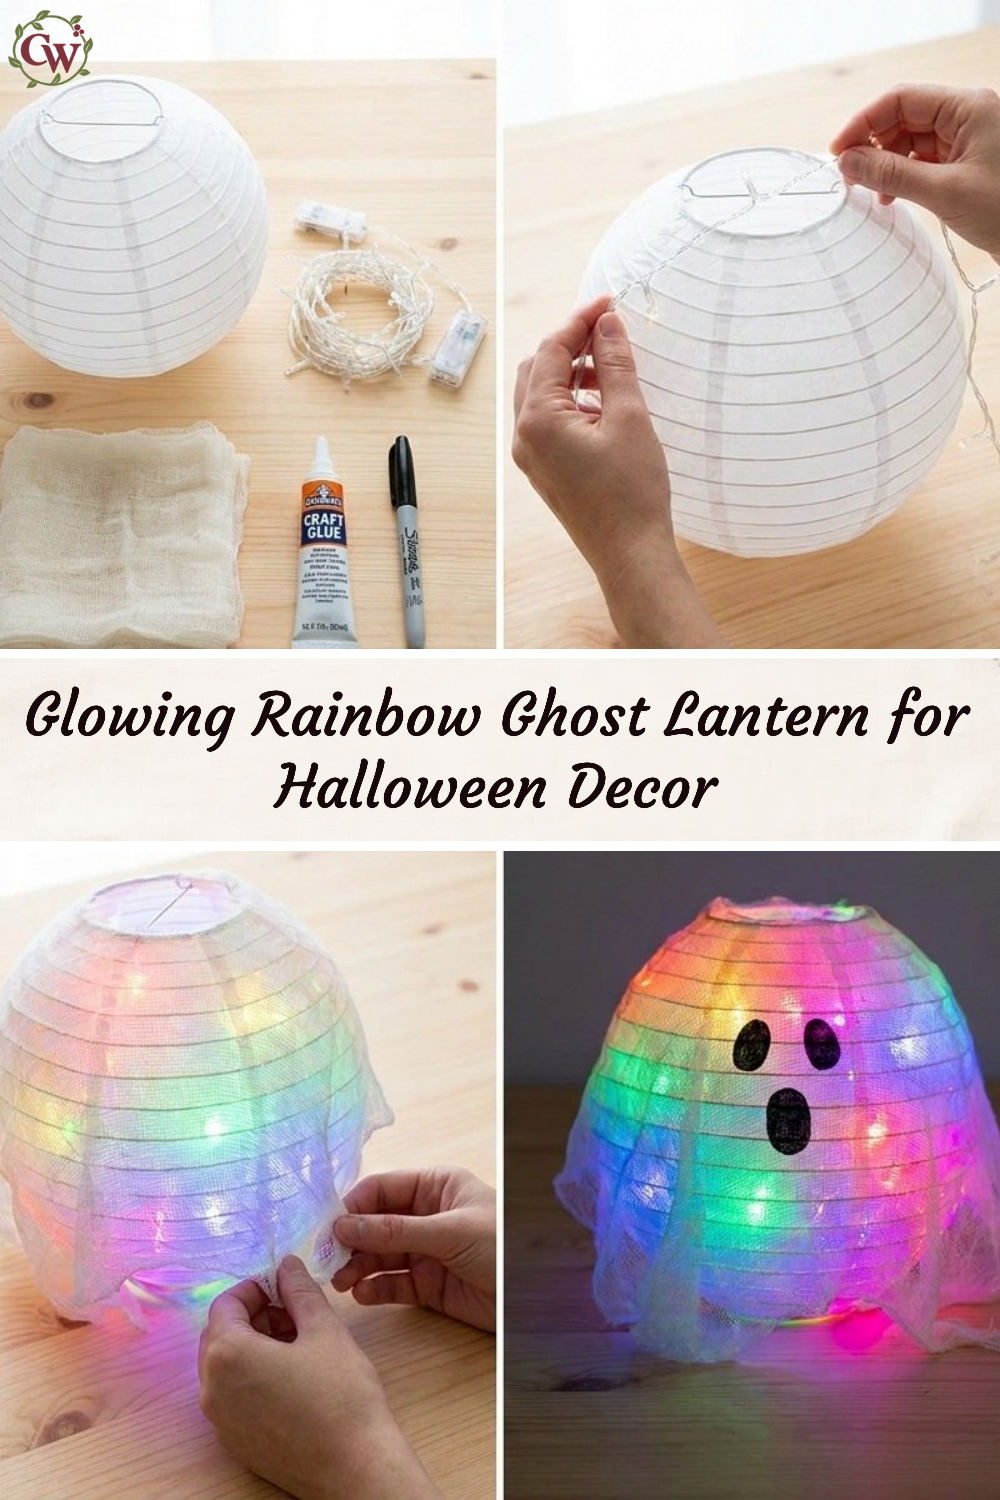
Before You Start
Before diving into this project, imagine your finished lantern glowing softly in the dark. The most important part is ensuring that your colors blend beautifully to create that sought-after rainbow effect. Setting up a clean workspace will make the assembly easier, so gather your supplies and prepare a well-lit area to work in.
“A handmade touch makes every home feel warmer.”
Materials and Supplies
Materials and Supplies
- Clear glass or plastic lantern
- Rainbow-colored tissue paper
- LED tealight candles
- Mod Podge or white school glue
- Paintbrush
- Scissors
- Wire for hanging (optional)
Make sure to choose a lantern that suits your style as this will be the foundation of your decoration. The rainbow-colored tissue paper is essential for creating that vibrant look and can easily be customized based on your color preferences. Using LED candles is a must for safety, as they remove the risk associated with open flames.
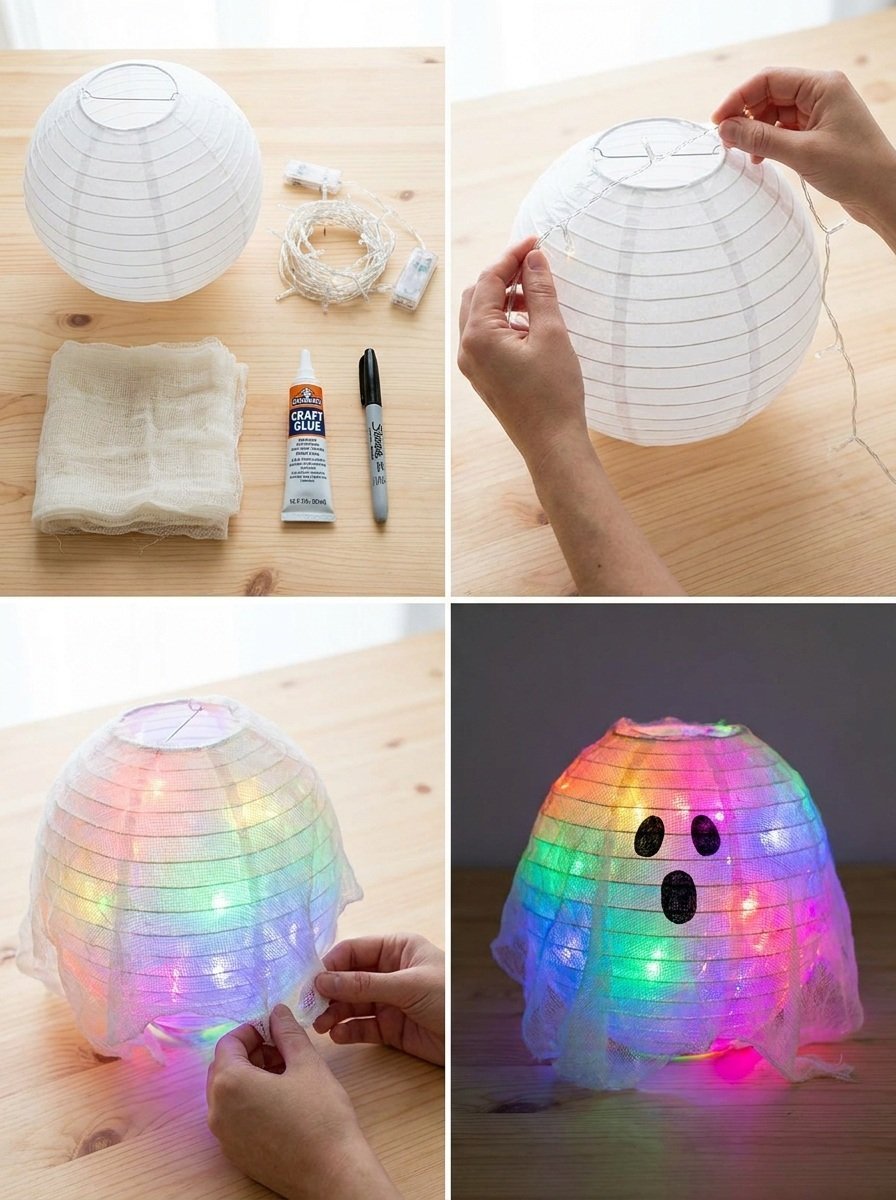
How to Make Glowing Rainbow Ghost Lantern for Halloween Decor
Step 1: Prepare the Lantern
Start by thoroughly cleaning your lantern to ensure that there’s no dust or fingerprints. If you are painting it, make sure it’s dry and ready to accept your colorful decor.
Step 2: Cut the Tissue Paper
Cut the rainbow tissue paper into various size strips or shapes. You can make them different lengths to create a playful, uneven edge that mimics the ghostly look.
Step 3: Apply Glue
Using your paintbrush, apply Mod Podge or glue onto the lantern’s surface where you plan to attach the tissue paper. Work in small sections to prevent the glue from drying out before you place your paper.
Step 4: Attach the Tissue Paper
Gently place the prepared tissue paper onto the glued areas, making sure to smooth them out with your fingers. Overlap the colors to create a seamless transition from one hue to the next, further enhancing the rainbow effect.
Step 5: Seal the Lantern
Once all the tissue paper is securely attached, use another coat of Mod Podge or glue over the top of the paper to seal it. This will help ensure durability and enhance the glowing effect once the lantern is lit.
Step 6: Insert the Tealight
Finally, place an LED tealight candle at the bottom of your lantern. Turn it on to see it glow through the colorful paper, creating a delightful illumination for your Halloween decor.
How to Style Your Finished Glowing Rainbow Ghost Lantern for Halloween Decor
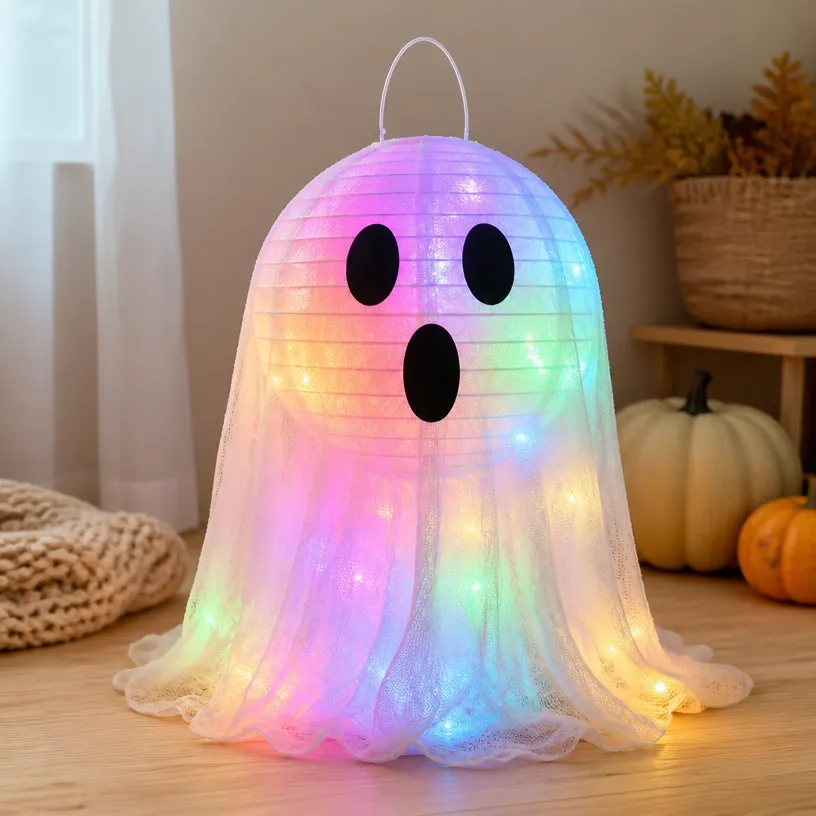
Your finished Glowing Rainbow Ghost Lantern will shine beautifully whether placed on your front porch, dining table, or mantel. Imagine it alongside a collection of mini pumpkins or autumn leaves for a more cohesive seasonal display. Pair it with other handmade decorations, such as a spooky wreath for your front door or a matching centerpiece to create a warm, welcoming space.
Maggie’s Tips for the Best Results
- Dry-Fit Pieces: Always dry-fit your tissue paper shapes on the lantern before gluing them down to see how they look.
- Work in Layers: Apply tissue paper in layers to ensure a vibrant, cohesive finish.
- Let It Dry: Allow each layer of glue and paper to dry before proceeding to avoid any accidental smudging.
- Test Placement: Place the lantern in different spots in your home to discover where it shines best.
Easy Ways to Customize This Project
Looking to personalize your lantern further? You might consider using different shades for your tissue paper, such as pastel tones for a softer look or bold colors for a more dramatic effect. Adding decorative elements like glitter or small stickers can also give it your unique touch. Ribbons can be attached to the top for extra flair, and incorporating seasonal elements such as leaves can enhance its charm.
How to Store Your Lantern
To keep your Glowing Rainbow Ghost Lantern in great shape, store it in a cool, dry place away from direct sunlight when the season is over. If you used Mod Podge, avoid stacking other items on top of the lantern to preserve the integrity of the tissue paper.
FAQs About Glowing Rainbow Ghost Lantern for Halloween Decor
Can I use real candles instead of LED?
It’s safer to use LED candles, especially if you plan to display the lantern indoors or in a confined space.
What if I can’t find rainbow tissue paper?
If you can’t find rainbow tissue paper, you can always use plain white paper and paint it with vibrant colors or markers for a DIY approach.
How do I clean the lantern after use?
Simply wipe it down with a soft cloth. If the paper is well sealed, it should hold up against dust and light cleaning.
Can I make this project with children?
Yes! This is a fun project for kids, especially with supervision when using scissors and glue.
A Handmade Touch for the Season
Creating your own Glowing Rainbow Ghost Lantern is a wonderful way to bring a handmade touch to your Halloween festivities. This project embodies warmth and creativity, reminding us that it is the individual touches we add to our homes that make them truly special. Remember, the most meaningful decorations are those that reflect our style and creativity, imperfections included.
Conclusion
This Halloween season, why not explore additional decorative ideas, such as incorporating colorful ghostly accents in your decor? One great suggestion to consider is the Omexry Prismatic Ghost Halloween Decor, which can perfectly complement your handmade lantern. Enjoy the process of crafting and decorating, and let your creativity shine!
Print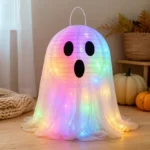
Glowing Rainbow Ghost Lantern for Halloween Decor
- Total Time: 30 minutes
- Makes: 1 lantern
Description
Create a whimsical Glowing Rainbow Ghost Lantern to brighten up your Halloween festivities with a colorful and magical touch.
Materials
- Clear glass or plastic lantern
- Rainbow-colored tissue paper
- LED tealight candles
- Mod Podge or white school glue
- Paintbrush
- Scissors
- Wire for hanging (optional)
Instructions
- Prepare the lantern by cleaning it thoroughly.
- Cut the rainbow tissue paper into strips or shapes.
- Apply glue onto the lantern’s surface where you will attach the tissue paper.
- Attach the tissue paper, smoothing it out and overlapping colors.
- Seal the lantern with another coat of glue over the paper.
- Insert an LED tealight candle at the bottom of the lantern.
Notes
For best results, use LED candles for safety. Customize with different tissue paper shades or decorative elements for a personal touch.