

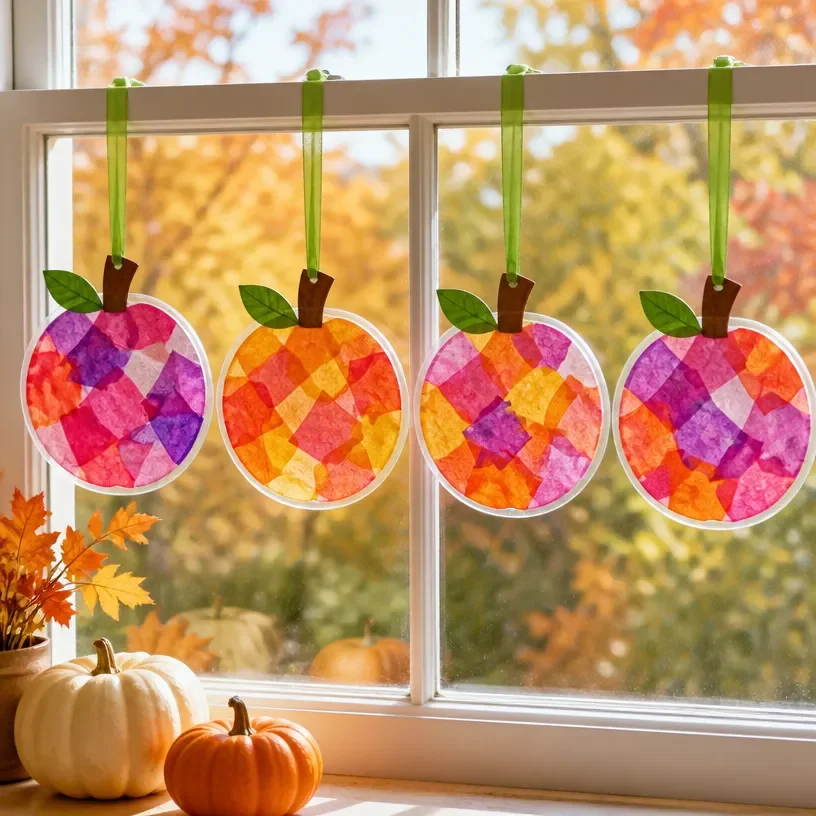
Crafting is a wonderful way to welcome the autumn season into your home. One delightful project to consider is creating Autumn Window Suncatchers Featuring a Colorful Pumpkin Theme. These vibrant decorations not only brighten up your windows but also add a warm and festive touch to your space during this cozy time of year. Plus, this project is approachable for crafters of all skill levels, making it a perfect family activity. You may also find Vibrant Autumn Pumpkin Suncatchers Diy Fall Decor useful.
These suncatchers can be displayed throughout your home, whether in the kitchen, living room, or entryway. The colorful pumpkins will catch the sunlight, bringing cheer and charm to your space. They’re an excellent way to engage in some fall crafting while creating a festive atmosphere. You may also find Diy Butterfly Crystal Window Decor useful.
Why You’ll Love This Project
Creating suncatchers is a wonderfully rewarding project because it combines creativity with simplicity. The materials used are often inexpensive and can be found around your home or at a local craft store. You’ll appreciate the versatility these suncatchers offer, as they can be customized in endless ways to fit your specific autumn aesthetic or farmhouse decor theme. Plus, making these suncatchers is a fantastic way to celebrate the season, and they can easily be hung in various locations around your home, whether in windows or around doors. You may also find Diy Colorful Ghost Garland Coffee Filters useful.
Before You Start
Before diving into this delightful project, it’s helpful to visualize the type of suncatcher you want to create. The finished pieces will embody the warmth and rustic charm of autumn, featuring vibrant colors and playful pumpkin designs. Take your time with the painting and layering sections to achieve the best results.
Make sure to have your workspace set up appropriately. Lay down some newspaper or a plastic sheet for easy cleanup. Gathering all your materials beforehand will streamline the crafting process, ensuring you can fully focus on your creativity.
“A handmade touch makes every home feel warmer.”
Materials and Supplies
Materials and Supplies
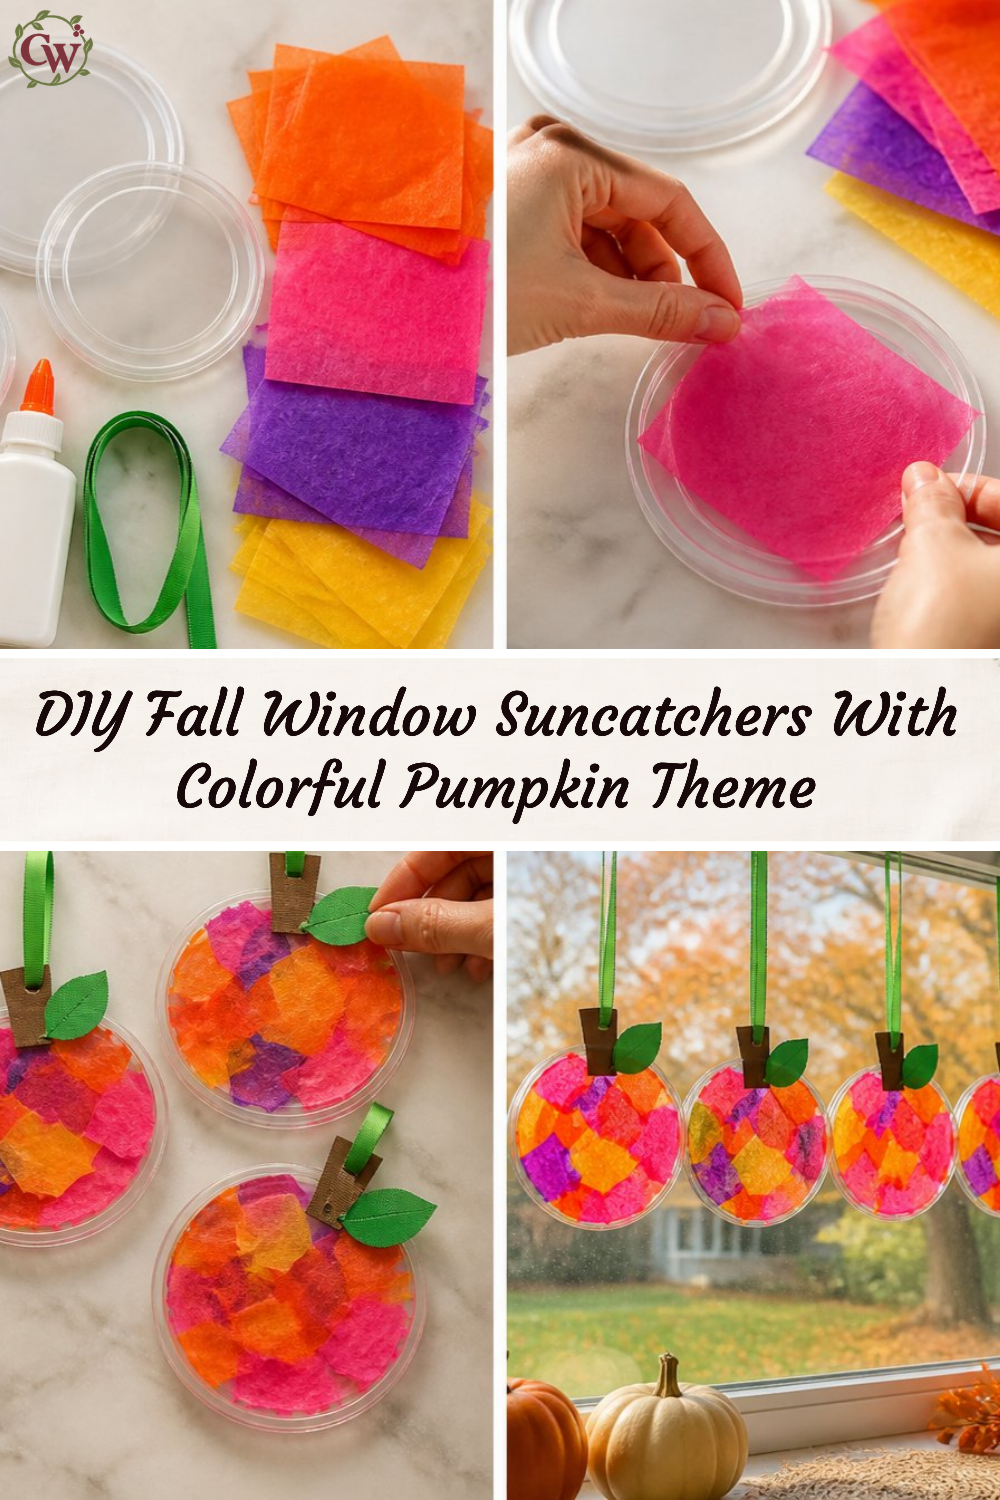
To create your autumn window suncatchers, you’ll need the following materials:
- Transparent plastic sheets or window film
- Acrylic paints in vibrant autumn colors (orange, yellow, green, and brown)
- Paintbrushes
- Scissors
- Black marker or paint
- String or thin twine for hanging
- A cutting mat (for easy cutting of plastic sheets)
- Optional: glitter or sequins for added sparkle
When choosing your paints, acrylics are a great option due to their coverage and vibrant colors. If you want to add depth or interest, consider using glitter or sequins to enhance your design.
How to Make Autumn Window Suncatchers Featuring a Colorful Pumpkin Theme
Step 1: Prepare Your Design
Start by sketching the shapes and patterns you would like to create on your plastic sheets. Consider silhouettes of pumpkins, leaves, or even a harvest scene that reflects that autumn spirit. Using a black marker, draw these outlines, keeping them bold and clear so they can stand out when colored.
Step 2: Paint Your Suncatchers
Next, begin painting within the outlines you’ve drawn. Use vibrant colors to fill in the shapes, allowing each layer to dry before adding additional details. This layering technique gives your suncatchers depth and enhances their beauty. If you want to achieve a more textured look, consider using a stippling technique with your brush.
Step 3: Cut Out Your Designs
Once your painted suncatchers are completely dry, carefully cut out the shapes using scissors. Take your time to ensure clean edges, as this will make a significant difference in the final appearance of your decorations.
Step 4: Adding the String
With your shapes cut out, it’s time to add string for hanging. Simply punch a small hole at the top of each suncatcher and thread a piece of string or twine through it. Tie a knot to secure it in place. Make sure the string is long enough for the desired hanging height.
Step 5: Display Your Finished Pieces
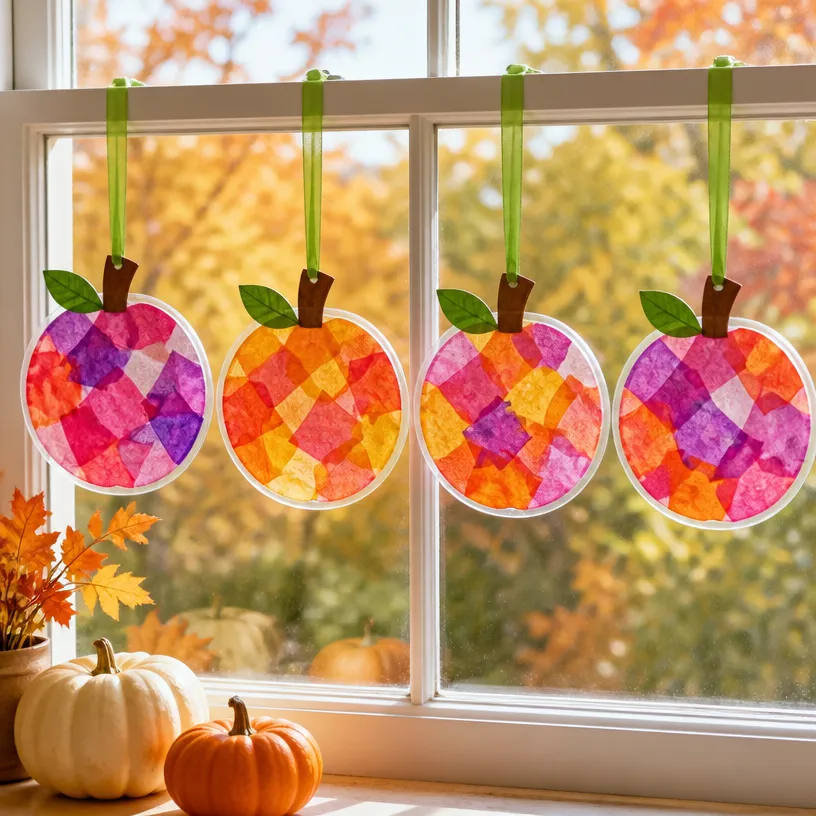
Hang your completed autumn window suncatchers in various locations around your home where they can receive plenty of sunlight. The morning light filtering through will illuminate your pumpkins beautifully, creating a wonderful seasonal ambiance.
How to Style Your Finished Autumn Window Suncatchers Featuring a Colorful Pumpkin Theme
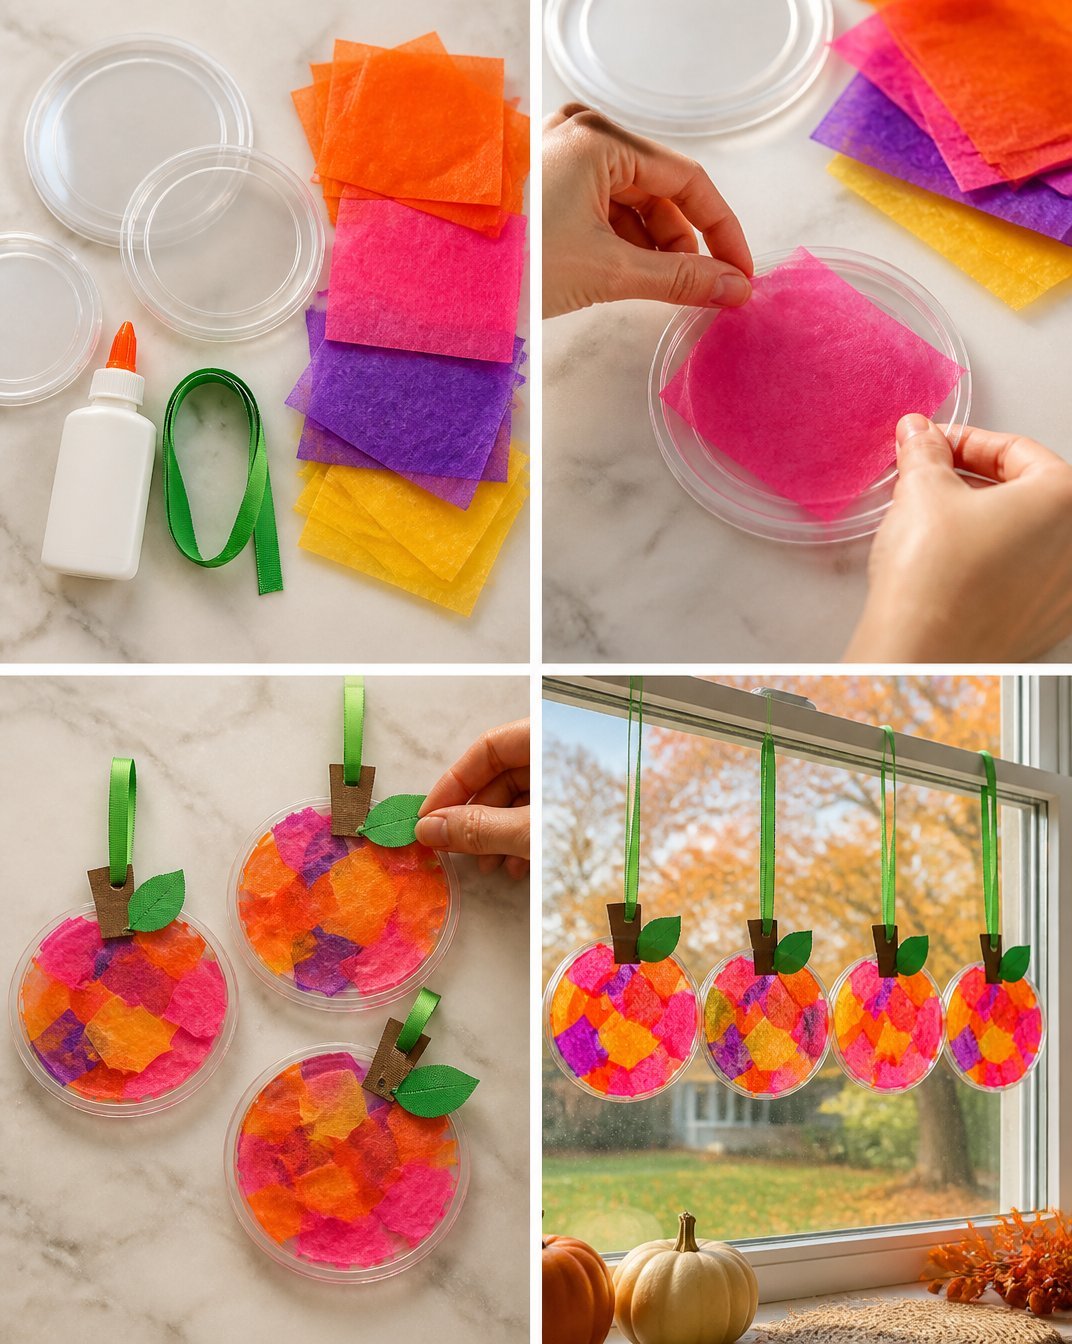
Your finished suncatchers are perfect for various spots in your home. Consider placing them in kitchen windows, where they can brighten your morning coffee routine. They also look lovely adorning entryways or hanging in front of porches. To enhance the autumn feel further, surround your suncatchers with complementary decor like small gourds, autumn leaves, or woven baskets.
Keep the overall look welcoming and uncluttered, allowing each handmade piece to shine.
Maggie’s Tips for the Best Results
- Dry-fit your shapes: Before fully assembling, lay out the pieces to see how they will look together.
- Layer your colors: Let each layer of paint dry before adding the next for the best visual texture.
- Work carefully when cutting: Take your time to ensure clean edges that will look great in any light.
- Balance embellishments: If you choose to add glitter or sequins, do so sparingly to maintain the focus on your painted designs.
- Test placements: Before tying everything together, hang your pieces temporarily to check their positioning.
Easy Ways to Customize This Project
Make your suncatchers uniquely yours! You could customize your pumpkin designs with different color schemes like pastels for a contemporary look or traditional colors for a classic feel. Adding metallic accents or letters to spell “Harvest” or “Welcome” can enhance their charm. Consider experimenting with more shape designs, such as acorns or maple leaves, to fit varied fall themes.
How to Care for Your Handmade Decor
To keep your suncatchers looking their best, be mindful of dust and moisture. Wipe them down gently with a soft cloth when needed. Avoid placing them in direct sunlight for prolonged periods, as this can fade the colors over time. If storing for the off-season, keep them flat and protect them from crushing or bending.
FAQs About Autumn Window Suncatchers Featuring a Colorful Pumpkin Theme
Can I use other shapes besides pumpkins for my suncatchers?
Absolutely! Feel free to explore other fall symbols such as leaves or acorns.
How do I attach the suncatchers to my window?
You can use suction cups, tape, or simply let them hang freely if you choose a window shelf.
What is the drying time for the paint used in this project?
Generally, acrylic paint dries quickly within 20 to 30 minutes, but ensure each layer is fully dry before applying another.
Can these suncatchers be used outside?
Yes, but be cautious as the elements could affect their durability. It’s best to hang them in sheltered areas.
What if I don’t have transparent plastic sheets?
You can also use wax paper or any similar material that allows light to shine through.
A Handmade Touch for the Season
Making Autumn Window Suncatchers Featuring a Colorful Pumpkin Theme is not just a fun project; it’s a heartfelt way to embrace the beauty of fall. This crafting experience will enhance your space while creating lasting memories with family and friends. Each suncatcher tells a story of creativity and warmth, making your home feel inviting and personal.
To find additional craft supplies, consider exploring options like the Winlyn Pumpkin Suncatchers DIY Window Paint Art for inspiration. Enjoy every moment of your crafting journey!
Print
Autumn Window Suncatchers Featuring a Colorful Pumpkin Theme
- Total Time: 15 minutes
- Makes: Multiple suncatchers
Description
Create vibrant pumpkin-themed suncatchers to celebrate the autumn season and brighten your home.
Materials
- Transparent plastic sheets or window film
- Acrylic paints in vibrant autumn colors (orange, yellow, green, brown)
- Paintbrushes
- Scissors
- Black marker or paint
- String or thin twine for hanging
- A cutting mat (for easy cutting of plastic sheets)
- Optional: glitter or sequins for added sparkle
Instructions
- Prepare your design by sketching shapes on plastic sheets.
- Paint your suncatchers using vibrant colors within the outlines.
- Cut out your designs carefully with scissors once dry.
- Adding the string for hanging by punching a small hole at the top.
- Display your finished pieces in bright sunlight for a cheerful ambiance.
Notes
Customize your suncatchers with different color schemes or shapes like leaves and acorns for variety. Be mindful of direct sunlight to prevent fading.