


DIY Glass Bead Suncatchers: Easy Window Decor Tutorial You may also find Diy Butterfly Crystal Window Decor useful.
Creating beautiful DIY glass bead suncatchers is an appealing way to brighten up your home, transforming ordinary windows into a colorful spectacle. These charming pieces catch sunlight, casting vibrant rainbows and colorful shapes onto your walls, bringing warmth and happiness to any room. Whether you hang them in your kitchen, living room, or even on the porch, they add a delightful touch, especially during the warmer months. You may also find Rainbow Stained Glass Ghost Window Garland Halloween Decor useful.
This project is approachable for crafters at any skill level and requires minimal supplies. It encourages creativity as you can customize your suncatchers according to your favorite colors and styles. Plus, it’s a wonderful opportunity to involve the family in a fun craft activity that can be enjoyed together.
Why You’ll Love This Project
The appeal of DIY glass bead suncatchers lies in their playful yet elegant design. They are easy to assemble, making them perfect for a delightful afternoon craft session. The materials are often budget-friendly, and you can typically find most of them around your home or at your local craft store. This suncatcher project is versatile enough for seasonal decorating, whether you want cheerful colors for spring or earthy tones for autumn.
The charm of these suncatchers also shines in the personalization aspect, allowing you to create a unique piece that reflects your personal style. These can beautifully dress up your windows, and they also act as thoughtful, handmade gifts for friends or family. If you’re looking for more seasonal decorations, consider checking out the DIY stained glass rainbow window decor for inspiration.

Before You Start
Before diving into this project, it’s good to have a clear vision of what your finished suncatcher will look like. Typically, you want it to be colorful and vibrant, capturing the sunlight effectively. The most important part of this project is arranging the glass beads creatively before securing them, ensuring a design that you’ll love.
Preparation is key! Make sure you have a designated crafting area that’s clean and free of clutter. As you’ll be working with small beads and possibly messy adhesive materials, a well-arranged workspace will help everything flow smoothly.
“A handmade touch makes every home feel warmer.”
Materials and Supplies
Materials and Supplies
To make your DIY glass bead suncatchers, gather the following materials:
- Glass beads in various colors
- Clear fishing line or nylon thread
- A metal or wooden hoop (your choice of size)
- Scissors
- A hot glue gun
- Optional: decorative ribbon for hanging
When choosing your glass beads, consider their colors and sizes to create the desired effect. The transparency of clear beads can also help to enhance the light reflection, adding to the beauty of your suncatcher.
How to Make DIY Glass Bead Suncatchers: Easy Window Decor Tutorial
Step 1: Prepare Your Materials
Start by sorting your glass beads into colors and sizes to visualize your design better. This will make assembly more straightforward and help you choose the right combination.
Step 2: Cut Your Fishing Line
Measure and cut a length of fishing line or nylon thread that is long enough to allow you to create loops with each bead. Aim for about 30 inches to start, adjusting as needed for your pattern.
Step 3: Thread Your Beads
Begin threading the glass beads onto the fishing line, alternating colors and sizes as you prefer. Leave some space at both ends of the line for tying.
Step 4: Secure the Beads
Once you’re satisfied with your arrangement, tie a knot at the bottom of the line to secure the beads in place. Add a drop of hot glue to each knot for extra security.
Step 5: Attach to the Hoop
Take your wired or wooden hoop and begin attaching the finished beaded lines to it. Use small pieces of fishing line to tie each section securely to the hoop.
Step 6: Hang and Display
Once all your beads are attached, check for even spacing and ensure everything is secure. If desired, use a decorative ribbon to hang your suncatcher from the top of the hoop. Your beautiful glass bead suncatchers are now ready to be displayed in your window.
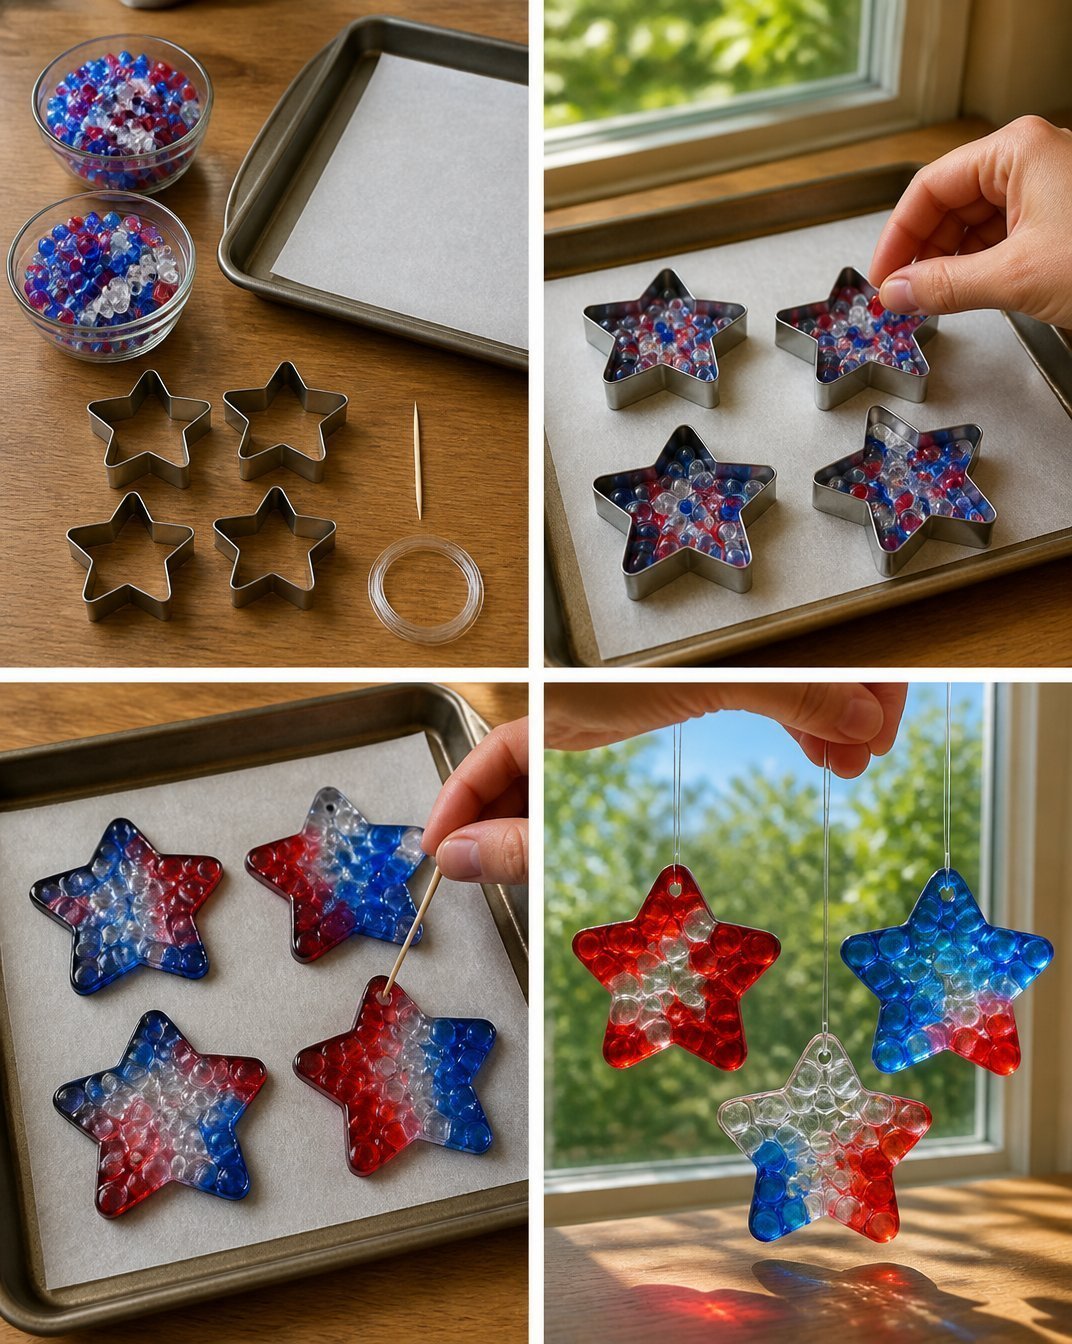
How to Style Your Finished DIY Glass Bead Suncatchers: Easy Window Decor Tutorial
Your finished suncatchers can be hung in various locations around your home. Consider placing them in bright, sunny windows, where they can catch the light beautifully. Hang them in your kitchen or dining room for everyday charm, or add them to your porch to create a welcoming atmosphere for guests.
Complement your suncatchers with similar colors in other decor pieces, such as table centerpieces or cushions. A carefully styled space will create a warm, inviting feel that resonates with the handmade touch philosophy.
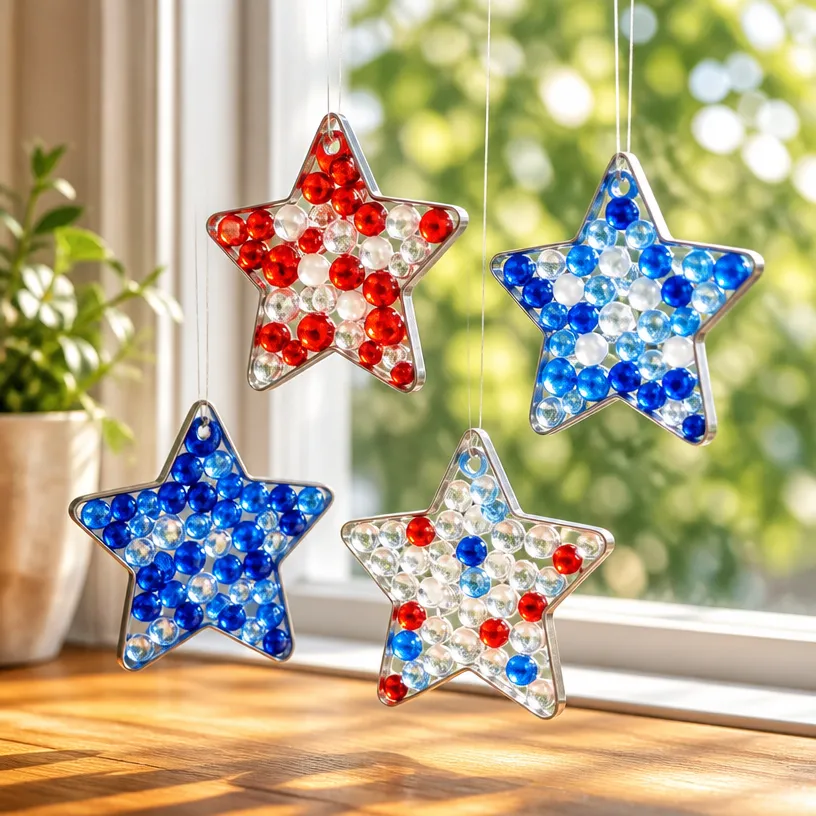
Maggie’s Tips for the Best Results
- Dry-fit your beads on the fishing line before securing them to see how they look together.
- Consider working in layers, creating sections of beads to ensure balance.
- Allow sufficient drying time for the glue to set properly.
- Try to keep the spacing between beads consistent for a professional look.
- Don’t be afraid to experiment with different bead shapes and sizes for varied textures.
Easy Ways to Customize This Project
You can easily customize your glass bead suncatchers to match seasonal themes or personal preferences. For instance:
- Opt for warm autumn colors like deep reds and oranges for a cozy fall look.
- Use pastel colors in spring for a refreshing touch.
- Incorporate themed beads or charms that reflect holidays or special occasions.
Explore your creativity, and allow your home decor style to shine through each unique piece.
Caring for Your Handmade Decor
To keep your suncatchers looking fresh and vibrant, gently clean them with a soft, damp cloth. Avoid heavy cleaners that might scratch or dull the glass beads and ensure they’re hung away from direct heat sources to prevent warping of any thread.
If you plan to keep your suncatchers for several seasons, store them in a cool, dry place away from direct sunlight to maintain their color and clarity.
FAQs About DIY Glass Bead Suncatchers: Easy Window Decor Tutorial
Can I use other types of beads?
Yes, you can substitute glass beads with acrylic or wooden beads, but the light-catching effect will differ.
What if I want to create a larger suncatcher?
You can use a larger hoop and increase the length of fishing line for additional beads, just be sure to maintain a secure attachment.
Can these be displayed outdoors?
If displayed outdoors, ensure your materials are weather-resistant, as moisture and sunlight can affect their longevity.
How do I change the color scheme?
Simply switch out the beads for different colors and patterns according to the season or your decor.
Conclusion
Creating DIY glass bead suncatchers transforms bright-colored beads into beautiful displays that invoke joy and warmth in your home. This project not only allows for personalization but also enhances your living space with a touch of handmade charm. If you’re inspired to further explore crafting options, consider browsing through a Glass Bead Suncatcher Kit to enrich your future projects. Remember, your home should reflect your personality and creativity, and handmade decor can achieve that beautifully.
Print
DIY Glass Bead Suncatchers
- Total Time: 15 minutes
- Makes: 1 suncatcher
Description
Create beautiful DIY glass bead suncatchers to brighten your home and transform your windows into colorful spectacles.
Materials
- Glass beads in various colors
- Clear fishing line or nylon thread
- A metal or wooden hoop (your choice of size)
- Scissors
- A hot glue gun
- Optional: decorative ribbon for hanging
Instructions
- Prepare your materials by sorting glass beads into colors and sizes.
- Cut a length of fishing line or nylon thread about 30 inches long.
- Thread the beads onto the line, alternating colors and sizes.
- Secure the beads by tying a knot at the bottom and adding a drop of glue.
- Attach the beaded lines to the hoop using small pieces of fishing line.
- Hang your suncatcher from the hoop and display it in a sunny window.
Notes
Consider experimenting with different bead shapes and sizes for varied textures. Gently clean suncatchers with a soft, damp cloth to keep them vibrant.