

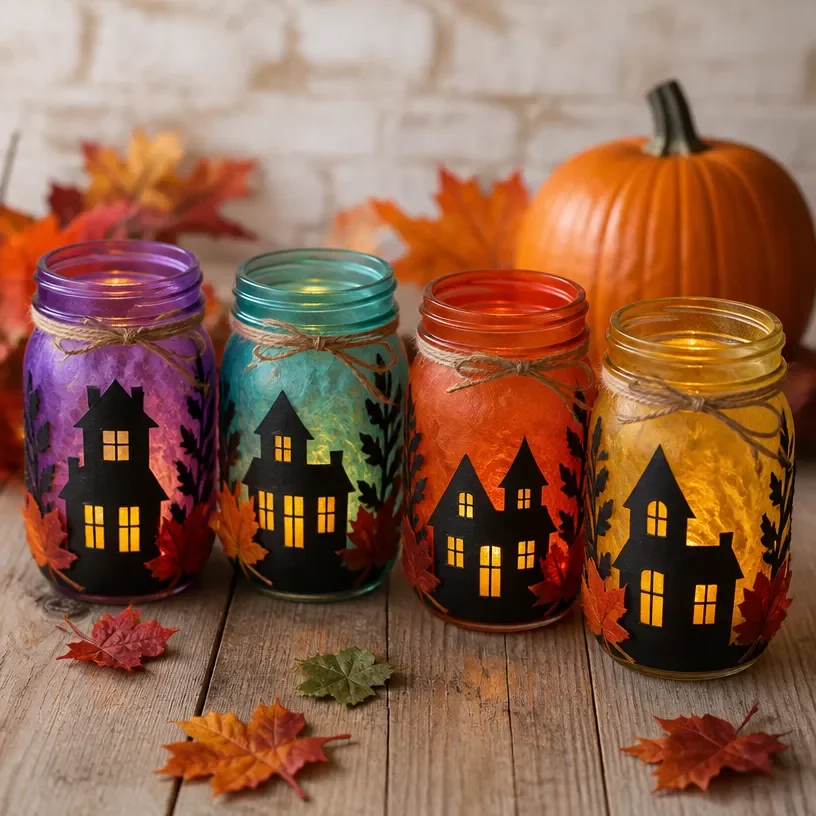
DIY Haunted Rainbow Village Mason Jar Lanterns for Halloween Decor You may also find Rainbow Butterfly Fall Leaf Mobile Diy Autumn Decor useful.
Creating warm and inviting decorations for your home during Halloween can be a fun and rewarding experience. One wonderfully colorful and imaginative project to try is making DIY Haunted Rainbow Village Mason Jar Lanterns. These lanterns not only bring a whimsical and festive touch to your Halloween decor but are also surprisingly easy to make. They can serve as delightful additions to your porch, dining table, or any spooky corner in your home, casting a warm glow with their enchanting colors. You may also find Witch Hat Diy Halloween Collage Craft For Kids useful.
This approachable craft inspires a sense of creativity, allowing crafters to express their personal style while using readily available materials. If you’ve enjoyed previous projects like the Rainbow Fall Leaf Mason Jar Luminary, then this Halloween-themed project will surely be another favorite.
Why You’ll Love This Project
The DIY Haunted Rainbow Village Mason Jar Lanterns are not just visually compelling; they embody a charming blend of rustic farmhouse decor with vibrant colors that celebrate the spirit of Halloween. The project requires minimal materials, often found around your home, making it quite budget-friendly. The versatility of these lanterns allows you to customize the colors and designs, creating a unique atmosphere that can be enjoyed throughout the season.
They’re perfect for illumination on a chilly autumn evening or as part of a larger festive display, bringing a cozy feel to your space. Plus, they can easily be stored and reused each year.
Before You Start
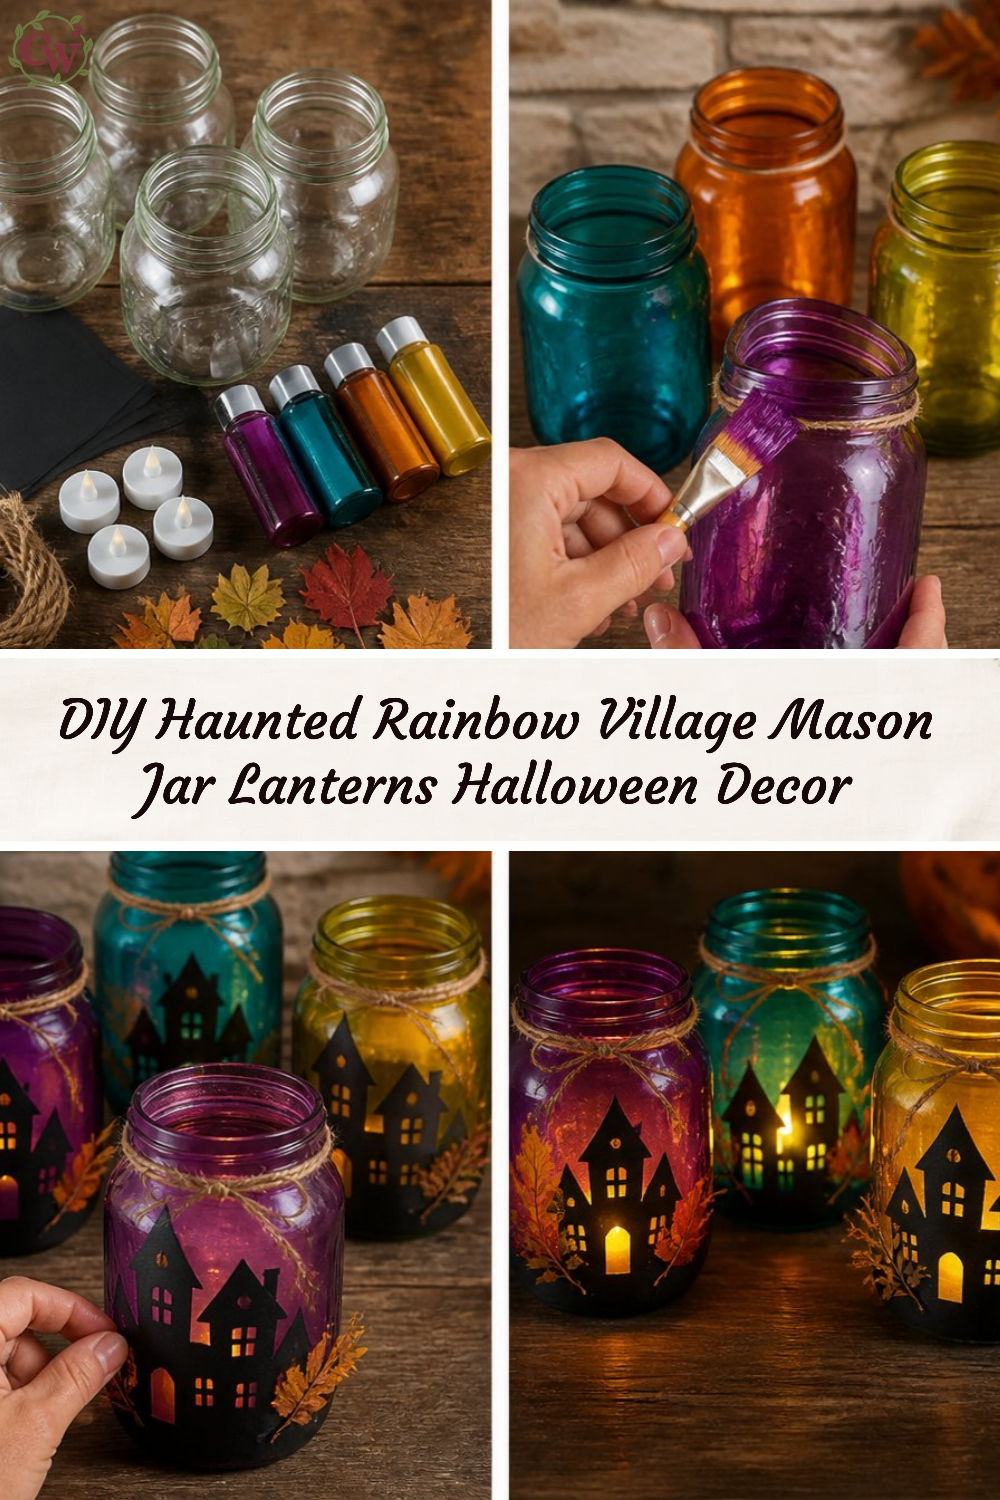
Before diving into the project, envision how these lanterns will look when finished. You want them to radiate a sense of haunted charm with glowing colors. Pay special attention to the layering of colors as it can significantly enhance the overall appearance. Setting up your workspace with all the necessary materials within reach will also speed up the crafting process.
“A handmade touch makes every home feel warmer.”
Materials and Supplies
Materials and Supplies
- Mason jars (various sizes)
- Acrylic paint in rainbow colors (red, orange, yellow, green, blue, purple)
- Paintbrushes (various sizes)
- Small LED tealight candles
- Black construction paper or cardstock
- Scissors
- Optional: washi tape or decorative ribbon
When choosing your materials, consider the size of your mason jars. You may want to pick different sizes to create a more dynamic village look. The choice of LED tealights over real candles is recommended for safety but will still provide a warm, glowing effect when lit inside the jars.
How to Make DIY Haunted Rainbow Village Mason Jar Lanterns for Halloween Decor
Step 1: Prepare the Mason Jar
Begin by cleaning the mason jars thoroughly. Ensure they are dry before you start painting. Apply a base coat of white paint if you want a more subdued look; otherwise, you can directly paint with your chosen rainbow colors.
Step 2: Paint the Jars
Once the jars are prepped, choose one color to start. Using a paintbrush, create a gradient effect by applying the colors from bottom to top, overlapping each shade as you go. Let each layer dry before adding the next one, ensuring a smooth transition of colors.
Step 3: Create Silhouettes
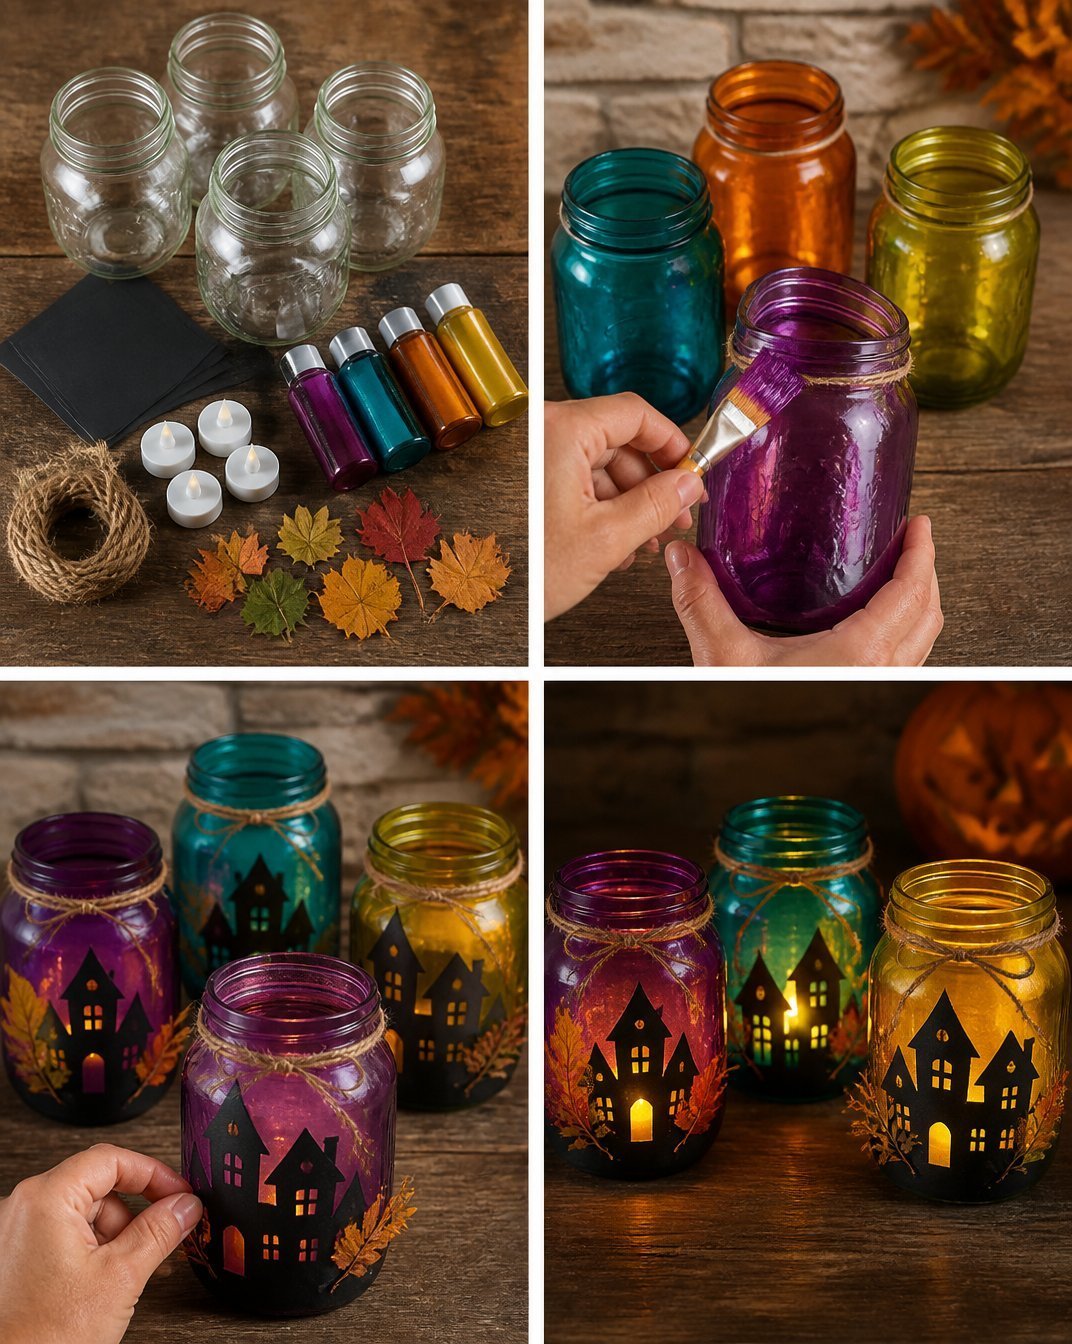
While the paint is drying, cut out spooky shapes such as ghosts, bats, or haunted houses from black construction paper. These silhouettes will add an extra dimension to your lanterns, showcasing shadows when illuminated.
Step 4: Attach the Silhouettes
Using a small amount of adhesive or tape, stick the cutouts onto the outside of the painted jars. Ensure they’re positioned so that they catch the light beautifully.
Step 5: Insert LED Tealights
Once everything is dry and the silhouettes are securely attached, place an LED tealight inside each jar. Turn them on, and watch as your village comes to life with a soft, glowing light!
How to Style Your Finished DIY Haunted Rainbow Village Mason Jar Lanterns for Halloween Decor
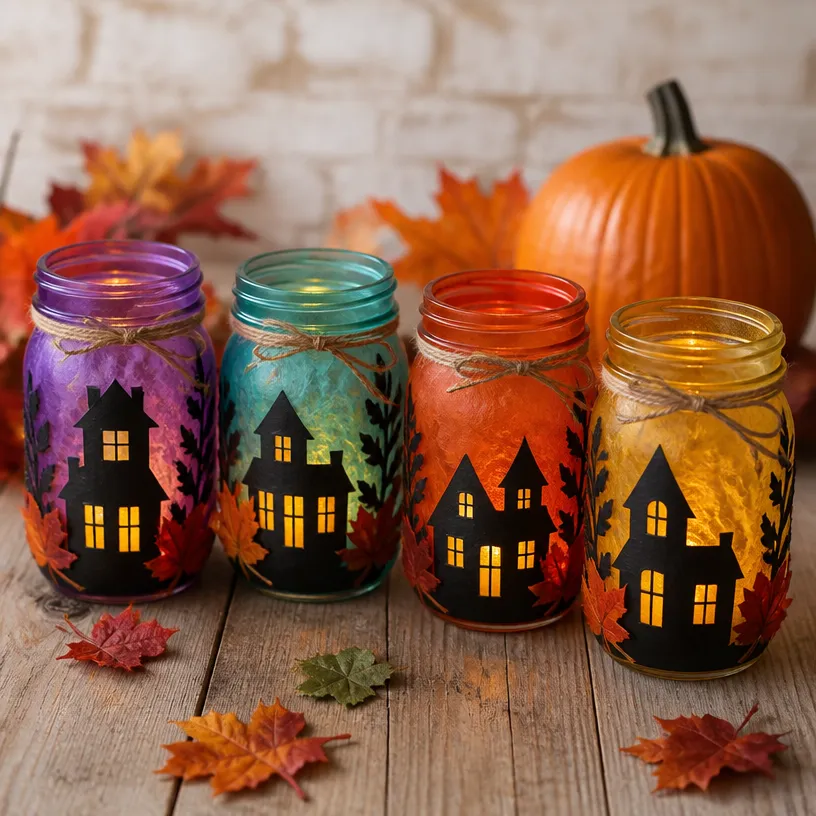
These DIY Haunted Rainbow Village Mason Jar Lanterns can be styled in several tempting locations within your home. They shine beautifully on a mantel, nestled in clusters on a dining table, or framing your front door to set a festive mood for guests. Complementing them with rustic elements like burlap, natural pinecones, or seasonal leaves can enhance their charm without overcrowding your decor.
Maggie’s Tips for the Best Results
- Always dry-fit the colors on the glass before gluing any cutouts to visualize the final look.
- When painting, work from light to dark colors for better blending.
- Make sure your work area is protected to avoid paint spills on surfaces.
- A clean brush can ensure your gradients do not get muddy.
- If you want a textured look, consider layering the paints without fully mixing them.
Easy Ways to Customize This Project
Feel free to customize your lanterns by selecting non-traditional Halloween colors such as pastel shades for a softer look. Adding embellishments like glitter or metallic accents can create a more festive appeal. You could even swap out the black silhouettes for colorful tissue paper shapes that match your rainbow theme for a playful touch.
Caring for Your Handmade Decor
To ensure your lanterns remain in excellent condition for future seasons, store them in a cool, dry place, away from direct sunlight. Dust them gently with a soft cloth when needed, and avoid stacking them to prevent any scratches.
FAQs About DIY Haunted Rainbow Village Mason Jar Lanterns for Halloween Decor
Can I use real candles instead of LED tealights?
It’s best to opt for LED tealights as they’re safer, especially with painted jars.
How long does the paint take to dry?
Typically, acrylic paint can dry within 1-2 hours, but it’s best to allow overnight drying for full set.
Can I use these lanterns outside?
Yes, if placed in a sheltered area to protect them from wind and rain.
What if I don’t have mason jars?
Any clear glass container can work; just adjust the painting technique for the different shapes.
Can I change the color scheme for other seasons?
Absolutely! You can customize your lanterns for any holiday by altering the colors and embellishments.
A Handmade Touch for the Season
Handmade decorations create a unique charm in your home, especially during festive times like Halloween. Crafting these DIY Haunted Rainbow Village Mason Jar Lanterns is not just about creating beautiful decor; it’s about embracing the joy of making something with your own hands. As your home fills with the warm glow from these lanterns, remember that every creation, no matter how small, adds to the welcoming atmosphere that makes your space truly yours.
For more Halloween crafting ideas, check out Mason Jar Halloween Scenes {An Easy Halloween Craft}.
Print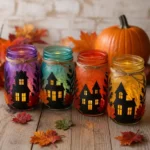
DIY Haunted Rainbow Village Mason Jar Lanterns
- Total Time: 1 hour
- Makes: 4 lanterns
Description
Create colorful Halloween decorations with these DIY Haunted Rainbow Village Mason Jar Lanterns that add a whimsical touch to your decor.
Materials
- Mason jars (various sizes)
- Acrylic paint in rainbow colors (red, orange, yellow, green, blue, purple)
- Paintbrushes (various sizes)
- Small LED tealight candles
- Black construction paper or cardstock
- Scissors
- Optional: washi tape or decorative ribbon
Instructions
- Prepare the mason jars by cleaning them thoroughly and letting them dry. Optionally apply a base coat of white paint.
- Paint the jars using a gradient effect, starting with one color and allowing each layer to dry before adding the next.
- Create spooky silhouettes from black construction paper while the paint dries.
- Attach the cutouts to the painted jars with adhesive or tape.
- Insert LED tealights into each jar, turn them on, and enjoy your glowing village!
Notes
Consider varying the sizes of your mason jars for a dynamic look. Store your lanterns in a cool, dry place to maintain their charm.