

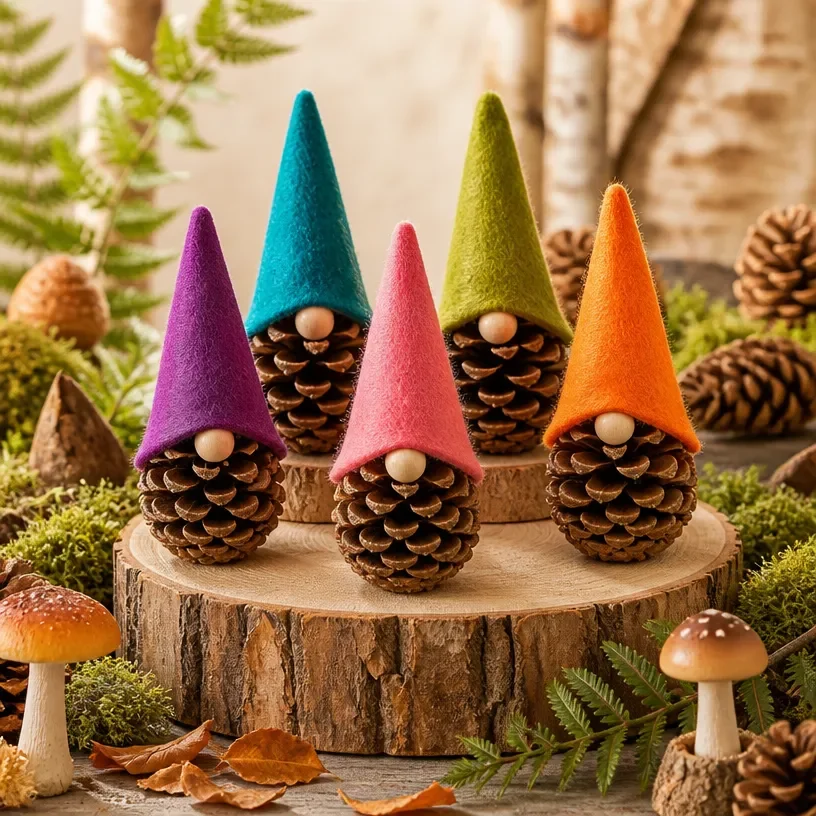
DIY Christmas Decorations Forest: How to Make Forest Gonks, Painted Pine Cone Crafts, and Pine Cone Art You may also find How To Hang Mason Jars Diy Hanging Decorations useful.
Creating unique and heartfelt Christmas decorations at home can fill your space with warmth and charm. One delightful project to consider is making forest-inspired decorations, including adorable forest gonks and elegant painted pine cones. These ideas not only make beautiful additions to your holiday decor, but they also bring a personal touch that store-bought items simply cannot match. You may also find Diy Pinecone Centerpiece Autumn Decor useful.
Imagine adding whimsical characters and natural elements to your home this season, evoking the essence of a cozy forest. Whether you place these decorations on your mantel, dining table, or porch, they form a delightful atmosphere for family gatherings and festive celebrations. This project is straightforward and enjoyable, making it accessible for crafters of all levels. You may also find Diy Pinecones Crystal Fresh Looking Winter Woods useful.
Why You’ll Love This Forest Decor Project
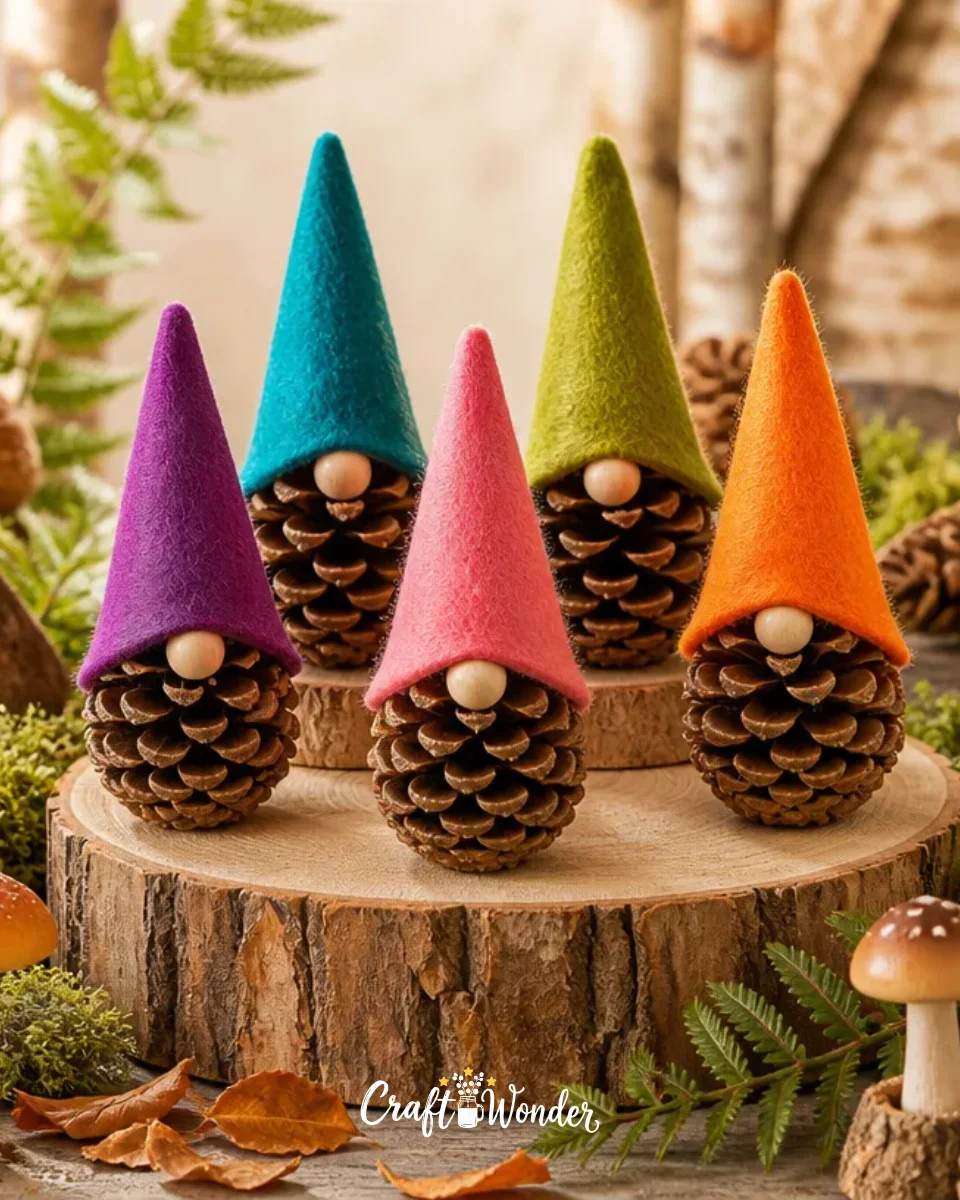
Not only does this project encapsulate the seasonal spirit, but it also allows for creativity and personalization. The construction is approachable, utilizing inexpensive materials that can often be repurposed. The forest gonks can be easily customized in colors and patterns, while painted pine cones can serve as rustic centerpieces or charming ornaments.
You can proudly display your creations in various settings, from entryways to coffee tables, or use them to add a welcoming touch to your front door. Each piece offers a delightful nod to natural textures and farmhouse character, making them perfect for any home that embraces a cozy aesthetic.
Before You Start
For this project, you will create a charming collection of forest gonks and painted pine cone art. The finished pieces should evoke the warmth and magic of the holiday season. Focus particularly on how you want the gonks to look consider their hats, beards, and unique personality traits that can be designed using various materials.
A clean and well-lit workspace is essential to make this project enjoyable. Prepare your crafting area by gathering all materials and considering creating a calming atmosphere with some holiday music or seasonal aromas.
“A handmade touch makes every home feel warmer.”
Materials and Supplies
Materials and Supplies
- Pine cones (preferably medium-sized)
- Craft paint (green, brown, red, and other festive colors)
- Felt or fabric (for gonks’ hats and accessories)
- Natural twine or string
- Hot glue gun and glue sticks
- Scissors
- Pom poms (for noses)
- Small wooden dowels or sticks (for gonks’ bodies)
- Optional: spray adhesive, glitter, or embellishments
It’s important to choose the right paint for the pine cones, as one that adheres well to natural surfaces will ensure longevity. I recommend using a non-toxic paint that is suitable for crafts, as it will enhance the natural beauty of the pine cones.
How to Make DIY Christmas Decorations Forest: Forest Gonks and Painted Pine Cone Crafts
Step 1: Prepare the Pine Cones
Start by cleaning your pine cones to remove any debris. If you’re painting them, ensure they are dry before proceeding. Decide on your color scheme traditional greens, whites, and reds can create a vibrant look.
Step 2: Paint the Pine Cones
Using your craft paint, apply a base coat to your pine cones. A light coat works well to allow some of the natural texture to show through. Allow the paint to dry completely, and if desired, add a second coat for a more vibrant finish.
Step 3: Create Forest Gonks
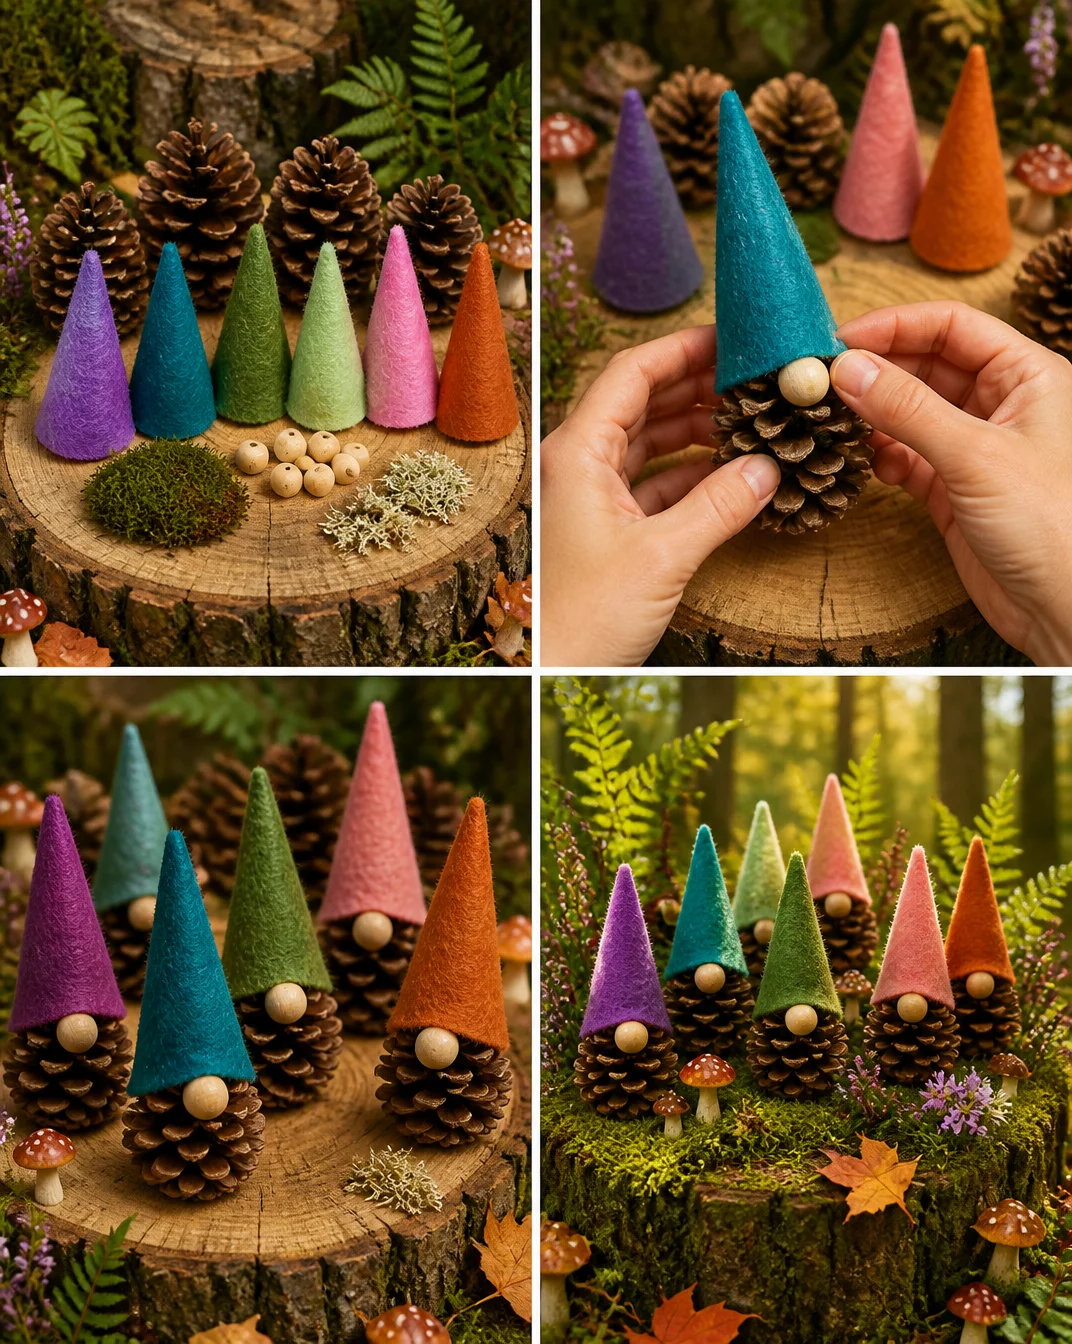
While your pine cones are drying, gather pieces of felt or fabric for the gonks. Cut out triangles for their hats, ensuring they are proportionate to the body. Use hot glue to secure these hats onto the top of the wooden dowels.
Step 4: Assemble the Gonks
Attach a pom pom at the bottom of every hat for added whimsy. Glue the noses onto the gonks and secure him onto a weighted base like a painted pine cone for stability. You might consider creating gonks with distinct personalities using various colors and patterns for their clothes.
Step 5: Adding Finishing Touches
Once everything is assembled and the glue has set, take a moment to add some decorative elements if desired. Consider using twine to wrap around the base of the gonks or sprinkle some glitter on the painted pine cones for a festive sparkle.
How to Style Your Finished DIY Christmas Decorations Forest
Your finished pieces can be styled creatively around your home to enhance the holiday spirit. A delightful display could involve creating a cozy vignette on a mantel, with the painted pine cones scattered amid other natural elements like dried oranges or cinnamon sticks.
Alternatively, use your forest gonks to create a charming scene along a dining table, pairing them with simple rustic elements like wooden chargers or burlap runners. Their whimsical designs will bring joy to your holiday get-togethers.
Maggie’s Tips for the Best Results
- Consider dry-fitting elements together before gluing to ensure the best overall look.
- Work in layers, especially when painting, to achieve depth in your colors.
- Allow ample drying time for paint and glue to prevent messes.
- Balance the colors in your gonks’ outfits to avoid overly busy designs.
- Test different placements before making any permanent glue attachments.
Easy Ways to Customize This Project
There are numerous ways to personalize your forest decor! Consider using seasonal colors like silver or gold for festive flair or incorporate more natural elements like dried flowers or greenery into your designs. Ribbons, beads, or even small ornaments can also enhance the charm of the gonks and pine cones.
Caring for Your Handmade Decor
To keep your forest gonks and pine cone creations looking fresh, store them in a cool, dry place when not in use. Be mindful of exposure to sunlight, which can cause fading, especially if you utilized paints. Dust them gently with a soft cloth to maintain their appearance throughout the seasons.
FAQs About DIY Christmas Decorations Forest
Can I use real pine cones for this project?
Yes, using real pine cones adds a natural touch, but ensure that they are clean and dry before applying paint.
How long does it take for the paint to dry?
Typically, craft paint takes about 1-2 hours to dry completely, but check the specific instructions on your paint bottle.
What alternative materials can I use for gonks?
You can use items like paper or felt scraps, or even old clothing fabrics to create unique designs for your gonks.
Are these decorations suitable for outdoor use?
If you plan to display them outside, consider using a weather-proof sealant after painting to help protect them from the elements.
A Handmade Touch for the Season
Creating these DIY Christmas decorations is not just a crafting activity; it’s a way to infuse your home with warmth and personality. Each piece tells a story and contributes to the joy of the holidays. Remember, the beauty of handmade crafts lies in their imperfections they reflect thoughtfulness and care.
As you embark on this project, I hope it brings you the joy of creativity and the satisfaction of creating something special for your home. For further inspiration and projects involving holiday crafts, consider exploring Easy DIY Gnomes Crafts for all Seasons to diversify your festive decor.
Print
DIY Christmas Decorations: Forest Gonks and Painted Pine Cone Crafts
- Total Time: 150 minutes
- Makes: 12 decorations
Description
Create unique and heartfelt Christmas decorations with these forest-inspired gonks and painted pine cones that add a personal touch to your holiday decor.
Materials
- Pine cones (preferably medium-sized)
- Craft paint (green, brown, red, and other festive colors)
- Felt or fabric (for gonks’ hats and accessories)
- Natural twine or string
- Hot glue gun and glue sticks
- Scissors
- Pom poms (for noses)
- Small wooden dowels or sticks (for gonks’ bodies)
- Optional: spray adhesive, glitter, or embellishments
Instructions
- Prepare the Pine Cones
- Paint the Pine Cones
- Create Forest Gonks
- Assemble the Gonks
- Adding Finishing Touches
Notes
Consider dry-fitting elements together before gluing and work in layers to achieve depth in your colors. Store in a cool, dry place to maintain appearance.