


The DIY Pinecone Centerpiece for Autumn Decor is a delightful way to bring the season’s charm into your home. Using natural materials, this craft captures the essence of autumn with its rustic appeal. Perfect for display on your dining table, mantel, or porch, this centerpiece provides warmth and a welcoming feel to your environment. Plus, it’s an approachable project for crafters of all levels, requiring just a few simple materials and a bit of creativity. You may also find Diy Stained Glass Rainbow Window Decor Autumn Leaves useful.
This project stands out for its natural beauty and versatility. You can easily customize it to suit your home’s style, whether you opt for a more traditional earthy look or a modern farmhouse twist. The small details, like the texture of the pinecones and the seasonal accents, add personality to your home decor. If you’d like an easy transition into the fall season, consider pairing this centerpiece with other autumn-themed crafts like DIY autumn luminaries for a cohesive seasonal feel.

You may also find Pinecone Centerpiece Ideas Cozy Fall Decor useful.
Why You’ll Love This DIY Pinecone Centerpiece
There are several reasons to embrace this simple yet stunning DIY project. First, it’s approachable; with minimal tools and supplies, anyone can craft their own centerpiece. The materials are cost-effective, particularly because you may already have some items at home. The pinecone centerpiece reflects the beauty of the season, allowing you to create an inviting space for family and friends.
Additionally, this project adds a homemade touch to your decor, which is perfect for creating a cozy atmosphere. Use it as a focal point on your dining table for holiday dinners, or on the porch to welcome guests. The rustic character works beautifully with various decorating styles, from farmhouse chic to modern minimalism. This versatility means the centerpiece can seamlessly integrate into your existing decor.
Before You Start
Before diving in, take a moment to visualize the finished piece. Ideally, your centerpiece should evoke a sense of autumn with the following characteristics: a natural arrangement of textures, warm colors, and an inviting ambiance. The most critical part is ensuring your pinecones look visually appealing and are securely positioned. Preparation can make all the difference having a clean workspace and laying out your materials will make the crafting process smoother.
“A handmade touch makes every home feel warmer.”
Materials and Supplies
Materials and Supplies
- Pinecones (about 5–7, depending on size)
- A medium to large bowl or a flat surface for arrangement
- Faux autumn leaves or fresh greenery
- Ribbons (twine or burlap work well)
- Hot glue gun and glue sticks
- Optional: small candles for added warmth
When selecting materials, consider the type of pinecones and leaves you want. Fresh greenery can provide a fragrant touch, while faux leaves are easier to maintain. The width of the ribbon can also influence the overall look; wider ribbons offer a bolder appearance, while thinner ones lend a delicate touch.
How to Make DIY Pinecone Centerpiece for Autumn Decor
Step 1: Prepare the Pinecones
Start by cleaning the pinecones. Remove any debris using a soft brush or cloth. If you prefer a lighter color, you can lightly spray paint the pinecones in white or gold. Once they’re dry, arrange them in the bowl or flat surface to see how they fit together.
Step 2: Secure the Arrangement
Once you’re happy with the layout, begin gluing the pinecones into place. Apply a small amount of hot glue to the bottom of each pinecone and press it into the bowl or onto the surface. Hold it for a few seconds to ensure it bonds well. Continue with the remaining pinecones, ensuring they are spaced out evenly.
Step 3: Add Greenery and Accents
Introduce faux leaves or fresh greenery around the pinecones to enhance the autumn feel. You can tuck the leaves into the gaps, gluing them lightly if needed. If you’re using small candles, place them strategically among the pinecones to create warm candlelight.
Step 4: Finishing Touches
Finally, take your ribbon and wrap it around the base of the centerpiece for added texture. Tie a simple bow or leave it as a loose knot for a more casual look. Adjust the arrangement as needed until you achieve a look that feels harmonious.
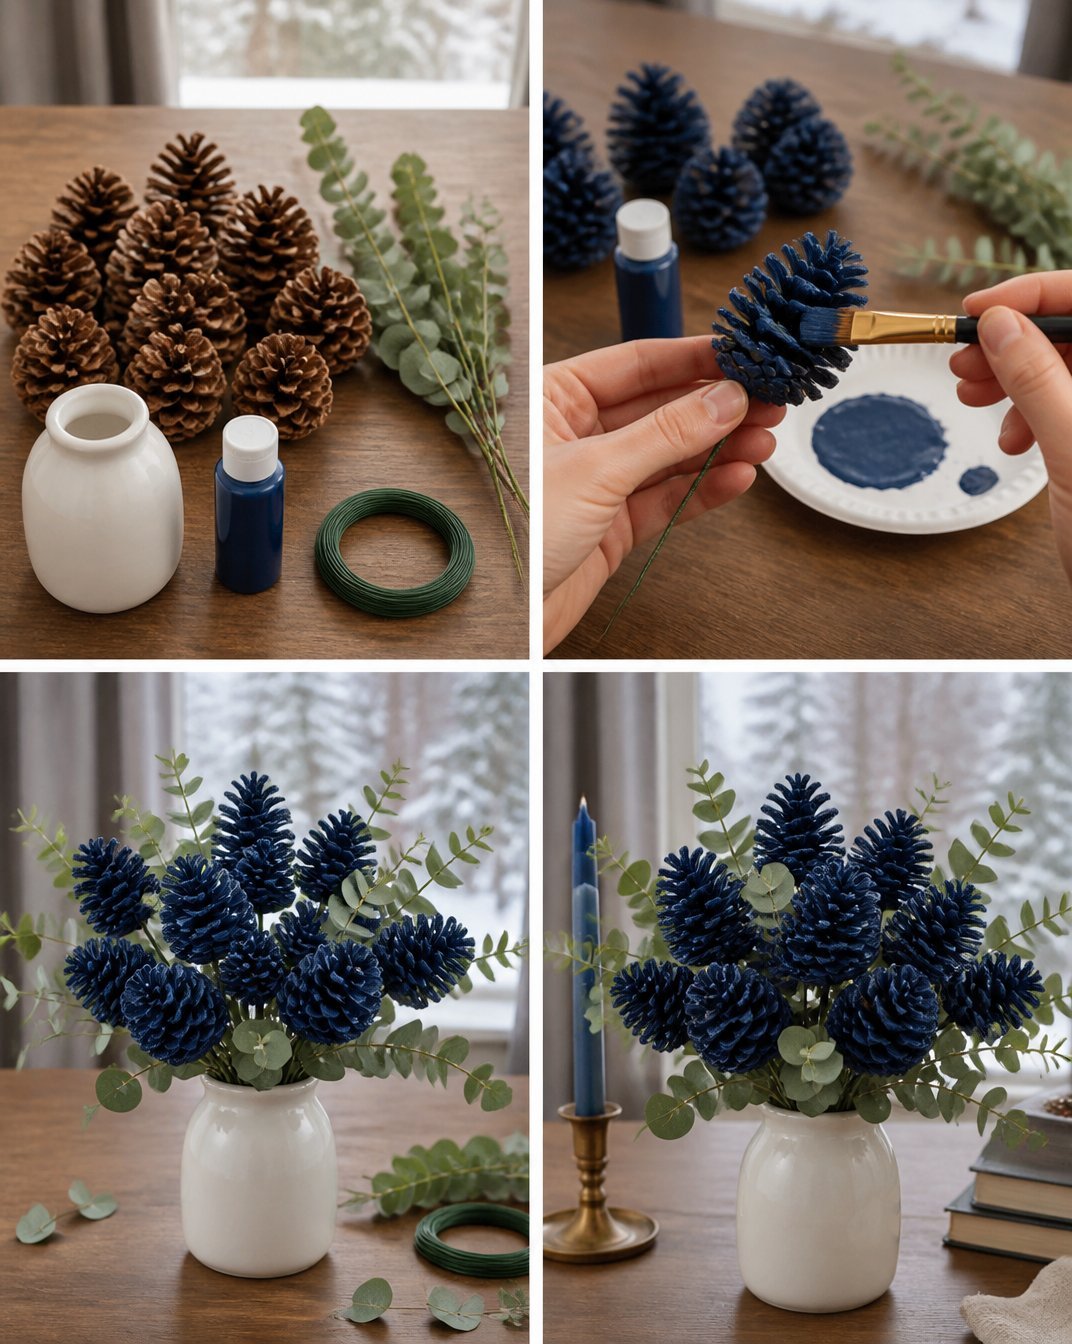
How to Style Your Finished DIY Pinecone Centerpiece for Autumn Decor
Once your DIY Pinecone Centerpiece is complete, think about where you’d like to display it. It can look lovely on a dining table, accenting your fall meals, or as a welcoming piece on your porch. Consider placing it on a mantle paired with other autumn accents or alongside a few candles for a soft glow.
Keeping the display simple can elevate its visual appeal. Avoid overcrowding the centerpiece area with other decor. Instead, aim for a balanced arrangement that celebrates the beauty of your creation.

Maggie’s Tips for the Best Results
- Dry-fit all pieces before reaching for the hot glue; this will save time on adjustments.
- Use layers when positioning greenery, allowing for depth in your arrangement.
- Allow glue to fully set before moving the centerpiece to avoid disassembly.
- Keep the color palette in mind warm tones can accentuate the autumn theme beautifully.
Easy Ways to Customize This Project
Feel free to make this centerpiece your own. You can experiment with seasonal colors by incorporating decorative pumpkins, gourds, or even acorns for an added touch of warmth. Consider changing up the ribbon style or adding metallic accents to elevate the rustic charm. If you’re feeling adventurous, try using painted pinecones or adding beads that align with your autumn decor theme.
How to Pack This Project Away for Next Season
To keep your DIY Pinecone Centerpiece looking fresh year after year, store it in a dry, cool space when not in use. Consider wrapping it in tissue paper or placing it in a box lined with soft fabric to prevent crushing the materials. If any faux greenery appears dusty, give it a gentle wipe or a light spray of water.
FAQs About DIY Pinecone Centerpiece for Autumn Decor
Can I use real pinecones?
Absolutely! Just ensure they are clean and dried properly to prevent any moisture issues.
How long will the centerpiece last?
If using faux materials, it can last for years. Real elements may only last the season; consider drying your greenery if you choose fresh plants.
What if I want to display it outdoors?
If placing your centerpiece outside, use materials that can withstand the elements, such as treated wood or sturdy faux greenery.
Can I change the colors for different seasons?
Definitely! Switching out the ribbon and accents can easily transform this project for other seasons like winter or spring.
A Handmade Touch for the Season
Creating a DIY Pinecone Centerpiece for Autumn Decor not only fills your home with warmth but also allows you to engage with the changing seasons through crafting. Every handmade piece reflects personal style and effort, encouraging creativity while fostering a sense of connection to your home. This centerpiece can be a standout feature in your autumn decor, adding comfort and inviting your loved ones to gather around.
For more inspiration on seasonal crafts, consider checking out this easy pinecone centerpiece DIY that offers beautiful rustic ideas for your decor.
Print
DIY Pinecone Centerpiece for Autumn Decor
- Total Time: 10 minutes
- Makes: 1 centerpiece
Description
A delightful DIY project to create a rustic pinecone centerpiece that brings autumn charm into your home, perfect for display on dining tables or porches.
Materials
- Pinecones (about 5–7)
- A medium to large bowl or flat surface
- Faux autumn leaves or fresh greenery
- Ribbons (twine or burlap)
- Hot glue gun and glue sticks
- Optional: small candles
Instructions
- Prepare the Pinecones by cleaning them and optionally spray painting for a lighter color.
- Secure the Arrangement by gluing the pinecones into place.
- Add Greenery and Accents around the pinecones for a natural feel.
- Finish with ribbon at the base of the centerpiece for texture.
Notes
Dry-fit all pieces before gluing and consider using layers of greenery for added depth. Store the centerpiece in a cool place after the season to maintain its shape.