


How to Make Bottle Cap Flower Magnets: Easy DIY Tutorial You may also find Diy Sensory Bottles Fireworks Kids Playtime useful.
Creating charming and functional decor doesn’t have to be complicated. In this guide on how to make bottle cap flower magnets, you’ll learn how to turn simple materials into delightful pieces that can brighten up your fridge or magnetic board. These magnets are not only beautiful, but they also give new life to items you might otherwise toss out. You may also find Easy Diy Faux Crystal Geode Wall Art useful.
Picture the vibrant flowers sprouting from the colorful bottle caps, creating a whimsical touch to your kitchen or office. This project is approachable for crafters of all skill levels and invites you to explore your creativity. It’s perfect for kids’ activities, seasonal decor, or even a unique handmade gift.
Why You’ll Love This Project
Making bottle cap flower magnets is a fantastic way to repurpose materials while adding a personal touch to your home. This project is inexpensive, allowing you to create stunning decor without breaking the bank. It also supports versatile use whether you want to decorate a mantel, prompt some fun in a children’s room, or simply customize your office space.
The chance to customize these magnets to align with your style makes them even more appealing. You can opt for bright colors that scream spring or muted tones that whisper rustic charm. Add your unique personal touch by choosing different flowers and colors for each magnet. For additional seasonal inspiration, you might also enjoy making some DIY tropical flower bouquets.
Before You Start
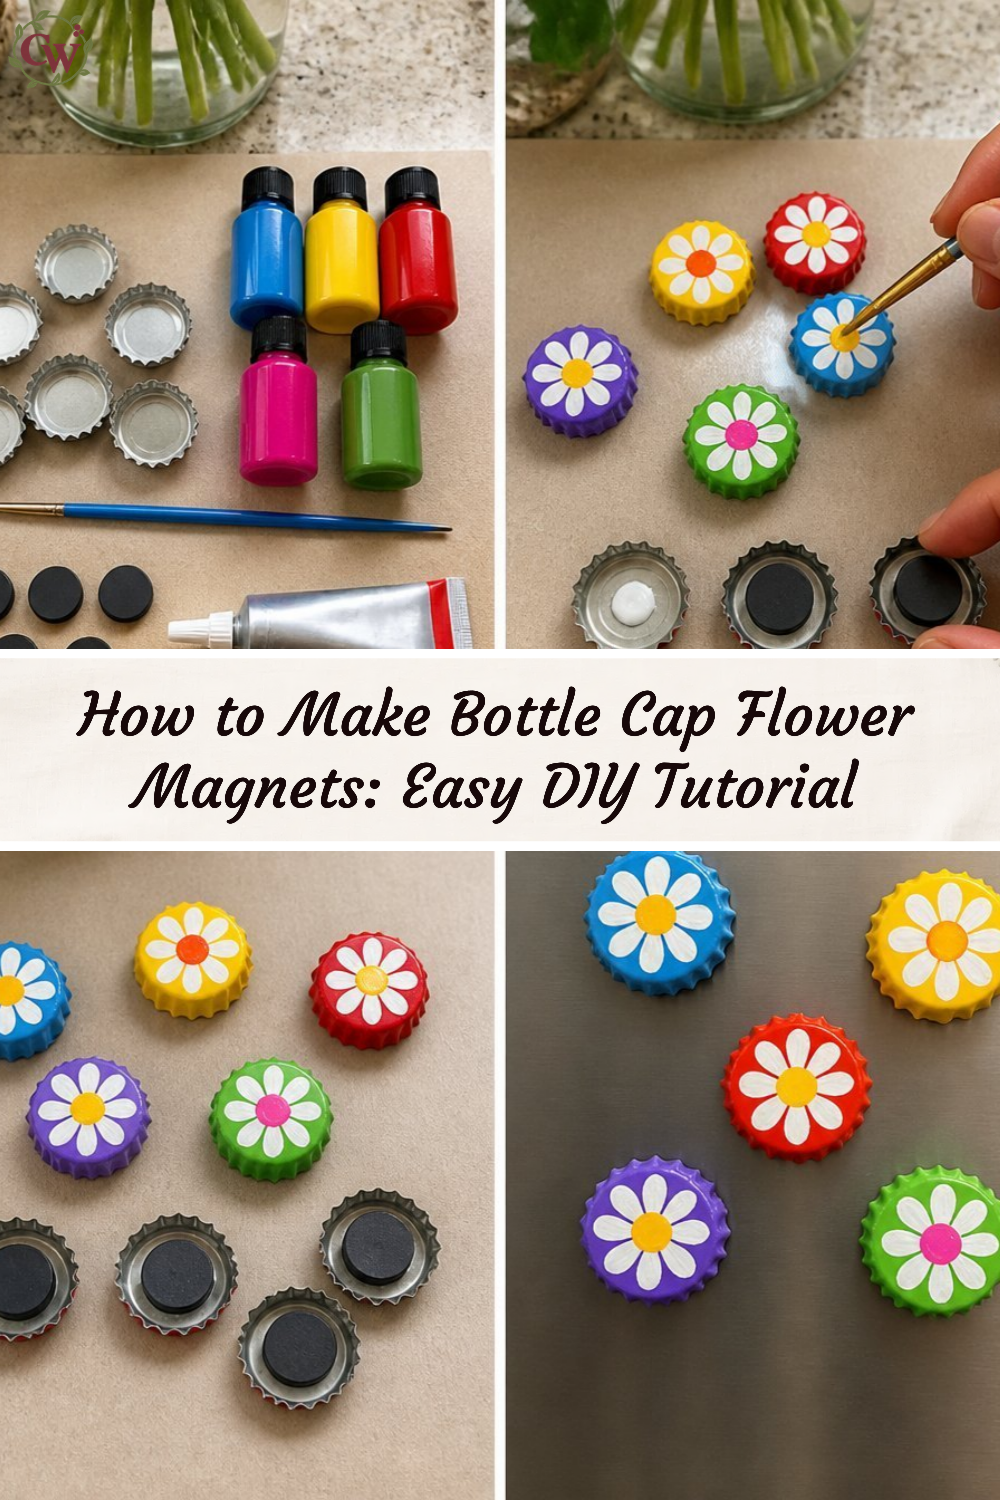
Before diving into the craft, envision how your finished magnets will look. You can expect vibrant flowers sitting atop shiny bottle caps, bringing a delightful burst of color to your space. Pay special attention to the arrangement and choice of flowers, which will make all the difference.
Prepare your workspace by clearing a flat surface and laying out all materials at arm’s reach. You’ll also want to ensure you have ample lighting to help you see the details while you create.
“A handmade touch makes every home feel warmer.”
Materials and Supplies
Materials and Supplies
- Bottle caps (various colors)
- Craft flowers (faux or dried)
- Hot glue gun and glue sticks
- Strong magnets (small)
- Scissors
- Acrylic paint (optional, for bottle caps)
- Paintbrush (if painting)
Choosing the right flowers can enhance the overall look. Faux flowers are ideal if you want something low-maintenance, while dried flowers can provide a more rustic feel. You might also want to consider painting your bottle caps for added color and character.
How to Make How to Make Bottle Cap Flower Magnets: Easy DIY Tutorial
Step 1: Prepare the Bottle Caps
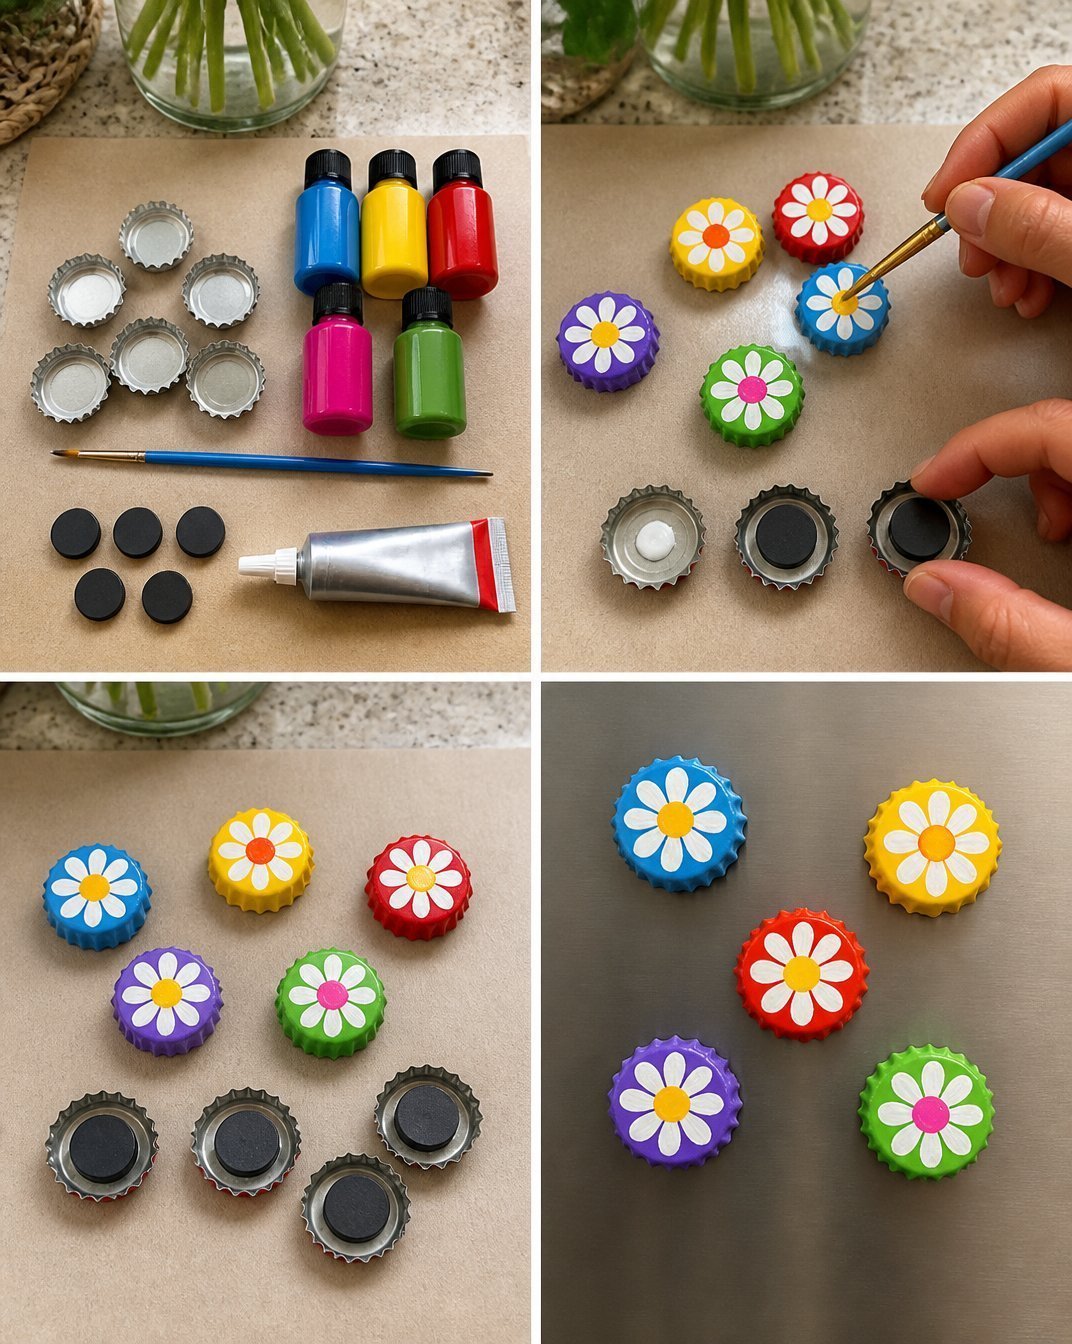
Start by cleaning and drying your bottle caps if needed. If you want a vibrant background, use your paintbrush to apply a coat of acrylic paint. Allow them to dry thoroughly.
Step 2: Select Your Flower Arrangement
Pick the flowers you wish to use for each bottle cap. You can mix and match colors and styles for an eclectic look. Keep in mind the size of each flower as it relates to the bottle cap.
Step 3: Glue the Flowers
Apply a generous dot of hot glue to the center of the bottle cap and press the flower firmly into place. Hold it momentarily until the glue sets. Don’t be afraid to layer smaller flowers if you’re aiming for a fuller arrangement.
Step 4: Attach the Magnet
Once the flowers are secure, turn the bottle cap over. Apply hot glue to the center of the cap and press the magnet firmly onto it. Hold for a few seconds to ensure a strong bond.
Step 5: Let It Set
Allow the magnets to cool and set completely. Once ready, give a gentle tug on the flowers to ensure everything is secure.
How to Style Your Finished How to Make Bottle Cap Flower Magnets: Easy DIY Tutorial
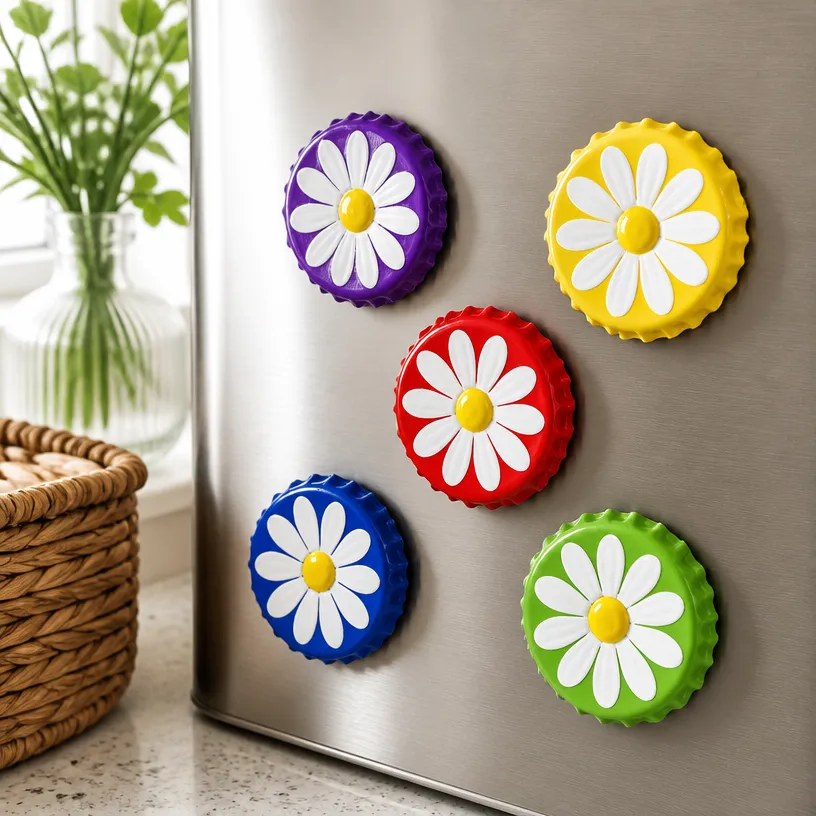
Now that you have your beautiful flower magnets, the fun really begins! Consider displaying them on your refrigerator, a magnetic notice board, or anywhere magnetic surfaces are found. They can also make charming gifts when arranged in a small basket or paired with a note.
You can group them together in clusters for a more dramatic visual effect or spread them out to add pops of color in various spots around your home. Think about how they complement seasonal decor and other handmade items in your space.
Maggie’s Tips for the Best Results
- Plan your arrangement before gluing to visualize the final product.
- Work in layers when adding flowers for a fuller look.
- Simplify cleanup by using parchment paper underneath your crafting area.
- Be mindful of the type of glue used; hot glue is best for securing items but can be messy.
- Allow sufficient drying time to avoid any mishaps when moving your magnets.
Easy Ways to Customize This Project
Customization is part of the charm! You can paint the bottle caps different colors or even add a layer of glitter for a fun sparkle. Consider varying the types of flowers used or incorporating seasonal elements like mini pumpkins for fall or snowflakes for winter.
Mix in some complementary colors from your home’s decor for a unified style. You could also personalize them with initials or small messages for added sentiment.
Caring for Your Handmade Decor
To keep your bottle cap flower magnets looking fresh, regularly dust them with a dry cloth, and keep them away from direct sunlight to prevent fading. If you notice any flowers becoming loose, simply apply a bit more glue to reattach them. Store them in a cool, dry place during off-seasons to preserve their integrity.
FAQs About How to Make Bottle Cap Flower Magnets: Easy DIY Tutorial
Can I use real flowers?
While you can use real flowers, they tend to wilt and won’t last long. Consider using faux or dried flowers for longevity.
What type of paint works best on bottle caps?
Acrylic paint provides good coverage and adheres well to metal, making it a great choice for bottle caps.
How do I ensure the magnets stick?
Use strong craft magnets and secure them with hot glue to ensure they stay attached.
Can these magnets be used outdoors?
While they can withstand some outdoor conditions, it’s best to keep them inside to prevent fading or damage.
Conclusion
Creating your own bottle cap flower magnets brings a personal, homemade touch into your space. Not only do these projects use simple materials, but they also celebrate your creativity and resourcefulness. By incorporating handmade elements in your decor, you cultivate a warm and welcoming environment. For more inspiring crafts, especially if you’re looking for something fun to do with kids, check out these paper flower magnets.
Print
Bottle Cap Flower Magnets
- Total Time: 15 minutes
- Makes: 8-10 magnets
Description
Learn how to create charming and functional bottle cap flower magnets that brighten up your fridge or magnetic board.
Materials
- Bottle caps (various colors)
- Craft flowers (faux or dried)
- Hot glue gun and glue sticks
- Strong magnets (small)
- Scissors
- Acrylic paint (optional)
- Paintbrush (if painting)
Instructions
- Prepare the bottle caps by cleaning and drying them. Optionally, apply acrylic paint and allow to dry.
- Select your flower arrangement by picking flowers for each bottle cap.
- Glue the flowers onto the bottle caps using hot glue and hold until set.
- Attach the magnet to the back of each bottle cap using hot glue.
- Let the magnets cool and set completely.
Notes
Customize your magnets by using different colors or glitter on the caps. For longevity, consider using faux or dried flowers.