


Cardboard and Yarn Fish Craft for Cheerful Home Decor
Creating cheerful decor doesn’t have to be complicated or costly. The DIY Cardboard and Yarn Fish Craft offers a delightful way to bring a splash of color and life into your home. Perfect for displaying in any room, this charming piece can brighten up your entryway, adorn your children’s rooms, or even add character to your summer porch decor. With its friendly fish shape and inviting yarn texture, it’s not only visually appealing but also a fun craft to make. You may also find Diy Crayon Leaf Garland Fall Decor useful.
This project is approachable for crafters at any level. Using affordable materials like cardboard and yarn, it allows you to dive into a creative experience with ease. Plus, it can be customized to suit the color scheme (or season) of your home decor, making it a wonderfully versatile addition.
Why You’ll Love This Project
The DIY Cardboard and Yarn Fish Craft is a fantastic choice for several reasons. First, it involves simple construction that doesn’t require advanced crafting skills, making it a perfect family project. The materials are inexpensive and often reusable allowing you to create not just one, but a whole school of colorful fish!
Another appeal is the seasonal versatility. You can design vibrant hues for summertime or switch to softer tones for spring. This craft embodies that essential farmhouse character, bringing warmth and cheer to any space. It’s wonderfully suited for a mantel display or a charming accent on a dining table.
Before You Start
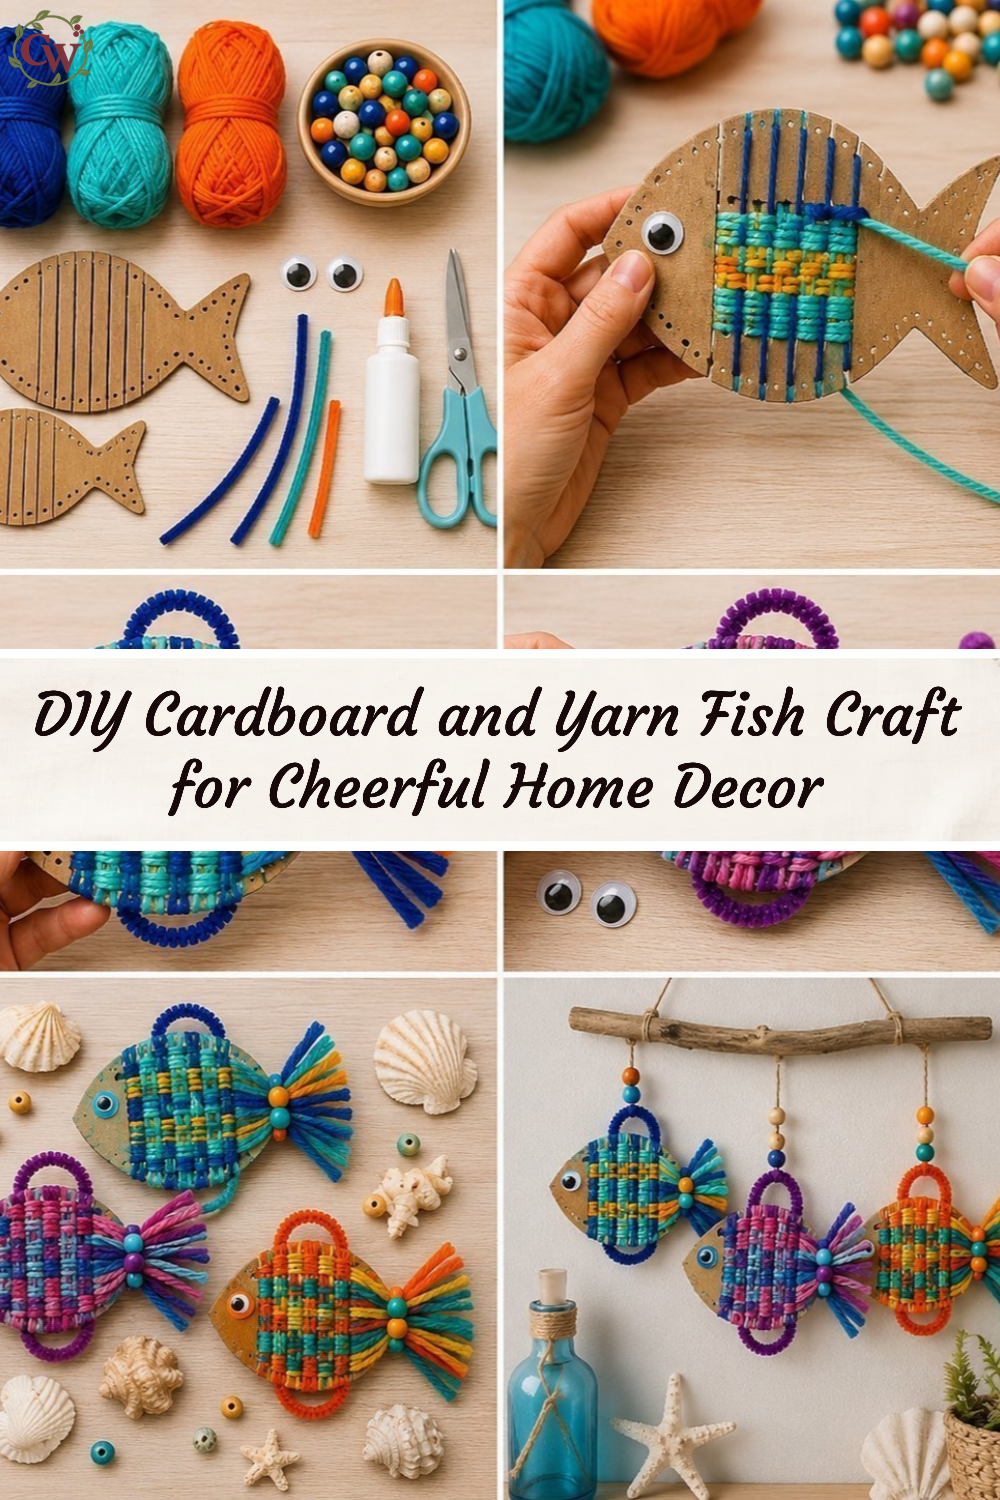
To prepare for your DIY Cardboard and Yarn Fish Craft, visualize the finished piece a delightful blend of textures with brightly colored yarn atop a sturdy cardboard base. Think about which colors would look best in your home. The most crucial aspect of this craft is ensuring your shapes are balanced and the yarn is evenly distributed to create a seamless look.
Make sure to set up a workspace where you can spread out your materials. Consider having an assortment of yarn colors ready, as this will inspire creativity during the crafting process.
“A handmade touch makes every home feel warmer.”
Materials and Supplies
Materials and Supplies
You will need the following items for this project:
- Cardboard
- Yarn (in various colors)
- Scissors
- Hot glue gun (and glue sticks)
- Pencil
- Optional: decorative embellishments (like beads or glitter)
When selecting yarn, consider choosing some that have varying textures or weights. This will add unique visual interest to your fish crafts. Any leftover cardboard can often be recycled from old boxes or packaging, making this an eco-friendly project.
How to Make DIY Cardboard and Yarn Fish Craft for Cheerful Home Decor
Step 1: Create the Fish Shape
Start by drawing your fish outline on a piece of cardboard. You can choose any size and shape that feels right for your decorating space, just make sure it’s not too small to cover with yarn. Cut out your fish shape with scissors, being careful at the corners for a clean cut.
Step 2: Prepare the Yarn
Next, take your yarn and cut several long strands. The length will depend on how much coverage you want and the size of your fish. Generally, 10-15 strands should suffice.
Step 3: Glue the Yarn
Take one strand of yarn and begin gluing it at one end of the fish shape. Continuously wrap the yarn around the shape, adding small dots of hot glue as you go to keep the strands from slipping. Make sure to cover the entire cardboard without gaps.
Step 4: Add Texture
To make your fish even more lively, you can use several colors of yarn for different sections or patterns. Switch colors by simply gluing the new piece of yarn down at intervals mixing colors can create a vibrant, lively look!
Step 5: Finishing Touches
Once your fish is completely covered in yarn, consider adding embellishments. Glue on beads for eyes or use a glitter glue for a sparkly fin. Make sure everything is dried and securely attached before displaying.
How to Style Your Finished DIY Cardboard and Yarn Fish Craft for Cheerful Home Decor
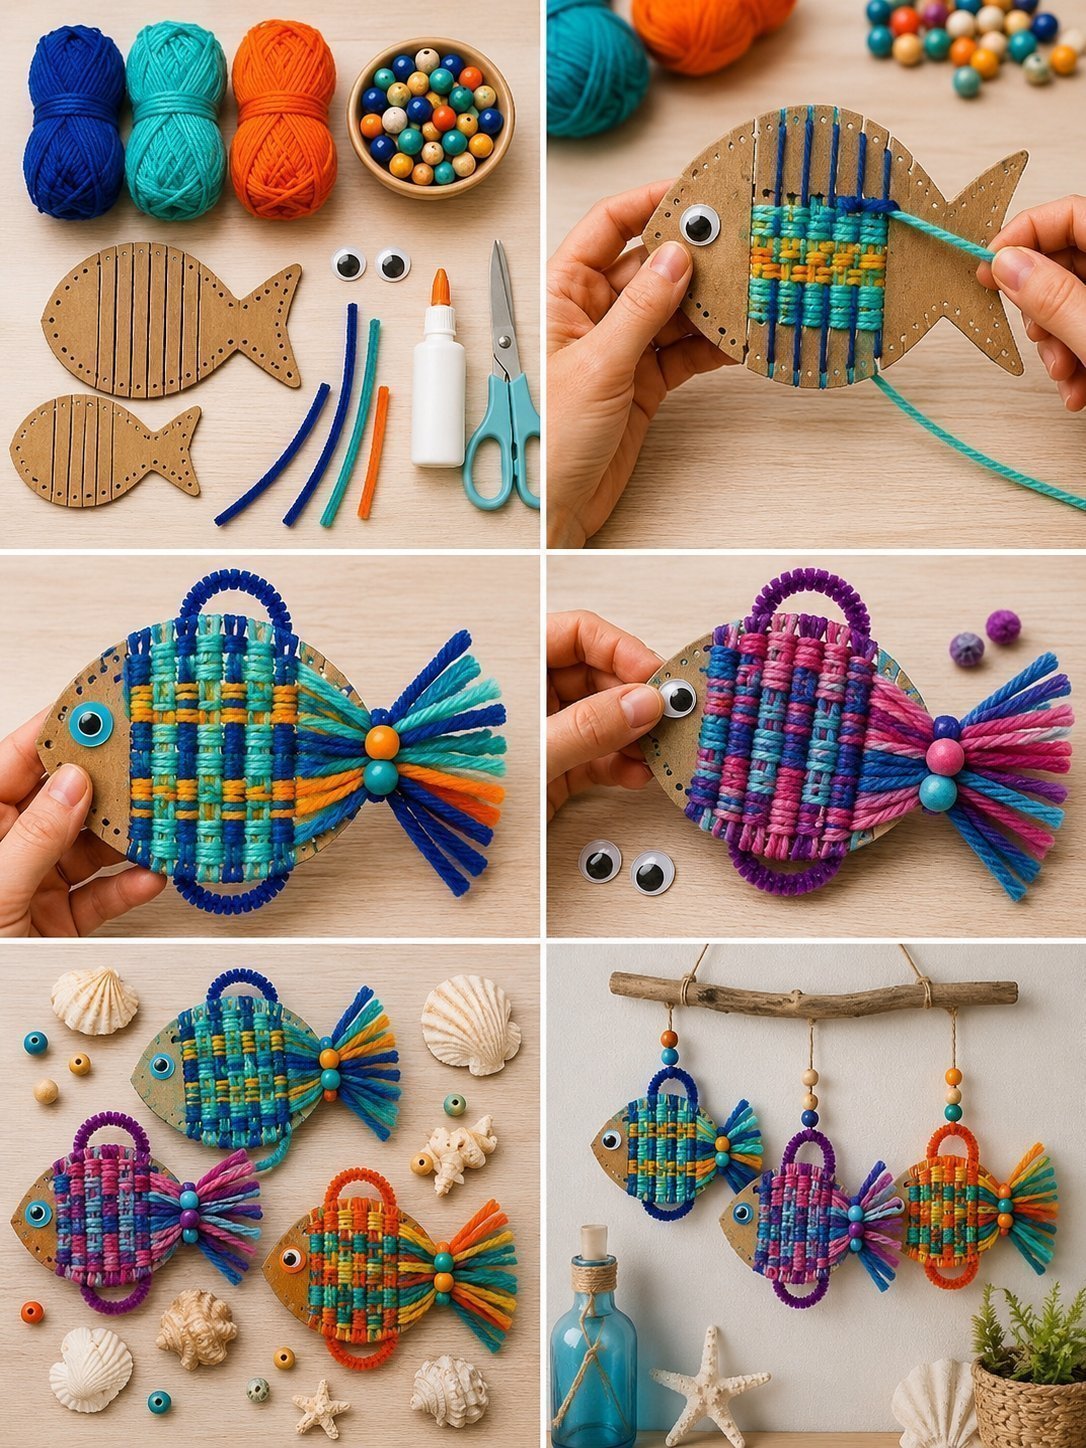
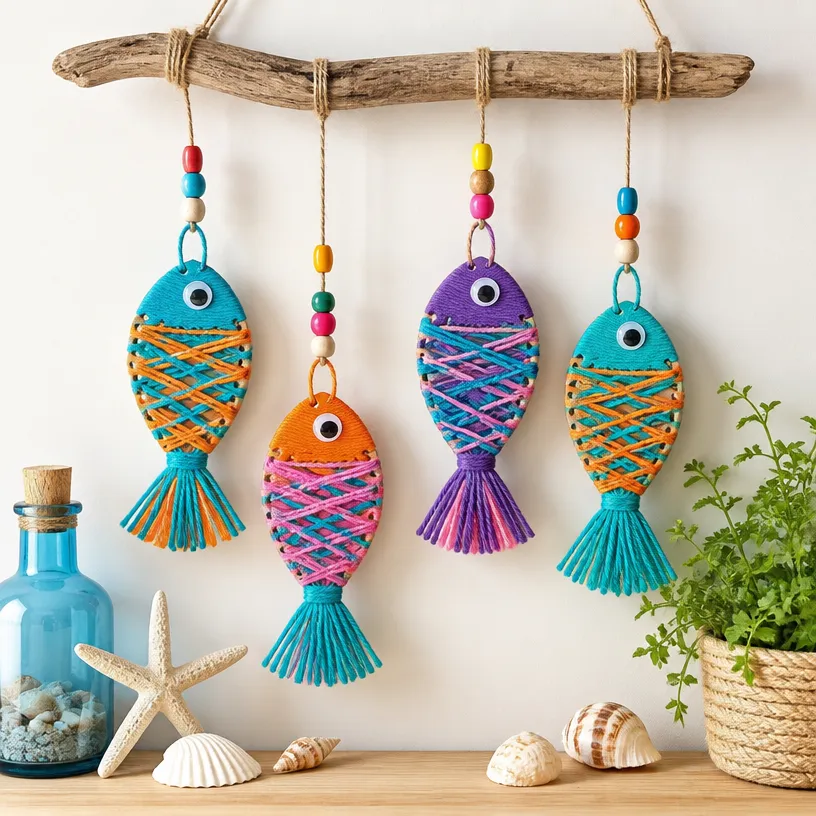
Your charming fish craft can be displayed in various places around your home. Consider placing it on a shelf in a child’s room or making a collection of them to hang in a row on the wall. They can also make a great addition to a beach-themed entryway or as part of a vibrant centerpiece on your dining table.
Another wonderful idea is to hang your fish from the ceiling in a playful manner perhaps in a sunroom or balcony where they can mimic a lively underwater scene. Remember, handmade decor doesn’t need to be perfect to bring joy and warmth into your space.
Maggie’s Tips for the Best Results
- Always dry-fit your yarn before gluing to visualize the design.
- Work in sections when applying yarn to ensure even covering.
- Use varying yarn textures for added dimension.
- Don’t hesitate to test out different patterns before finalizing your design.
- Allow the glue to set properly between steps for a sturdy finish.
- Balance the weight of embellishments so your fish hangs or stands well.
Easy Ways to Customize This Project
You can personalize your fish crafts to match various themes or seasons. For instance, add shades of orange and white for a fresh nautical look, or use soft pastel yarns for a spring vibe.
You also might think about adding floral embellishments or even creating fins out of fabric scraps for an innovative twist. A little personalization can transform this craft into a beautiful reflection of your style.
How to Store Your Fish Craft
When not on display, your cardboard and yarn fish can be easily stored in a dry, cool space. Avoid crushing the yarn; consider keeping it in a box lined with a soft cloth to preserve its form and texture for future seasons.
FAQs About DIY Cardboard and Yarn Fish Craft for Cheerful Home Decor
What if I don’t have cardboard?
You can use sturdy poster board or any thick material that is durable enough to hold the yarn.
Can I use wool instead of yarn?
Absolutely! Wool or any light yarn will work just as well, but remember it may create a different texture.
How do I hang my fish decor?
Consider using a removable adhesive strip to hang them without damaging walls, especially if you want to reposition them later.
How long does the hot glue take to dry?
Typically, hot glue will set quickly, within a few minutes, but for full strength, allow it to cure for at least 20 minutes before moving it.
A Handmade Touch for the Season
Creating the DIY Cardboard and Yarn Fish Craft is not just about crafting; it’s also about adding a bit of cheer to your space. Every handmade piece holds character and personal touch that enhances your home’s warmth.
As you embrace these creative moments, remember that it’s okay if your craft isn’t perfect what matters is the joy of creating something special by hand. Let each whimsical fish remind you of the personal and inviting atmosphere that a handcrafted home can foster.
As you plan your crafting adventures, don’t hesitate to explore other decorating ideas such as a colorful garland, or even a fall leaf garland to further enhance your home’s charm.
Conclusion
Reflecting on DIY projects can bring joy to both the maker and the viewers. The transformation of simple materials into personal, welcoming decor can uplift the spirit of your home. For additional inspiration on crafting spaces, consider checking out this budget-friendly craft room makeover that might spark ideas for your next creative endeavor.
Print
DIY Cardboard and Yarn Fish Craft for Cheerful Home Decor
- Total Time: 10 minutes
- Makes: 1 fish craft
Description
A delightful DIY project that brings color and charm to your home decor with a cardboard and yarn fish craft.
Materials
- Cardboard
- Yarn (in various colors)
- Scissors
- Hot glue gun (and glue sticks)
- Pencil
- Optional: decorative embellishments (like beads or glitter)
Instructions
- Create the fish shape by drawing your fish outline on a piece of cardboard and cutting it out.
- Prepare the yarn by cutting several long strands based on your coverage needs.
- Glue one strand of yarn at one end and wrap it around the fish shape, adding glue as needed.
- Add texture by using multiple yarn colors and gluing new pieces down at intervals.
- Finishing touches can include adding embellishments like beads for eyes or glitter glue for decoration.
Notes
Customize colors and textures for seasonal decor, and always dry-fit yarn before gluing.