

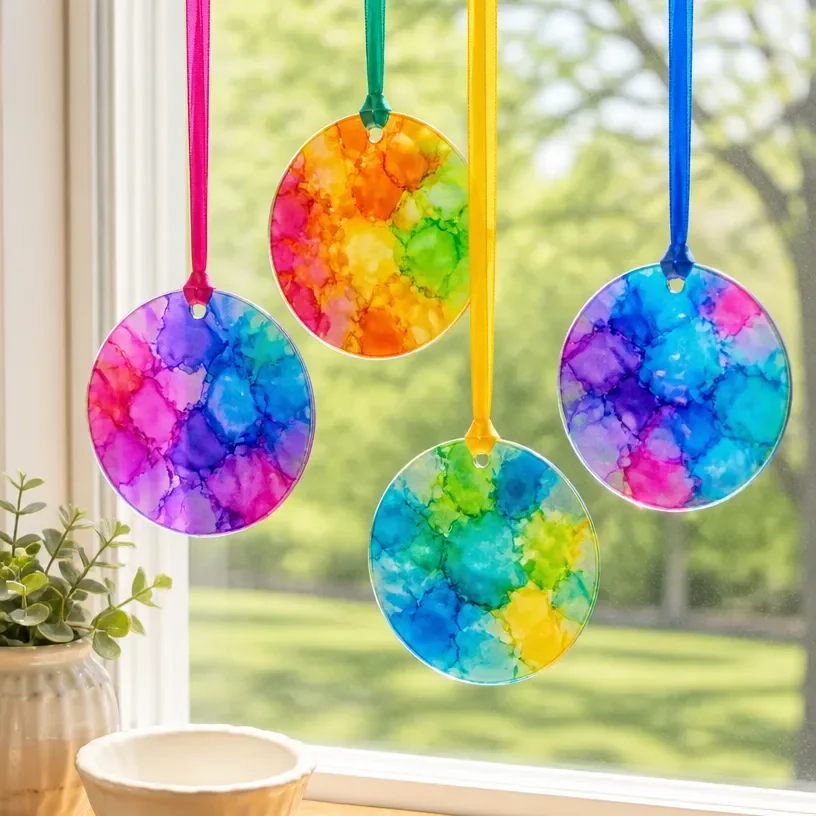
DIY Faux Stained Glass Suncatchers Tutorial You may also find Diy Rainbow Stained Glass Mason Jar Bat Lantern useful.
Creating your own DIY faux stained glass suncatchers is an enchanting way to add colorful decor to your home. Whether it’s spring blossoms or autumn leaves, these suncatchers can beautifully reflect seasonal beauty right in your own window. They’re not only visually appealing but also easy to craft, making them perfect for crafters of all skill levels. This project invites you to embrace your creativity while bringing a lovely touch of color and light into any space. You may also find Diy Stained Glass Rainbow Window Decor Autumn Leaves useful.
Hanging these suncatchers in your windows will allow them to catch the sunlight, creating a mesmerizing glow that adds warmth to your home atmosphere. Plus, this project provides a chance to blend rustic charm with modern aesthetics. They can be displayed seasonally or year-round and can be customized to fit your unique decorating style. You may also find Easy Diy Glass Bead Suncatchers Window Decor useful.
Why You’ll Love This Project
DIY faux stained glass suncatchers offer several compelling benefits that make them a delightful addition to your crafting repertoire. First, the materials used in this project are both accessible and budget-friendly, ensuring that you can enjoy this craft without a significant financial commitment. Additionally, this project is versatile ideal for any season or occasion, whether it’s bright spring colors, vibrant summer designs, or rich autumn tones.
Moreover, the ability to personalize these suncatchers allows for boundless creativity. You can experiment with colors and shapes to create a look that’s tailored just for you. The finished pieces are not only decorative but also serve a functional purpose by enhancing natural light in your home.
Before You Start
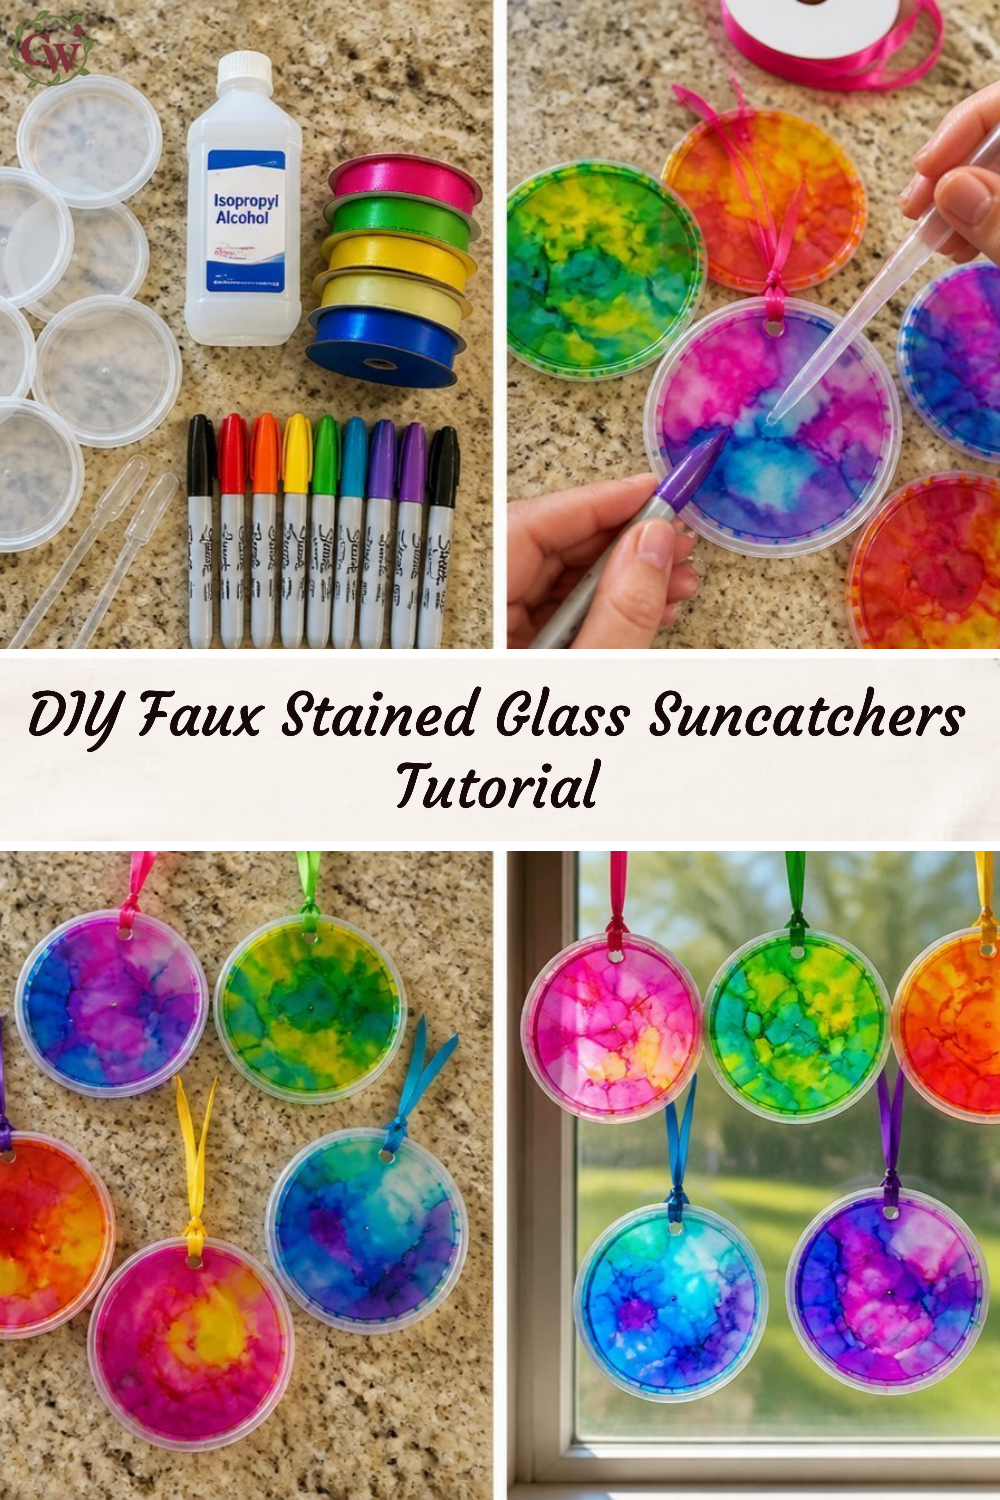
Before diving into crafting your DIY faux stained glass suncatchers, imagine what your finished piece will look like. You might envision a colorful mosaic-like arrangement of unique shapes that dances with light, enhancing the beauty of your windows. It’s essential to give attention to the design, especially when choosing colors and shapes, as these will impact the final look.
To prepare your workspace, clear a flat surface where you can comfortably create without distractions. Gather all your materials so that everything is at your fingertips. Remember, a smooth crafting process begins with being organized!
“A handmade touch makes every home feel warmer.”
Materials and Supplies
Materials and Supplies
- Clear plastic sheets or transparency sheets
- Acrylic paints in your choice of colors
- Paintbrushes
- Black adhesive puffy paint or black craft glue
- Scissors
- A pencil
- Craft knife (optional for detailed cuts)
- Ruler or straightedge
- Hanging string or ribbon
When selecting your materials, consider the thickness of the plastic sheets. Thinner sheets will allow light to flow through more easily, enhancing the glow of your design. Use a variety of acrylic paint colors to create a vibrant stained glass effect.
How to Make DIY Faux Stained Glass Suncatchers Tutorial
Step 1: Design Your Pattern
Start by sketching out your design on paper. This could be anything from flowers to geometric shapes. Use your creativity to come up with a unique arrangement that excites you. Make sure to plan for the size of the suncatcher to fit well in your window frame.
Step 2: Transfer the Design
Once your design is ready, lay the clear plastic sheet over your sketch. Using a pencil, carefully trace the outline onto the plastic. This will serve as your guide while painting.
Step 3: Paint the Design
Now it’s time to fill in your design using acrylic paints. Choose bright, vibrant colors for a true stained glass effect. Apply the paint carefully, allowing each color to dry before adding the next to prevent mixing. Thin layers may work best to ensure transparency and a beautiful shine.
Step 4: Add Outlines
After your paint has completely dried, use the black adhesive puffy paint to outline your design. This will create the look of lead framing often found in traditional stained glass. Allow it to dry thoroughly.
Step 5: Cut Out the Suncatcher
Once everything is dry, use your scissors (or a craft knife for more intricate cuts) to cut out your suncatcher along the outline. This will prepare it for hanging.
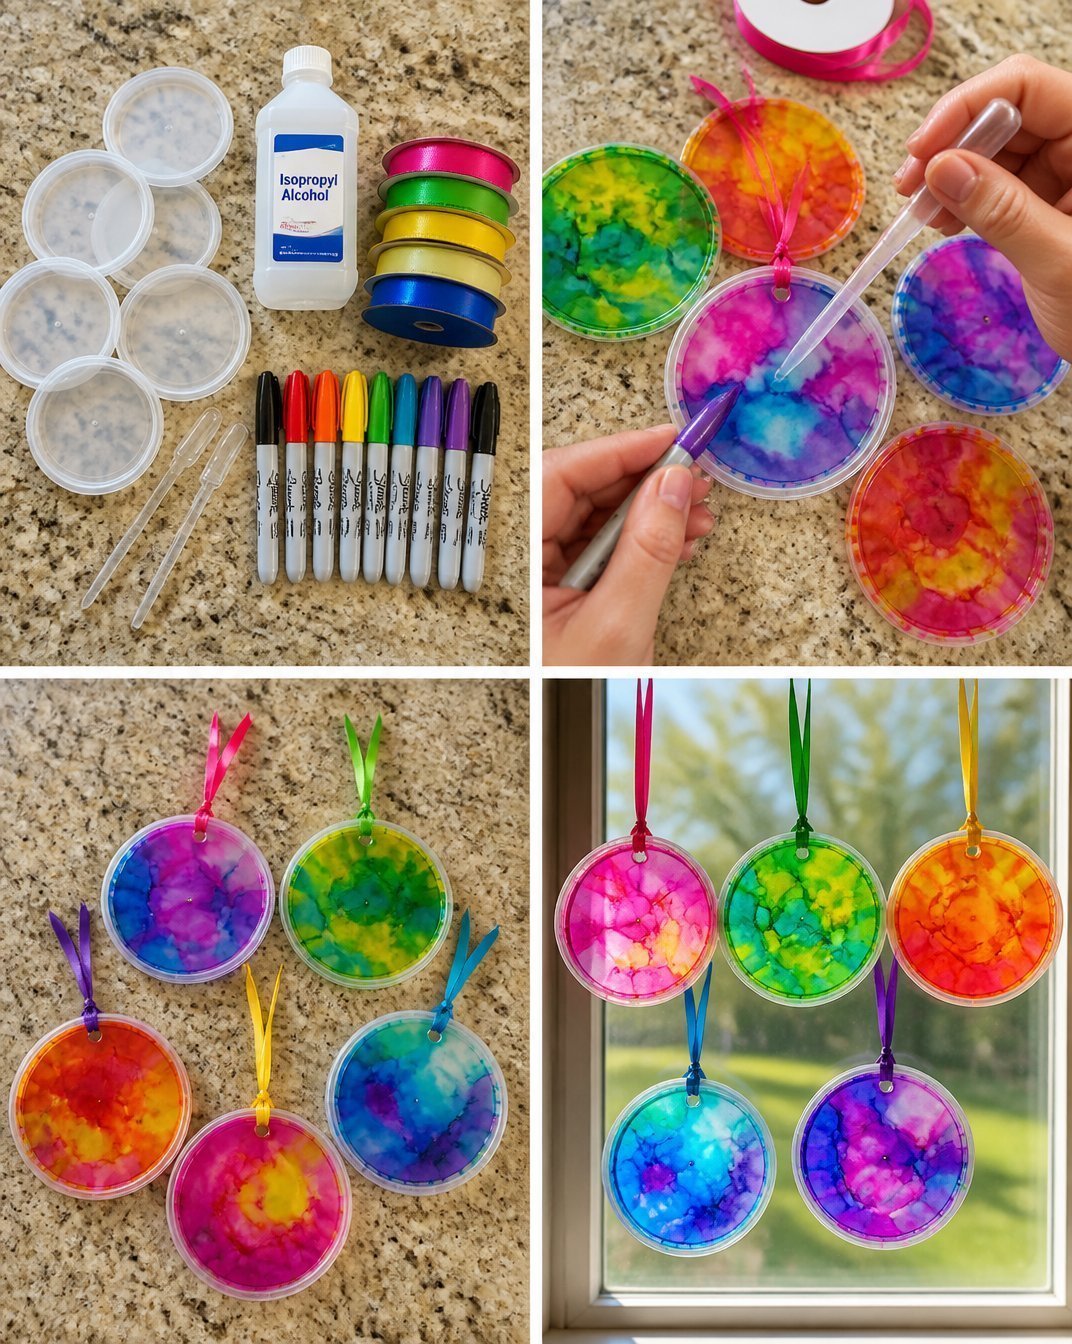
Step 6: Attach the Hanging String
To hang your suncatcher, attach a piece of string or ribbon to the top. Make sure it’s securely fastened, as this will be the means of displaying your lovely creation.
How to Style Your Finished DIY Faux Stained Glass Suncatchers Tutorial
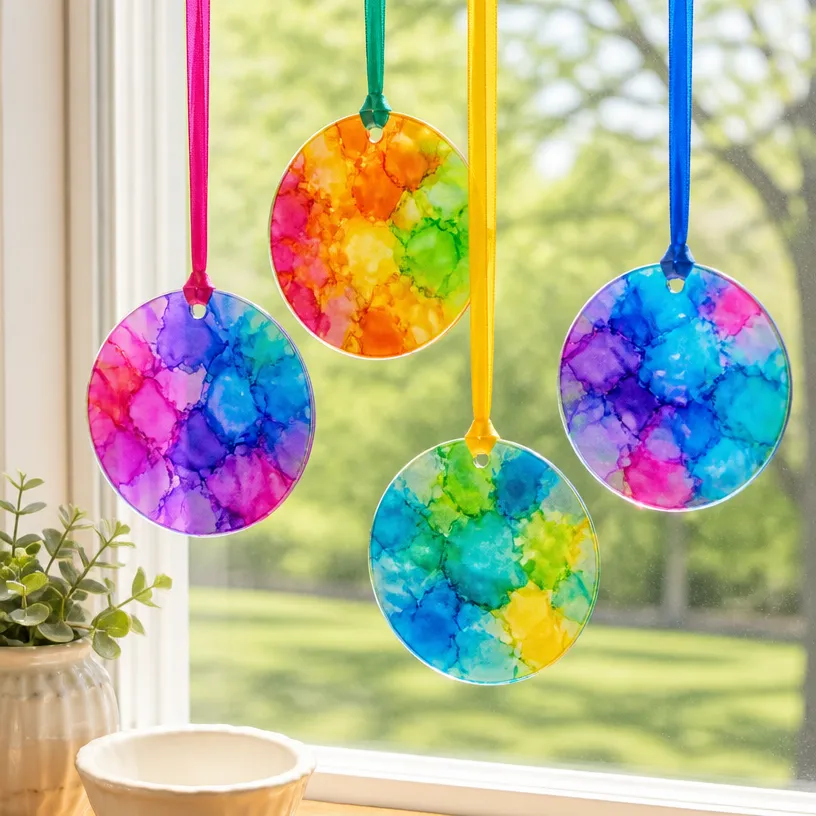
Your DIY faux stained glass suncatchers can transform any space in your home. Hang them in windows of your kitchen, dining room, or even a cozy corner of your living room, where they will capture and reflect sunlight beautifully. They can be effortlessly paired with complementary decor, like natural wood frames or soft textiles.
Consider changing your suncatcher designs with the seasons swap out spring flowers for autumn leaves or holiday-themed shapes. The beauty of these suncatchers lies in their versatility; they can be seasonal accents or year-round decor.
Maggie’s Tips for the Best Results
- Always dry-fit the pieces before gluing to see how they will align.
- Work in layers when applying paint for a rich, dimensional look.
- Allow proper drying time between colors to avoid muddy designs.
- Balance larger elements with smaller ones for a visually pleasing composition.
- Keep edges clean and neat while cutting out your suncatcher for a polished finish.
Easy Ways to Customize This Project
There are countless ways to personalize your faux stained glass suncatchers. Change up the color palette to suit seasonal themes or match existing decor in your home. You might choose to add embellishments like faux greenery or decorative beads around the edges for added interest. Painted letters or shapes can also mark special occasions or convey messages like “Welcome” or “Happy Holidays.”
Caring for Your Handmade Decor
To ensure your suncatchers maintain their beauty, gently clean them with a damp cloth to remove dust and prevent any buildup. Avoid harsh chemicals, as these could damage the painted surface. When storing your suncatchers during non-seasonal times, wrap them in soft cloths to protect them from scratches or breakage.
FAQs About DIY Faux Stained Glass Suncatchers Tutorial
Can I use other types of paint?
While acrylic paint works wonderfully, you could also experiment with glass paints specifically designed for this purpose.
How should I hang my suncatcher?
You can use a suction cup hook for easy application on windows or a nail for more permanent installations.
What if I want to use it outdoors?
Ensure the materials used are weather-resistant if you plan to hang your suncatchers outside.
How long does the paint take to dry?
Typically, acrylic paint dries within a couple of hours, but it’s best to allow them to dry overnight before showcasing.
A Handmade Touch for the Season
Creating your own faux stained glass suncatchers is a rewarding project that infuses your home with color and light. There’s a certain joy in seeing something you crafted yourself hanging in your window, beautifully capturing the changing seasons. As you embark on this simple yet impactful DIY, remember that it’s the handmade touches that reflect warmth and personality in our homes. Each piece tells a story and contributes to the overall charm of your living space.
For more insights on incorporating faux stained glass techniques into your craft projects, check out this resource on how to make faux stained glass with acrylic paint and glue.
Print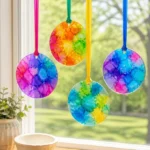
DIY Faux Stained Glass Suncatchers
- Total Time: 30 minutes
- Makes: Multiple suncatchers
Description
Create beautiful DIY faux stained glass suncatchers to add colorful decor to your home.
Materials
- Clear plastic sheets or transparency sheets
- Acrylic paints in your choice of colors
- Paintbrushes
- Black adhesive puffy paint or black craft glue
- Scissors
- A pencil
- Craft knife (optional for detailed cuts)
- Ruler or straightedge
- Hanging string or ribbon
Instructions
- Design Your Pattern
- Transfer the Design
- Paint the Design
- Add Outlines
- Cut Out the Suncatcher
- Attach the Hanging String
Notes
Consider personalizing your suncatchers with seasonal themes or embellishments. Clean gently with a damp cloth.