

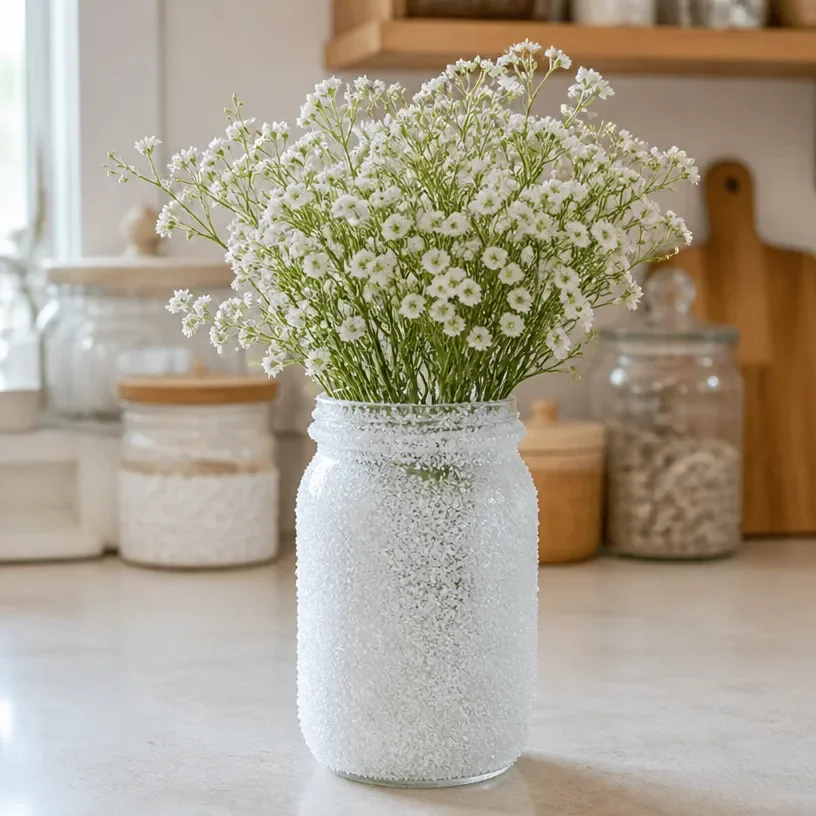
Frosted glass mason jars are a delightful way to add elegance and charm to your home decor while keeping things practical. These versatile jars can serve multiple purposes, from stylish storage solutions to beautiful accents for seasonal displays. With their frosted finish, they create a warm, inviting ambiance that enhances any room’s aesthetic, whether it’s for a cozy fall gathering or a festive holiday setting. You may also find Colorful Folk Art Pumpkin Mason Jars Diy Decor useful.
Crafting frosted glass mason jars is accessible for crafters of all skill levels, inviting creativity and personal touches. They can be placed on a mantel, used as centerpieces on dining tables, or beautified for special occasions. The soft lighting they emit when illuminated adds extra charm whether filled with candles or seasonal florals. You may even consider pairing them with ideas from other projects, like decorative Halloween jars for spooky decor or luminaries for autumn that brighten up your evenings.
Why You’ll Love This Project
Creating frosted glass mason jars is a satisfying project that combines creativity and utility. The gentle sheen of frosted glass provides a dreamy effect, making them suitable for various decorations throughout the year. They showcase farmhouse character beautifully and are perfect for traditional and modern styles alike. This DIY craft allows for customization; you can choose different sizes of jars, fill them with seasonal materials, and personalize them to suit your home’s ambiance.
The materials needed are often budget-friendly and can be found around your home, making this not just a fun endeavor but also an economical one. Additionally, the project offers plenty of room for creativity, as you can experiment with paint colors and styles to reflect your personality and home decor style.
Before You Start
Before diving into this project, envision what your finished frosted glass mason jar will look like. Imagine a quaint jar glowing softly by a window or elegantly dressed on your dining table. Focus on achieving a smooth frosted finish this aspect deserves most of your attention, as it sets the overall tone of elegance.
Prepare your workspace with newspaper or a drop cloth to catch any paint overspray, keeping it organized means fewer distractions while crafting. This preparation helps streamline your session, allowing you to enjoy the crafting without worrying about messes.
“A handmade touch makes every home feel warmer.”
Materials and Supplies
Materials and Supplies
- Clear mason jars (any size)
- Frosted glass spray paint
- Sandpaper or a fine sponge (optional, for texture)
- Painter’s tape
- Protective gloves
- Newspaper or a drop cloth
- Decorations (e.g., twine, ribbon, faux flowers)
When selecting your mason jars, consider mixing sizes for visual interest. The type of sprayer can affect your finish; opt for a frosted glass spray paint that provides a smooth, even coat. If desired, lightly sand the jar’s surface before painting for an extra textured look that captures light and enhances the frosted effect.
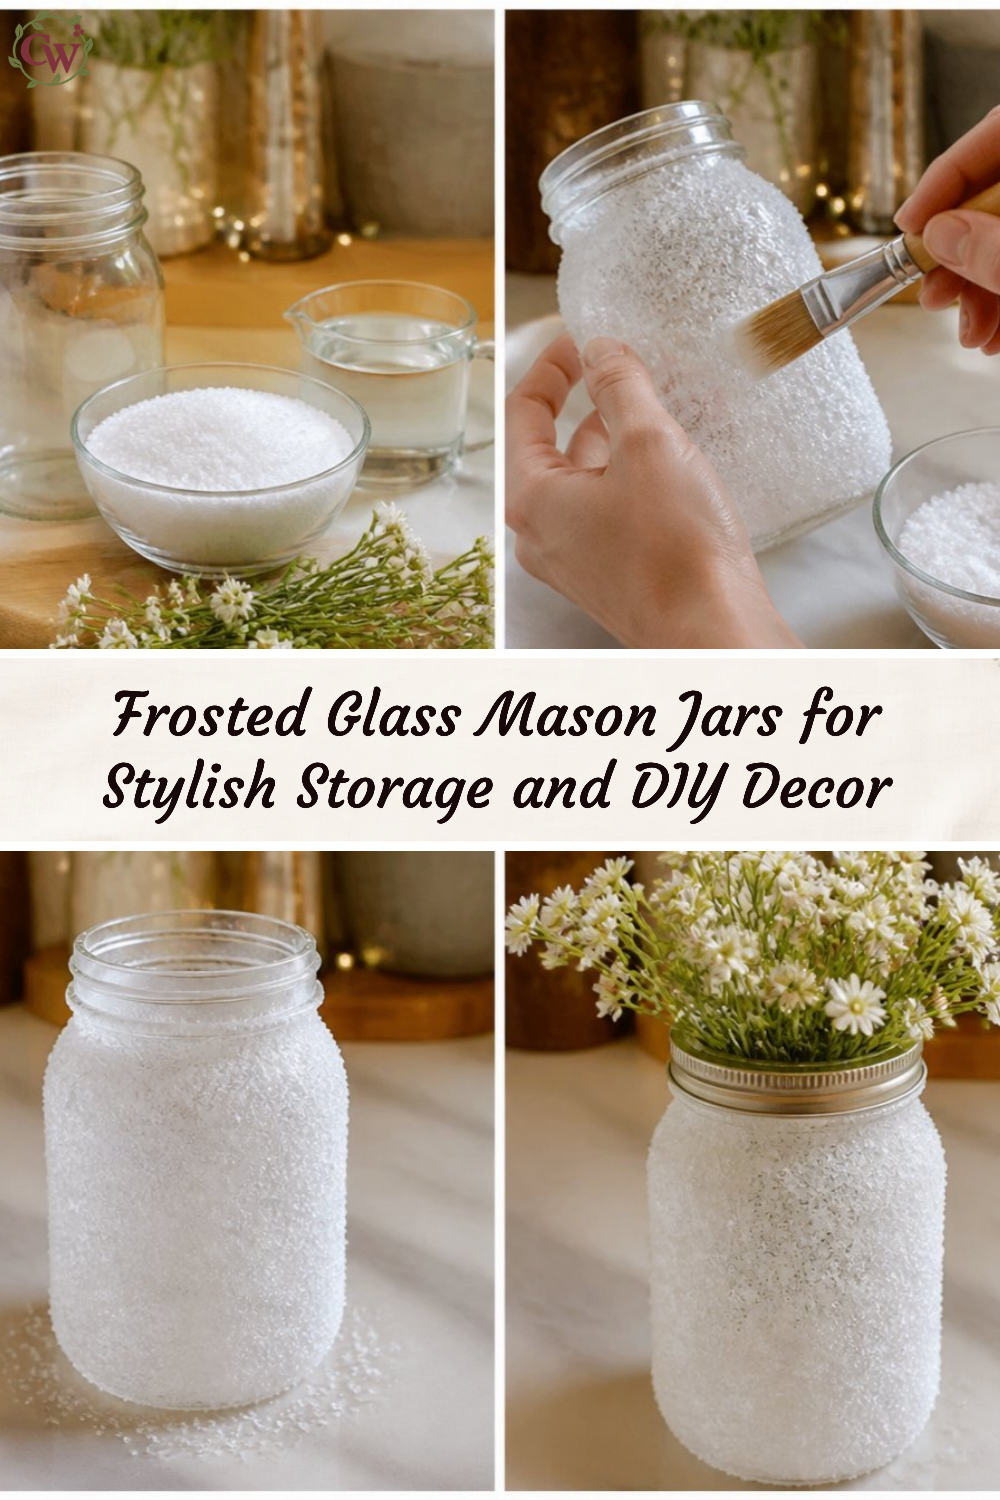
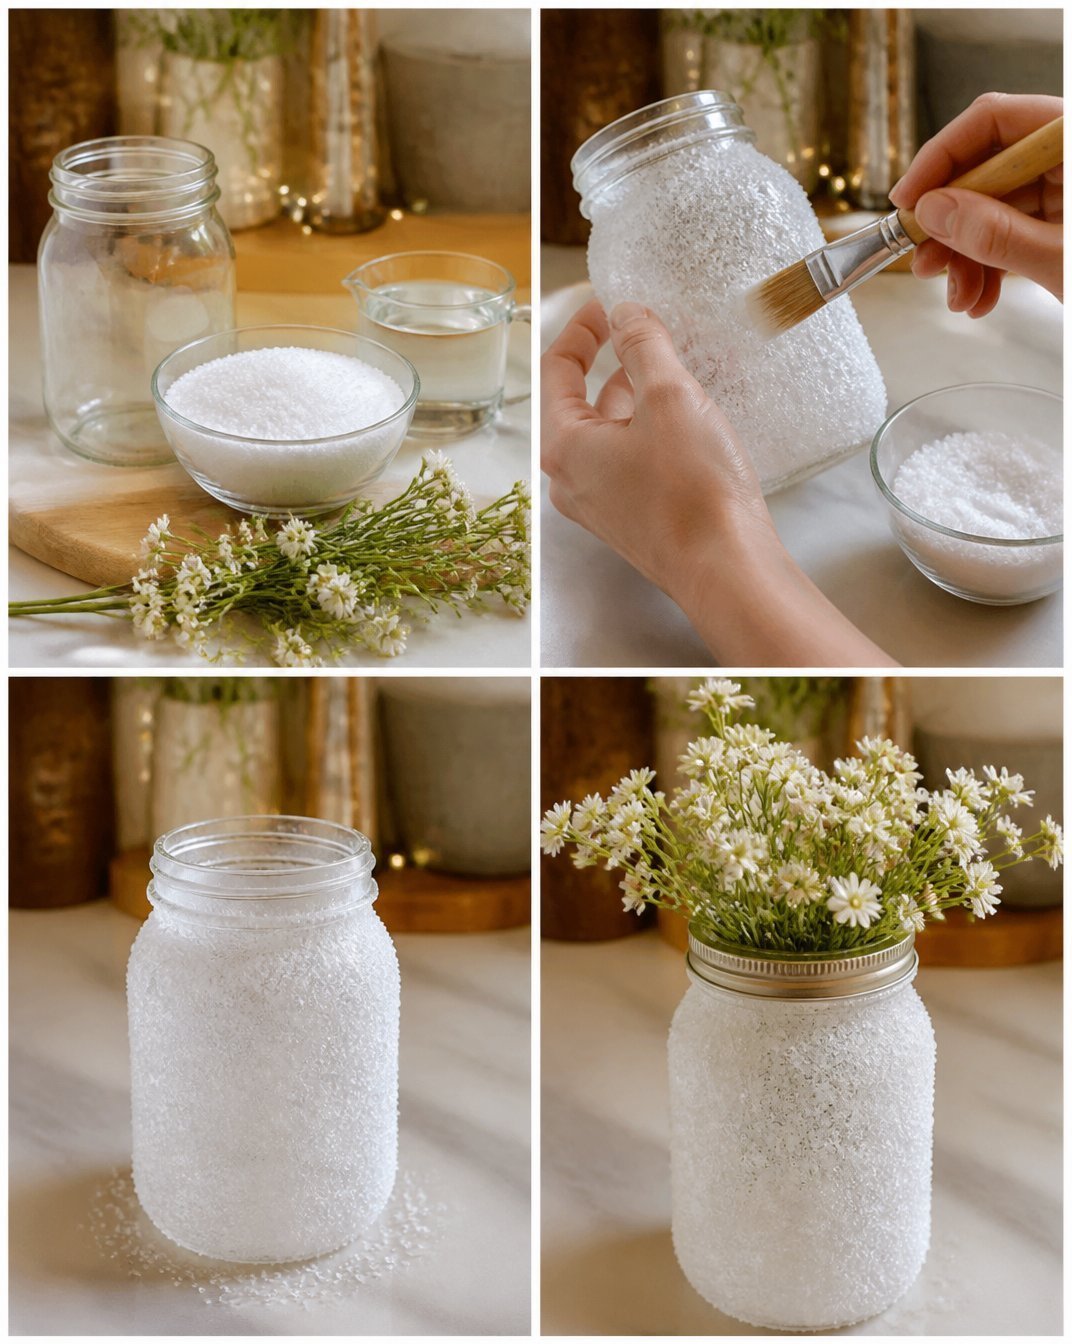
How to Make Frosted Glass Mason Jars: Stylish Storage and DIY Decor Ideas
Step 1: Prepare the Mason Jar
Begin with clean, dry mason jars. If they are repurposed, make sure they are free of any label residue or dirt. Use painter’s tape to secure any areas you don’t want to be painted, creating crisply defined lines.
Step 2: Apply the Frosted Glass Spray
In a well-ventilated area, place your jar on newspaper or a drop cloth. Hold the spray paint about 6-12 inches away, and gently coat the jar in sweeping motions. Aim for a light, even coating to ensure a uniform frost. Multiple light coats are better than one heavy coat to prevent drips.
Step 3: Dry and Cure
Let the jars dry per the manufacturer’s guidelines, usually around 30 minutes depending on conditions. For a more durable finish, allow them to cure for 24 hours after painting.
Step 4: Adding Personal Touches
Once the paint is fully cured, remove the painter’s tape and begin adding your decorative elements. Ribbons can be tied around the top or use twine to create a rustic look. For a seasonal flare, consider adding faux greenery or fresh flowers inside.
How to Style Your Finished Frosted Glass Mason Jars: Stylish Storage and DIY Decor Ideas
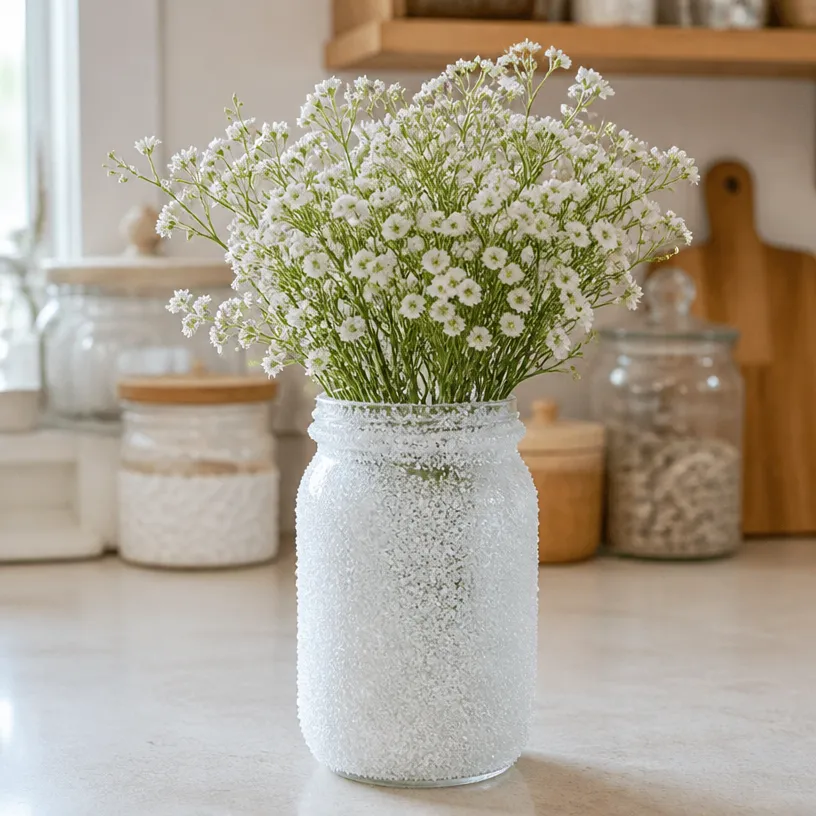
These beautiful frosted jars can be styled anywhere in your home. Place them on your mantel as a centerpiece filled with fairy lights, or use them in your entryway with fresh flowers for a warm welcome home. They can also make lovely table settings during family gatherings or events, adding a touch of charm without overwhelming the table decor.
Mix them with other rustic decorations to accentuate your style; incorporating items like wooden trays or natural textiles can help ground the frosted jars in your decor theme.
Maggie’s Tips for the Best Results
- Always apply spray paint in well-ventilated areas to avoid inhaling fumes.
- Practice your spray technique on paper before applying to the jars.
- Layer your decorations to create depth; for example, mix taller items with short ones in a cluster.
- Allow sufficient drying time between coats to achieve a smooth finish.
- Utilize a variety of jar sizes for visual interest when displaying.
Easy Ways to Customize This Project
Feel free to personalize your frosted glass jars. Changing the color of the ribbons can reflect the seasons, shifting from earthy tones in the fall to bright colors in the spring. You might also consider adding stencils to create unique designs that resonate with special occasions, such as festive sayings for Christmas.
Consider filling the jars with colored sand, seasonal leaves, or even using metallic paints to create a shimmer that will catch the light beautifully.
Caring for Your Handmade Decor
To keep your frosted glass mason jars looking their best, avoid washing them in the dishwasher. Hand wash gently with mild soap and avoid any harsh scrubbing pads that could scratch the finish. Store them safely during off-seasons in a dry place, wrapping them if needed to prevent any accidental breakage.
FAQs About Frosted Glass Mason Jars: Stylish Storage and DIY Decor Ideas
How many coats of spray paint should I use?
It’s best to apply multiple light coats, allowing each one to dry before applying the next, to achieve a smooth, frosted finish.
Can I use glass paint instead of spray paint?
While glass paint can be used, it may require additional curing time and may not produce the same frosted look as spray paint.
Will the frosted finish fade over time?
With proper care, the frosted finish should remain intact. Avoid abrasive cleaning materials and extreme weather conditions.
Can I put real flowers in the jars?
Yes, real flowers can be used, but be cautious of water that might warp the frosted finish over time. Consider lining them with a waterproof insert.
How can I decorate the jars for different seasons?
Consider seasonal motifs, colors, and contents that reflect the holiday or season, such as pinecones for winter and fresh blooms for spring.
A Handmade Touch for the Season
Every project you undertake, like creating these frosted glass mason jars, adds a unique touch to your home. The warmth of handmade decor invites people in and reflects your character. There’s something special about crafting items that not only serve a purpose but also brighten everyday life.
You can explore more decorative ideas, like a distressed glass painted mason jar, which can serve as a stunning addition to your DIY repertoire.
Print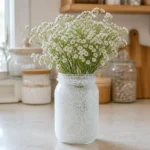
Frosted Glass Mason Jars
- Total Time: 60 minutes
- Makes: 4 jars
Description
Create elegant frosted glass mason jars to enhance your home decor with charm and practicality.
Materials
- Clear mason jars (any size)
- Frosted glass spray paint
- Sandpaper or a fine sponge (optional, for texture)
- Painter’s tape
- Protective gloves
- Newspaper or a drop cloth
- Decorations (e.g., twine, ribbon, faux flowers)
Instructions
- Prepare the mason jar by ensuring it’s clean and using painter’s tape to secure areas you don’t want painted.
- Apply the frosted glass spray in a well-ventilated area, holding the spray 6-12 inches away and aiming for multiple light coats.
- Dry the jars as per the manufacturer’s guidelines, typically around 30 minutes, then allow them to cure for 24 hours.
- Adding personal touches, remove painter’s tape and decorate as desired with ribbons and faux flowers.
Notes
Use well-ventilated spaces for spray painting and consider mixing jar sizes for visual interest.