

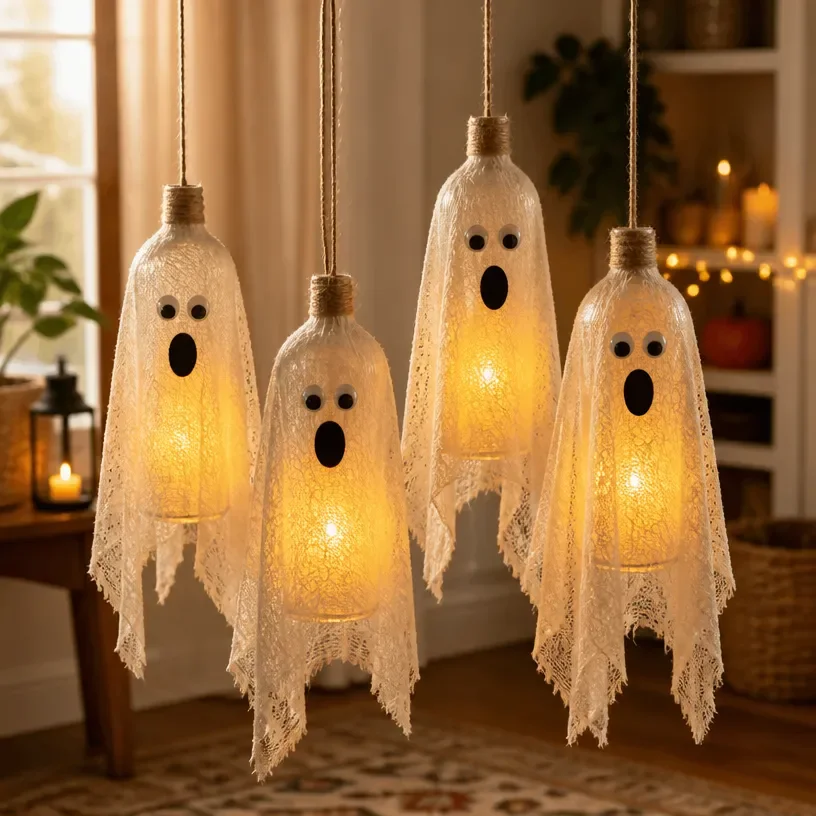
How to Make Glass Bottle Lanterns for Spooky Halloween Lighting You may also find Rainbow Holographic Bottle Spinner Toy useful.
Creating glass bottle lanterns for Halloween is a wonderfully engaging way to add some spooky atmosphere to your home. These lanterns emit a warm, inviting light that transforms both indoor and outdoor spaces. They can be displayed on your porch, table, or any corner in your house that needs a touch of festive charm. With some simple materials and a little time, you can craft a lantern that will be a delightful addition to your Halloween decor. You may also find Witch Hat Diy Halloween Collage Craft For Kids useful.
This project is approachable for any home crafter, regardless of experience level. The tactile nature of working with glass bottles and decorative materials makes it an enjoyable adventure for the entire family. Plus, you can customize your lanterns however you like, making them truly unique. If you’re interested in more spooky DIY projects, consider exploring our haunted village mason jar lanterns for additional inspiration.
Why You’ll Love This Project
Making glass bottle lanterns offers a delightful blend of creativity and practicality. The project is inexpensive, especially if you reuse old bottles or jars lying around your home. You’ll also appreciate the seasonal versatility; you can easily adapt the design for different holidays, like adding festive colors for fall or winter. With rustic charm at its core, each lantern can bring a unique flair to your decor.
The process is straightforward and allows for personal expression. Whether you prefer a classic or quirky design, you can mix and match paints, ribbons, and lighting options. By crafting these lanterns, you’re not only making decorations; you’re creating special memories as you work on this project with family or friends.
Before You Start
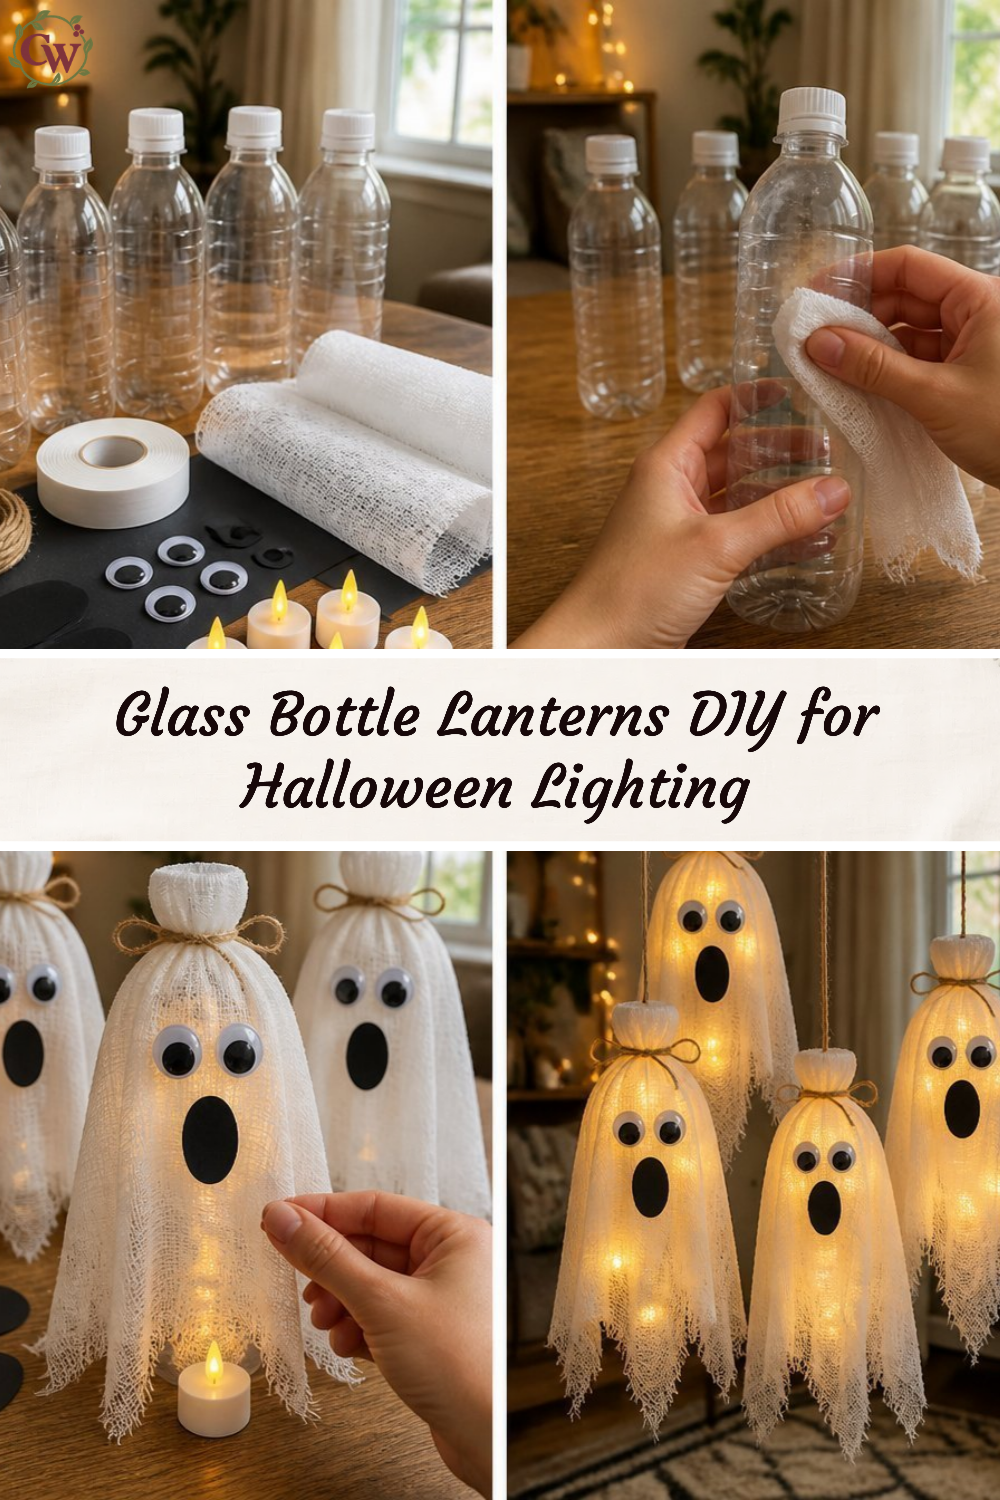
Before diving into the project, visualize what your finished glass bottle lantern should look like. It’s helpful to have an idea of the colors and decorations you’d like to use. A clean workspace will make assembly easier, so gather all your materials and set out a protective covering if needed to avoid any mess.
“A handmade touch makes every home feel warmer.”
The most important part of this project is ensuring the lantern looks appealing from all angles since they are meant to be displayed. Take your time to think about how you want the light to shine through and what embellishments you want to include.
Materials and Supplies
Materials and Supplies
- Empty glass bottles (such as wine or soda bottles)
- Acrylic paint (in various colors)
- Paintbrushes
- Tea light candles (battery-operated are preferred for safety)
- Twine or ribbon
- Scissors
- Optional: glitter, stickers, or other embellishments for decoration
- Optional: a lighter or matches (if using real tea light candles)
Choosing the right paint is essential. For an authentic glass lantern look, choose a finish that matches the seasonal vibes you want to create, whether it’s muted autumn shades or bold Halloween colors. Battery-operated tea lights are the safest option, especially if you’re using plastic or flammable materials as part of your design.
How to Make Glass Bottle Lanterns for Spooky Halloween Lighting
Step 1: Clean and Prepare the Bottles
Start by thoroughly cleaning your glass bottles. Remove all labels and any residue, ensuring they are dry and free from any adhesives. This helps the paint adhere better and gives a clean look to your finished lanterns.
Step 2: Choose Your Paint Design
Next, decide on your paint design. You could go for a spooky look with black or orange paint, or perhaps something more whimsical with colors that reflect autumn leaves. Use a paintbrush to apply the first coat of paint and allow it to dry completely.
Step 3: Add Layers
Once the first coat is dry, you may want to add additional design elements. For instance, you can splatter white paint over dark colors to create the effect of stars in the night sky. If you decide to add glitter, sprinkle it while the paint is still wet to ensure it sticks properly.
Step 4: Prepare Your Light Source
When your paint has dried and you’re satisfied with your design, place a tea light candle inside the bottle. If you’re using a battery-operated tea light, this is a great opportunity to test it out and adjust your placement!
Step 5: Finishing Touches
For the finishing touch, wrap some twine or ribbon around the neck of the bottle, tying it into a cute bow. Feel free to embellish further with seasonal decorations, like a small faux spider or a creepy label if you’re going all out for Halloween.
How to Style Your Finished Glass Bottle Lanterns for Spooky Halloween Lighting
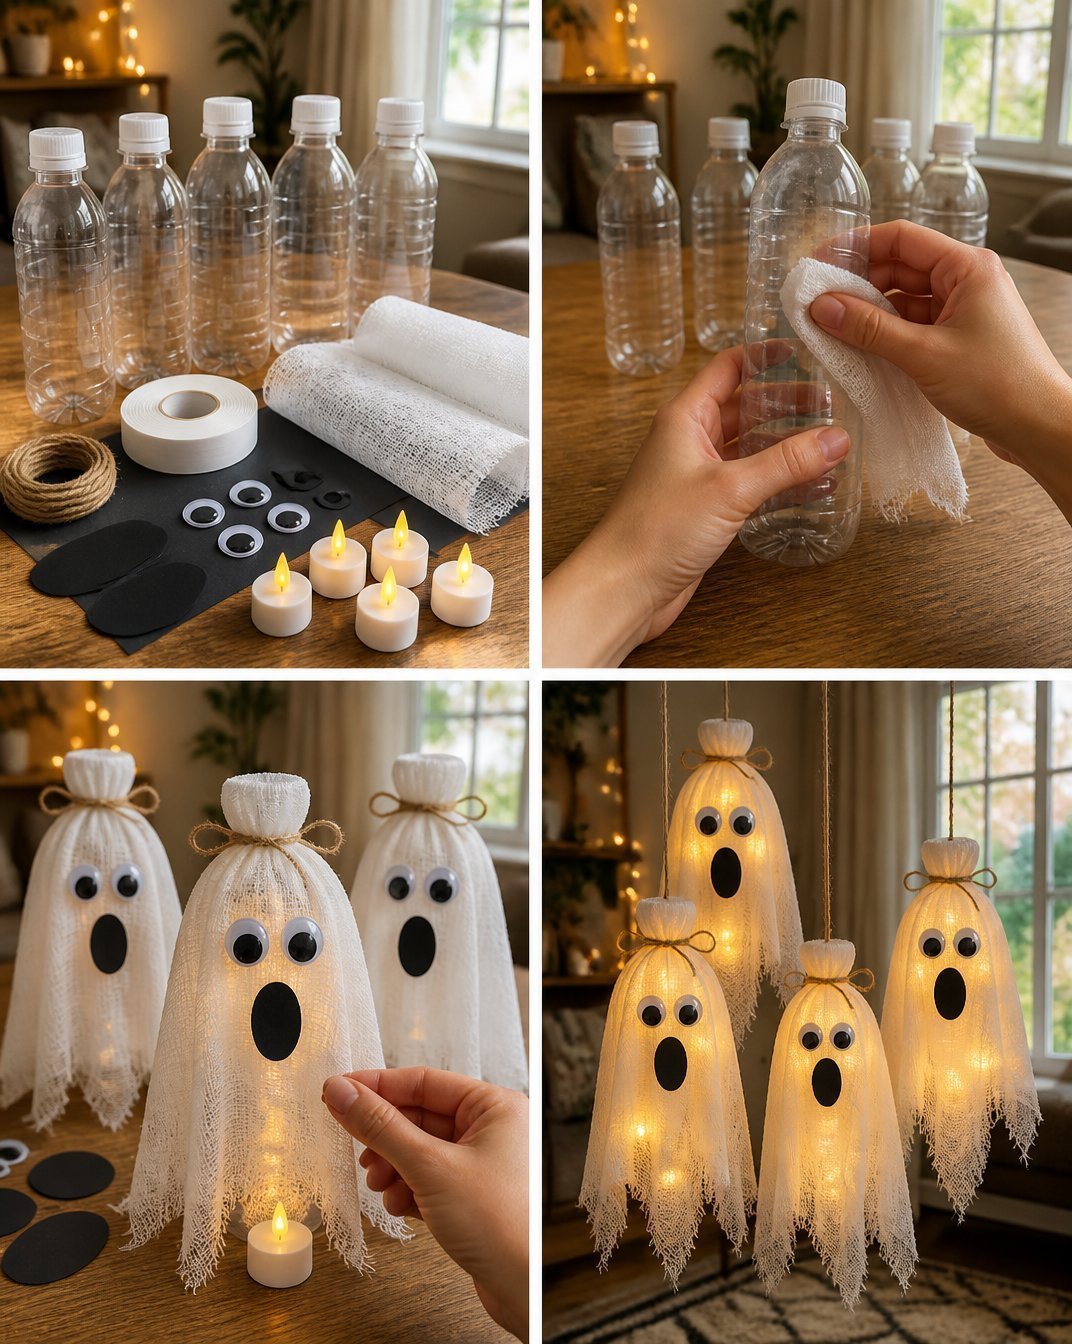
These charming glass bottle lanterns can be styled in various ways. Place them on your porch steps to greet trick-or-treaters or use them as part of a centerpiece on your dining table. For an enchanting look during Halloween night, line them up on a mantel along with other seasonal decor like pumpkins and gourds.
Additional decorations that complement your lanterns can include rustic wooden crates or natural elements like pinecones and autumn leaves. The goal is to create a warm and welcoming atmosphere that sets the mood for the season.
Maggie’s Tips for the Best Results
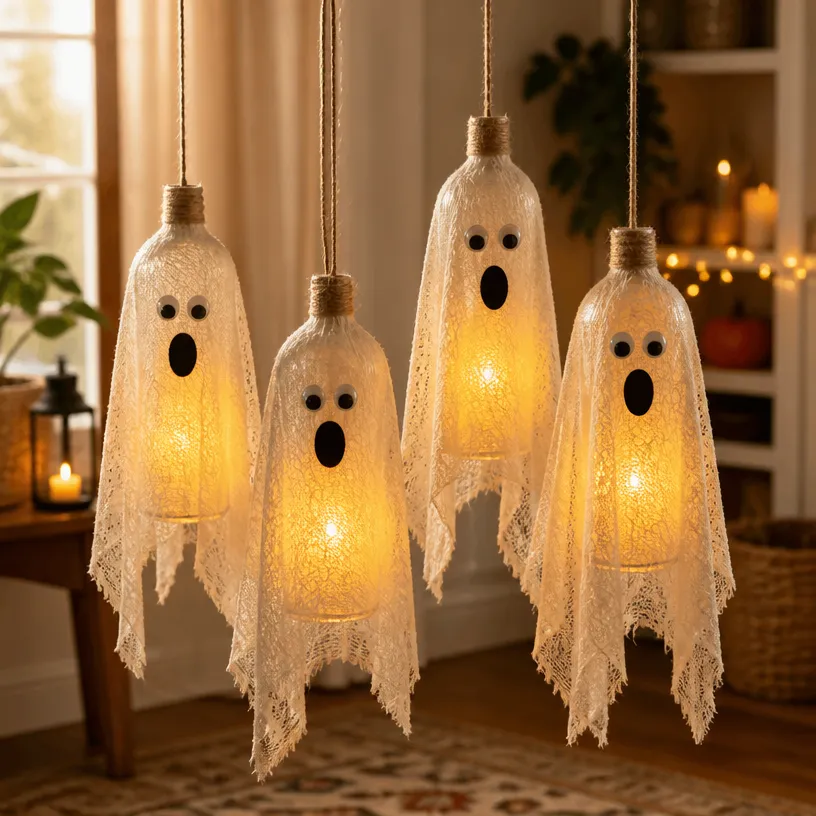
- Make sure to dry-fit any embellishments or lighting options before finalizing your design.
- Layering paint can add depth, just remember to allow each coat to dry before adding the next.
- If you’re using glue for embellishments, a hot glue gun can provide a strong hold.
- Balance your decorations to prevent overcrowding; less is often more in decorative displays.
- When working with paints, always allow ample drying time to avoid smudging.
Easy Ways to Customize This Project
Your glass bottle lanterns can easily reflect your unique style or the specific vibe of your home. Experiment with seasonal colors; for instance, incorporate deep reds and greens for Christmas, or soft pastels for spring. You can also vary the type of twine or ribbon used to suit different themes, and add personalized labels or tags to enhance their character.
How to Store Your Lanterns
To keep your glass bottle lanterns looking stunning season after season, store them in a dry, cool place. For fragile embellishments, wrap them gently in tissue paper to prevent damage. If you used a battery-operated light source, remember to remove the batteries during storage to ensure they stay in good shape.
FAQs About How to Make Glass Bottle Lanterns for Spooky Halloween Lighting
Can I use real candles instead of battery-operated ones?
Using real candles can be risky, especially with flammable materials. It’s safer to use battery-operated tea lights.
How long does the paint take to dry?
Drying can vary based on materials and humidity, but typically, you should allow at least one hour between coats.
What types of bottles work best for lanterns?
Any medium to large glass bottle will work well, but consider using those with a wider neck for easier access when placing your light source.
How can I change the design for other seasons?
You can easily adapt the paint colors and embellishments to suit different holidays, allowing for year-round use.
A Handmade Touch for the Season
As you create your glass bottle lanterns, remember that each piece is a testament to your creativity and effort. These handmade decorations not only beautify your space, but they also bring a sense of warmth and personality that store-bought items often lack. Enjoy the process of crafting and displaying your work, knowing that it doesn’t have to be perfect to be meaningful.
For more ideas on making seasonal decorations, you can also check out this guide on DIY Halloween lights using old bottles for even more inspiration.
Print
Glass Bottle Lanterns for Spooky Halloween Lighting
- Total Time: 60 minutes
- Makes: 4 lanterns
Description
A fun DIY project to create charming glass bottle lanterns that add a spooky touch to your Halloween decor.
Materials
- Empty glass bottles (such as wine or soda bottles)
- Acrylic paint (in various colors)
- Paintbrushes
- Tea light candles (battery-operated recommended)
- Twine or ribbon
- Scissors
- Optional: glitter, stickers, or other decorations
- Optional: lighter or matches (for real tea light candles)
Instructions
- Clean and prepare the bottles by removing labels and ensuring they are dry.
- Choose your paint design and apply the first coat; allow it to dry.
- Add layers with additional paint and embellishments as desired.
- Prepare your light source by placing a tea light inside the bottle.
- Finishing touches include wrapping twine or ribbon around the neck of the bottle and adding any seasonal decorations.
Notes
Ensure the lantern looks appealing from all angles and customize to reflect your personal style.