

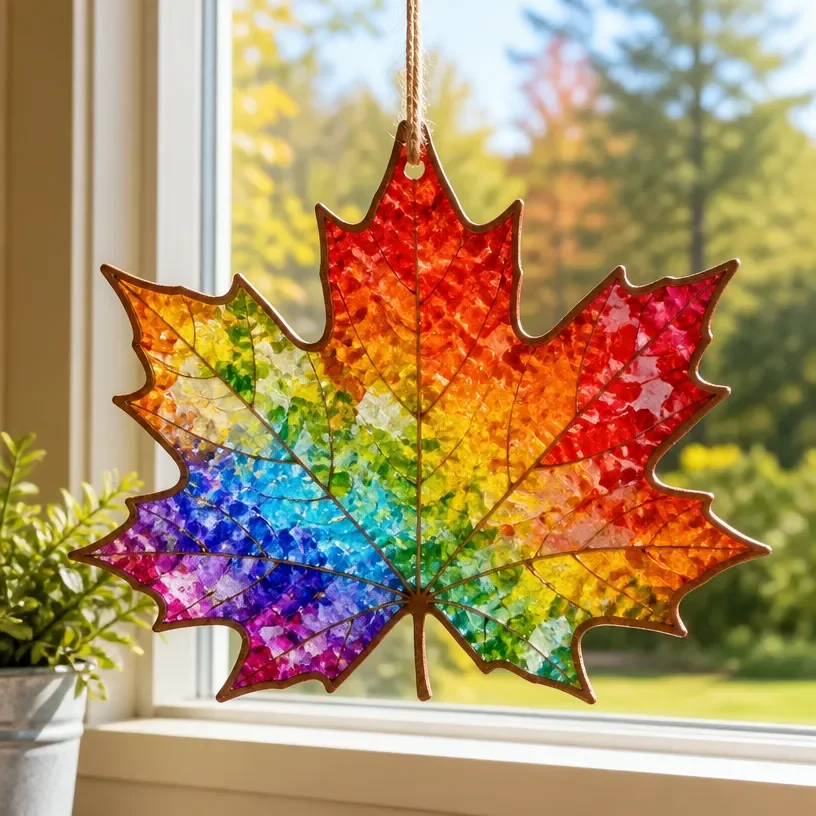
Creating a Stained Glass Window with Rainbow Fall Leaves is a delightful way to celebrate the beauty of autumn. This project combines vibrant colors with the artistic charm of stained glass, making it a striking addition to any windowsill or porch. The interplay of light through the leaves will add warmth and cheer to your home, reflecting the stunning hues of the fall season. As someone who loves to infuse warmth into handmade decor, I find that this project is not only visually pleasing but also quite approachable for crafters of all skill levels. You may also find Rainbow Fall Leaf Mason Jar Luminary Village Decor useful.
Using natural materials and simple supplies, this stained glass window can be a beautiful centerpiece, enhancing your home decor while invoking the spirit of fall. It’s perfect for display in your living room, dining area, or even at the entrance to welcome guests. Plus, it’s an excellent.activity to do with family or friends, allowing you to bond over creativity.
Why You’ll Love This Project
Creating your own Stained Glass Window with Rainbow Fall Leaves is an enjoyable endeavor for several reasons. First, the construction is straightforward, making it suitable for both novice and experienced crafters. The materials you’ll need are either inexpensive or reusable, allowing you to keep your crafting budget-friendly.
This project also stands out for its seasonal versatility. Whether you’re displaying it as part of your fall decor or using it to brighten up spaces year-round, its farmhouse character seamlessly integrates with any setting. Plus, the ability to customize colors and designs means your stained glass window will be uniquely your own.
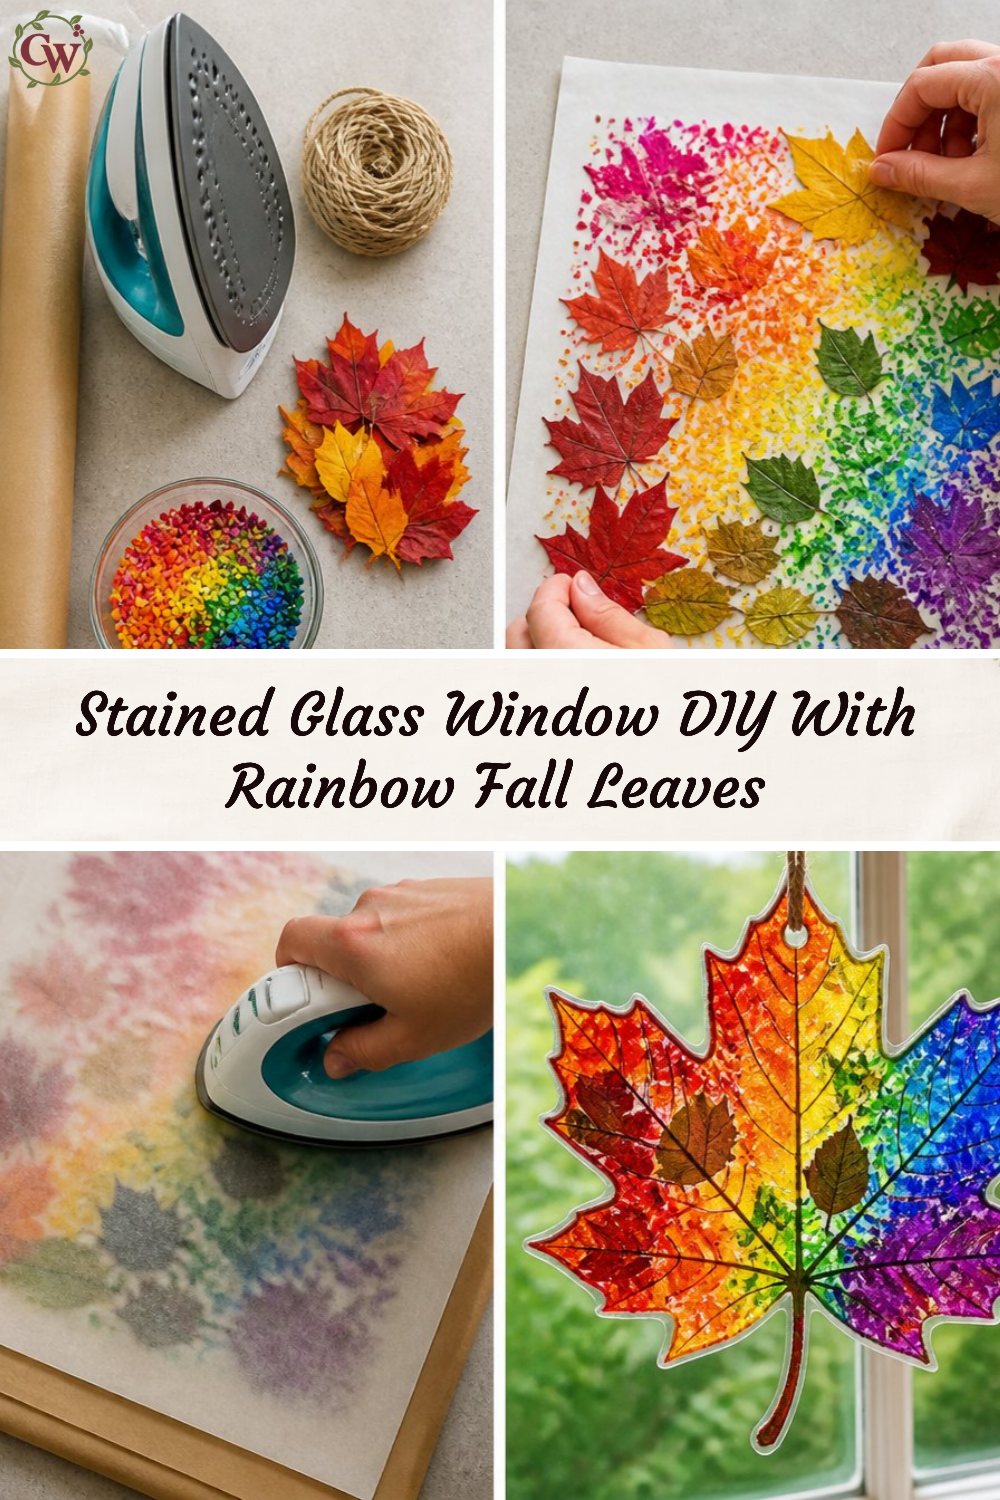
Before You Start
Before diving into the crafting process, it’s helpful to have a clear vision of what your finished stained glass window will look like. The rainbow of fall leaves should glow beautifully when light passes through, so attention to detail plays a key role. Arrange your leaves in a way that feels balanced, and consider experimenting with different placements before committing to any glue.
Preparing your workspace is equally important. Choose a clean, well-lit area, and gather all your materials in one place to streamline the crafting process.
“A handmade touch makes every home feel warmer.”
Materials and Supplies
Materials and Supplies
To create your stained glass window, you will need the following materials:
- Colorful plastic sheets or stained glass film
- Fall leaves (real or artificial)
- Clear adhesive or double-sided tape
- Scissors
- A sturdy frame (wood or cardboard)
- Optional: decorative tape or ribbon for finishing touches
When selecting your materials, consider the transparency of the plastic sheets you choose, as it will impact how the light shines through the finished window. Stained glass film can provide a beautiful effect resembling traditional stained glass.
How to Make Stained Glass Window with Rainbow Fall Leaves
Step 1: Gather Your Leaves
Begin by collecting an assortment of fall leaves. If you’re using real leaves, make sure they are pressed and dried to avoid wilting. Alternatively, faux leaves can be used for a permanent display.
Step 2: Cut the Plastic Sheets
Measure and cut the colored plastic sheets to fit your frame. The size of your sheets can vary based on your design preferences, but ensure they are large enough to cover the area you want to decorate.
Step 3: Arrange Your Design
Lay out the leaves on top of the plastic sheets. Experiment with colors and placements until you’re satisfied with the arrangement. Make sure to leave gaps for the clear areas of the stained glass effect.
Step 4: Attach the Leaves
Once you’ve finalized your design, use clear adhesive or double-sided tape to secure the leaves in place on the plastic sheets. Make sure the adhesive is suitable for use with plastic to ensure durability.
Step 5: Assemble the Frame
Place your decorated plastic sheets into the frame. If you’re using cardboard, glue or tape the edges of the plastic to the back of the frame to secure it.
Step 6: Finish Your Stained Glass Window
For an added touch, consider framing the edges with decorative tape or ribbon. This will give your stained glass window a polished look.
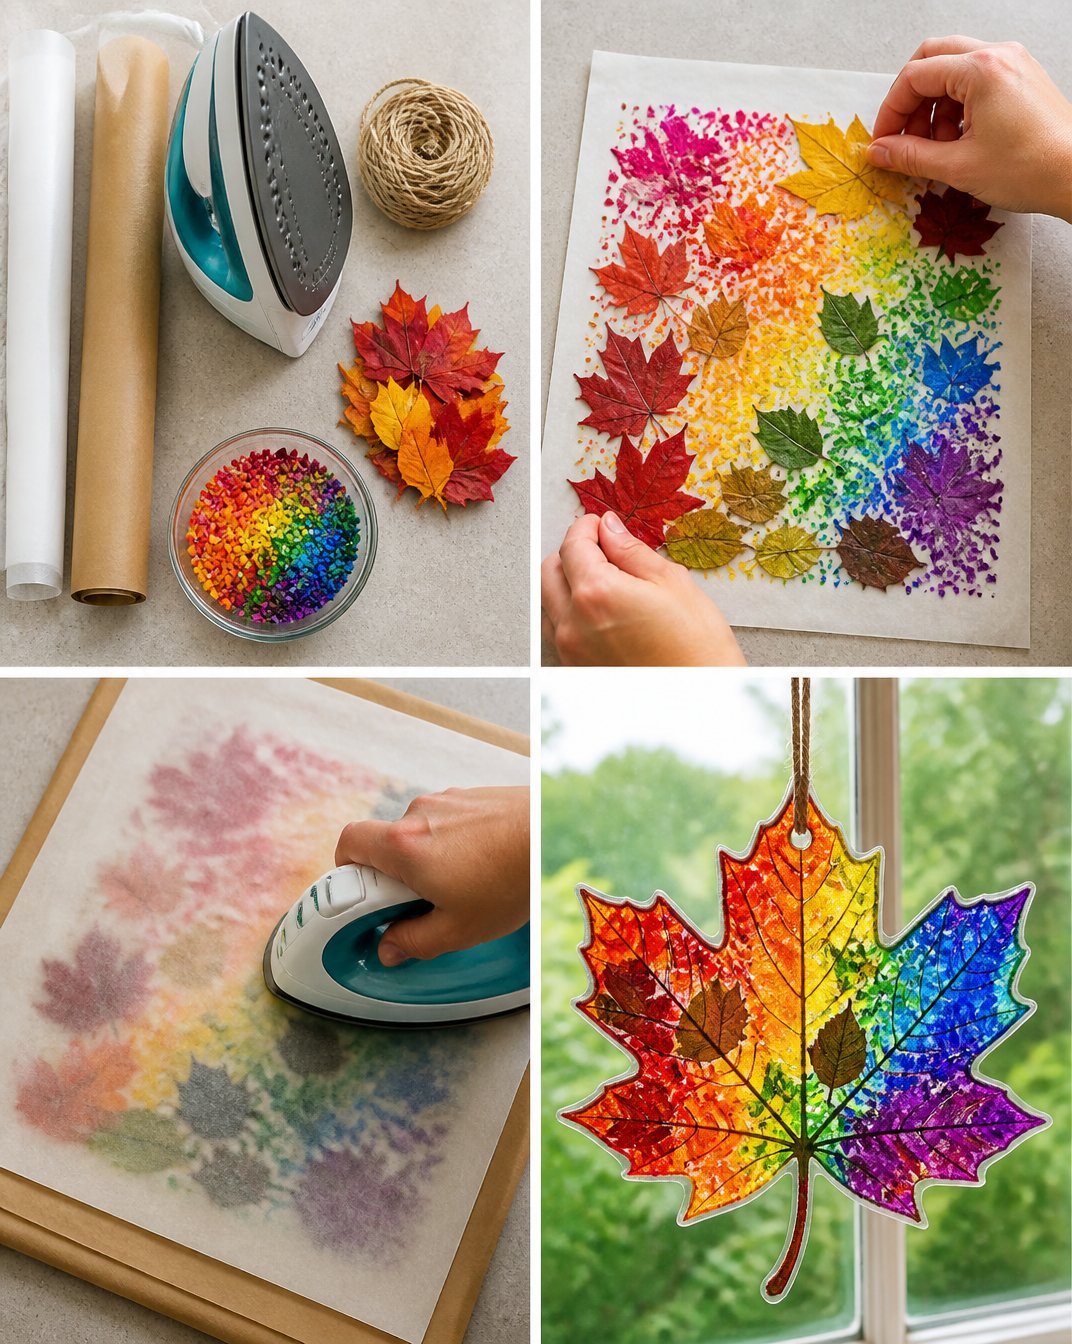
How to Style Your Finished Stained Glass Window with Rainbow Fall Leaves
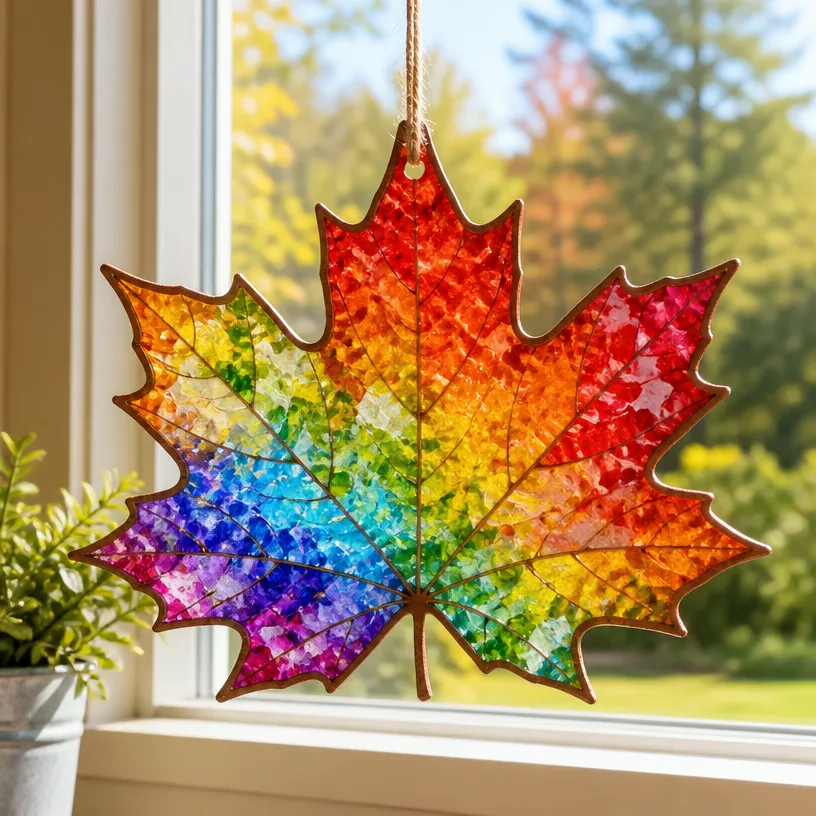
Once your stained glass window is complete, it’s time to showcase it. It can be beautifully displayed on a windowsill where sunlight can shine through, creating a dynamic play of colors in your space. Alternatively, consider hanging it in an entryway or on a porch to greet guests with the artistry of fall.
You might complement this decor with simple touches like a cozy blanket or a few seasonal pumpkins nearby to enhance the autumn vibe. Remember, it’s best to avoid cluttering the space to maintain the elegance of your new creation.
Maggie’s Tips for the Best Results
- Dry-fit your leaves before gluing to visualize the final look.
- Work in layers when applying your leaves for better depth and texture.
- Allow your adhesive to dry completely before moving your piece.
- Consider using various shapes and sizes of leaves for a more natural look.
- Keep a consistent theme in colors to maintain harmony in your design.
Easy Ways to Customize This Project
Feel free to explore personalization options, such as:
- Experimenting with different color palettes.
- Adding seasonal elements like pinecones or acorns.
- Using metallic accents for a shimmering effect.
- Incorporating personal touches by painting your frame.
Caring for Your Handmade Decor
To keep your stained glass window looking fresh, avoid placing it in direct sunlight for prolonged periods as it may fade over time. Gently dust the surface with a soft cloth to prevent buildup. If you decide to store it for any season, wrap it carefully in a soft blanket or bubble wrap to protect it from any damage.
FAQs About Stained Glass Window with Rainbow Fall Leaves
Can I use real leaves for this project?
Yes, real leaves can be used, but make sure they are pressed and dried to avoid wilting.
How long does it take for the adhesive to dry?
Drying time can vary, but typically it takes about 1-2 hours for clear adhesive to fully set.
Is there an outdoor-friendly option?
Using faux leaves can make this project more suitable for outdoor settings since they won’t wilt or fade.
How can I clean my stained glass window?
Simply dust it with a soft cloth and avoid using harsh chemicals that might damage the plastic sheets.
A Handmade Touch for the Season
Creating your own Stained Glass Window with Rainbow Fall Leaves is not just about the end result; it’s about the joy of crafting something beautiful by hand. This project invites you to connect with the seasonal beauty around you while filling your home with warmth and charm. Remember, the beauty of handmade decor lies in its imperfections and the love poured into every step of its creation.
As you embrace your artistic side through this project, think about exploring more seasonal ideas such as marbled rainbow fall leaf suncatchers or consider a rainbow butterfly fall leaf mobile for added flair.
Conclusion
Take this chance to browse additional items that can complement your stained glass project by checking out stained glass window film. With these resources, you can elevate your crafting experience and create even more magical decor for your home.
Print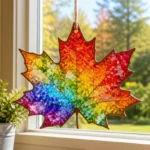
Stained Glass Window with Rainbow Fall Leaves
- Total Time: 15 minutes
- Makes: 1 stained glass window
Description
Create a beautiful stained glass window using colorful leaves to brighten up your home decor with the spirit of autumn.
Materials
- Colorful plastic sheets or stained glass film
- Fall leaves (real or artificial)
- Clear adhesive or double-sided tape
- Scissors
- A sturdy frame (wood or cardboard)
- Optional: decorative tape or ribbon for finishing touches
Instructions
- Gather your leaves.
- Cut the plastic sheets to fit your frame.
- Arrange your design by laying out leaves on plastic sheets.
- Attach the leaves with clear adhesive or double-sided tape.
- Assemble the frame by placing decorated plastic sheets into it.
- Finish your stained glass window with decorative tape or ribbon.
Notes
Dry-fit your leaves before gluing to visualize the final look. Work in layers for better depth and texture.