

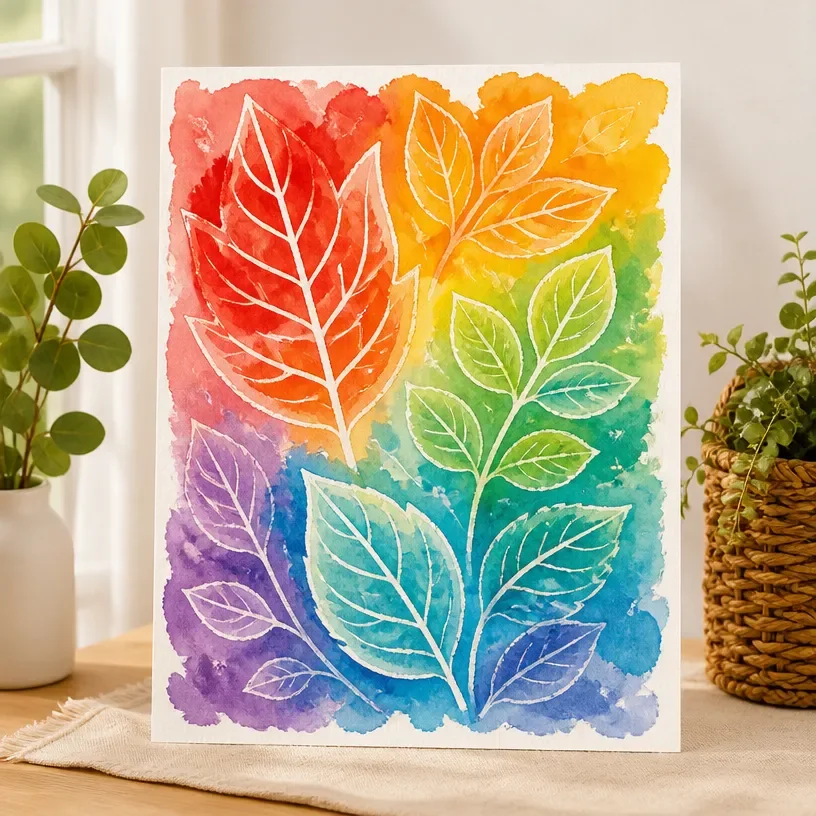
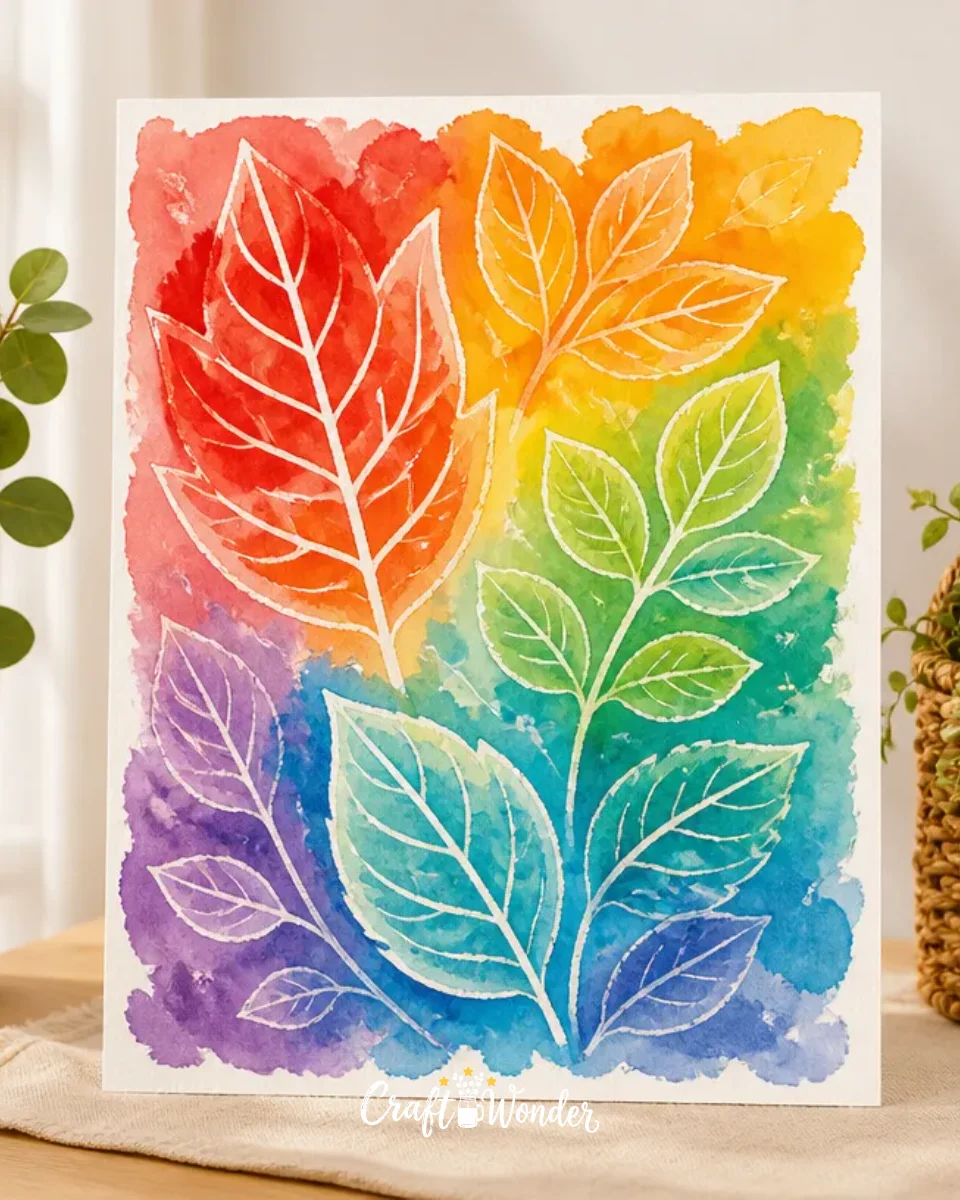
Tissue Paper Color Transfer Art is a delightful crafting technique that transforms simple tissue paper designs into vibrant artwork. This method is particularly appealing for home decorators and crafters of all skill levels, as it allows for creativity without the need for extensive training or resources. The finished pieces can add a splash of color to any room, making them perfect for seasonal displays, special occasions, or even everyday decor. Best of all, the approach is approachable, requiring minimal materials and equipment, which makes it easy to experiment and enjoy the crafting process. You may also find Colorful Acorn Folk Art Garland Home Decor useful.
Why You’ll Love This Project
Creating Tissue Paper Color Transfer Art is a rewarding endeavor that blends artistic flair with practical appeal. The project encourages exploration of colors and patterns, allowing you to customize your creations to fit any theme or season. The materials are inexpensive, often reusable, and readily available, making this a fantastic option for budget-conscious crafters. You can display your final artwork in numerous places around your home – from the mantel to the dining table or even as a charming addition to your front porch decorations. The decorative potential of these creations is endless, offering warmth and personality to your living spaces. You may also find Colorful Folk Art Pumpkin Mason Jars Diy Decor useful.
You may also find Diy Paper Plate Fish Craft Kids Ocean Themed Art useful.
Before You Start
Before diving into the crafting process, it’s important to visualize what your finished piece should look like. You want to achieve vibrant colors from the tissue paper while ensuring that the base material is properly prepared to accept the colors. Pay particular attention to laying the paper smoothly to avoid wrinkles, as these can interfere with the overall aesthetic. Clear a workspace that allows for drying time and easy access to materials, fostering a relaxing environment for creativity.
“A handmade touch makes every home feel warmer.”
Materials and Supplies
Materials and Supplies
- Tissue paper in various colors
- Watercolor paper or canvas
- Paintbrushes (flat and round)
- Spray bottle filled with water
- Scissors
- Optional: Mod Podge for sealing
When selecting tissue paper, consider going for a range of colors to make your artwork vibrant and eyecatching. Using a sturdy piece of watercolor paper or canvas as your base will help the colors to stand out and remain durable over time.
How to Make Tissue Paper Color Transfer Art
Step 1: Prepare Your Surface
Begin by laying out your watercolor paper or canvas on a flat surface. Make sure it’s clean and dry, as any dust or debris can affect your artwork.
Step 2: Cut Your Tissue Paper
Cut the tissue paper into various shapes and sizes, like squares or circles. This will give you flexibility when creating your design. Feel free to layer different colors for a more complex look.
Step 3: Moisten the Surface
Using your spray bottle, lightly mist the surface of the watercolor paper. This helps the tissue paper adhere better and allows for smoother color transfer.
Step 4: Apply the Tissue Paper
Lay the cut tissue paper pieces onto the moistened surface. Gently press them down with your fingers or paintbrush. Ensure you’re working from one layer to another, allowing each to slightly overlap where desired.
Step 5: Add More Color
Mist more water over the top of the tissue paper pieces generously. Use a brush to softly dab areas if needed. The tissue paper will begin to bleed colors onto your base, creating a beautiful effect.
Step 6: Let Dry
Once you are happy with the layering and colors, allow the artwork to dry completely. This may take several hours depending on the amount of moisture used.
Step 7: Seal Your Art (optional)
If desired, apply a layer of Mod Podge over your dried artwork to seal it and add a glossy finish. This step will help protect your creation, ensuring it lasts for seasons to come.

How to Style Your Finished Tissue Paper Color Transfer Art
Once your Tissue Paper Color Transfer Art is complete, it’s time to think about how to display it in your home. These pieces can be hung in entryways, placed on mantels, or set as centerpieces on a dining table. If you’re looking to complement the art, consider pairing it with natural textures like burlap or wooden accents. Positioning your piece next to some seasonal greenery or a soft candle can enhance the warm, inviting atmosphere of your home. The goal here is to create a cozy and welcoming space that reflects your personal style.

Maggie’s Tips for the Best Results
- Experiment with different layers of tissue paper to create more depth in your artwork.
- Always ensure the surface is slightly damp before placing tissue paper to enhance color bleed.
- Keep a light touch when applying the wet brush to avoid tearing the tissue paper.
- Consider placing the finished artwork in a natural light area – the sunlight can really accentuate the colors.
Easy Ways to Customize This Project
You can make this project unique by adjusting the colors based on the seasons. Consider using pastel hues for spring, vibrant colors for summer, warm tones for fall, and cool shades for winter. Additionally, try incorporating patterns in your tissue paper or using themed shapes like hearts or stars for different celebrations. You might even consider embellishing your finished piece with a few simple handwritten quotes or seasonal words using a fine-tip permanent marker.
Caring for Your Handmade Decor
To keep your Tissue Paper Color Transfer Art looking its best, store it flat in a cool, dry place away from direct sunlight to prevent fading. If it collects dust, gently wipe it with a soft, dry cloth. For pieces sealed with Mod Podge, they’ll be more resilient to minor handling, but be cautious of putting them in areas with extreme humidity or moisture to retain their beauty.
FAQs About Tissue Paper Color Transfer Art
Can I use regular paper instead of watercolor paper?
While you can, watercolor paper is recommended for the best color transfer and durability.
What if I want to change the colors later?
You can layer on more tissue paper over the existing design, or simply create a new piece if you’re looking for a completely different look.
Can I use a different adhesive instead of Mod Podge?
Yes, any clear-drying craft glue can work, but Mod Podge is specifically made for sealing projects like this.
How long should I let it dry?
Dry time can vary based on conditions; typically, it’s best to leave it undisturbed for at least several hours.
Is this project suitable for kids?
Absolutely! With adult supervision regarding supplies, this can be a fun and creative activity for children.
A Handmade Touch for the Season
Through the process of making Tissue Paper Color Transfer Art, you not only create a visually pleasing piece but also enjoy the journey of crafting something by hand. Each project carries its unique personality, reflecting your individual style and warmth. Remember, handmade decor is all about the love you put into it, and even if it doesn’t look perfect, it will certainly hold great meaning in your home. As you gather your materials and set your workspace, embrace the opportunity to make something special that brings joy and beauty into your space.
In case you would like to explore more creative inspirations, check out Tissue Paper Bleeding Resist Art – The Imagination Tree.
Print
Tissue Paper Color Transfer Art
- Total Time: 195 minutes
- Makes: 1 piece of art
Description
A delightful crafting technique that transforms tissue paper designs into vibrant artwork, perfect for home decor.
Materials
- Tissue paper in various colors
- Watercolor paper or canvas
- Paintbrushes (flat and round)
- Spray bottle filled with water
- Scissors
- Optional: Mod Podge for sealing
Instructions
- Prepare Your Surface
- Cut Your Tissue Paper
- Moisten the Surface
- Apply the Tissue Paper
- Add More Color
- Let Dry
- Seal Your Art (optional)
Notes
Experiment with layering tissue paper for depth and ensure the surface is slightly damp before applying for better color bleed. Display artwork in natural light for added vibrancy.