

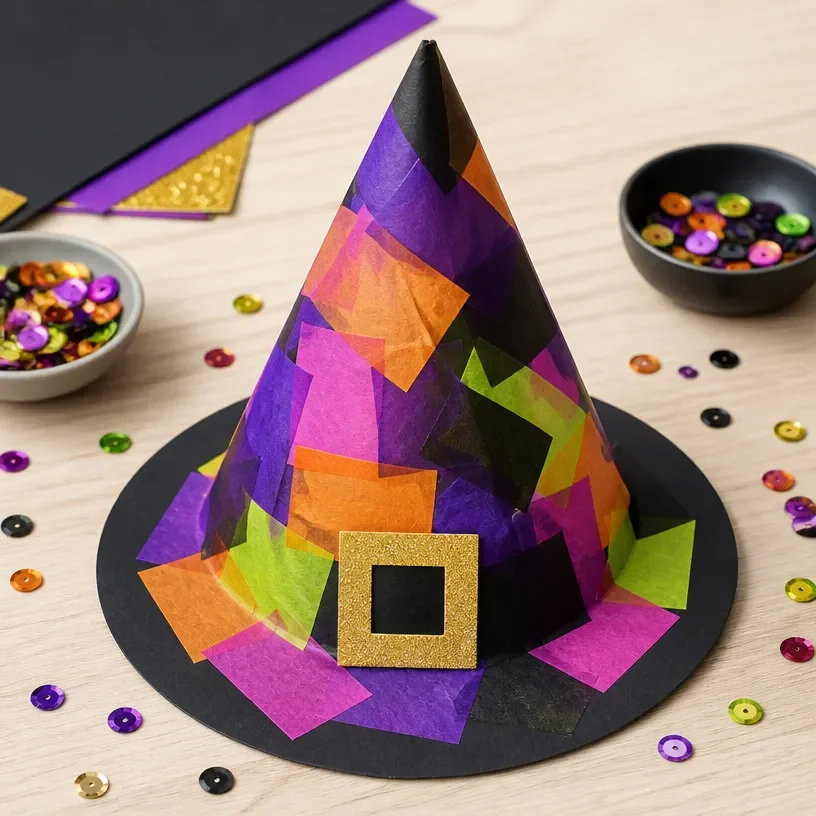
Creative Witch Hat Collages: Easy Halloween Craft for Kids is a delightful project that invites children and adults alike to dive into the spirit of Halloween. This craft is charmingly simple and stands out as a perfect decorative piece for your home during the spooky season. With just a few materials, you can create vibrant and quirky witch hats that are not only fun to make but can also be displayed on your mantel, dining table, or even as part of a playful Halloween party setup. You may also find Witch Hat Diy Halloween Collage Craft For Kids useful.
What makes this project especially appealing is its accessibility. No need for special crafting skills – anyone can join in on the fun. Plus, this project allows for a wide range of creativity, making it a great opportunity for kids to express themselves through art and decoration. To complement this, you might also like to explore other exciting ideas like creating a spooky haunted village with mason jar lanterns.
Why You’ll Love This Project
The allure of Creative Witch Hat Collages lies in its combination of ease and creativity. This project is approachable for young crafters and utilizes inexpensive materials, making it a budget-friendly option. Plus, the finished pieces boast a whimsical character that easily enhances your Halloween decor. You may also find Diy Haunted Village Mason Jar Lanterns Halloween Decor useful.
You’ll find that these witch hats are perfect for displaying across various spaces in your home, whether on an entryway table or as a centerpiece during Halloween gatherings. Each creation can be personalized, allowing children to choose colors, patterns, and embellishments that bring out their individuality. You may also find Diy Panda Ghost Cupcake Liner Garland Halloween useful.
Before You Start
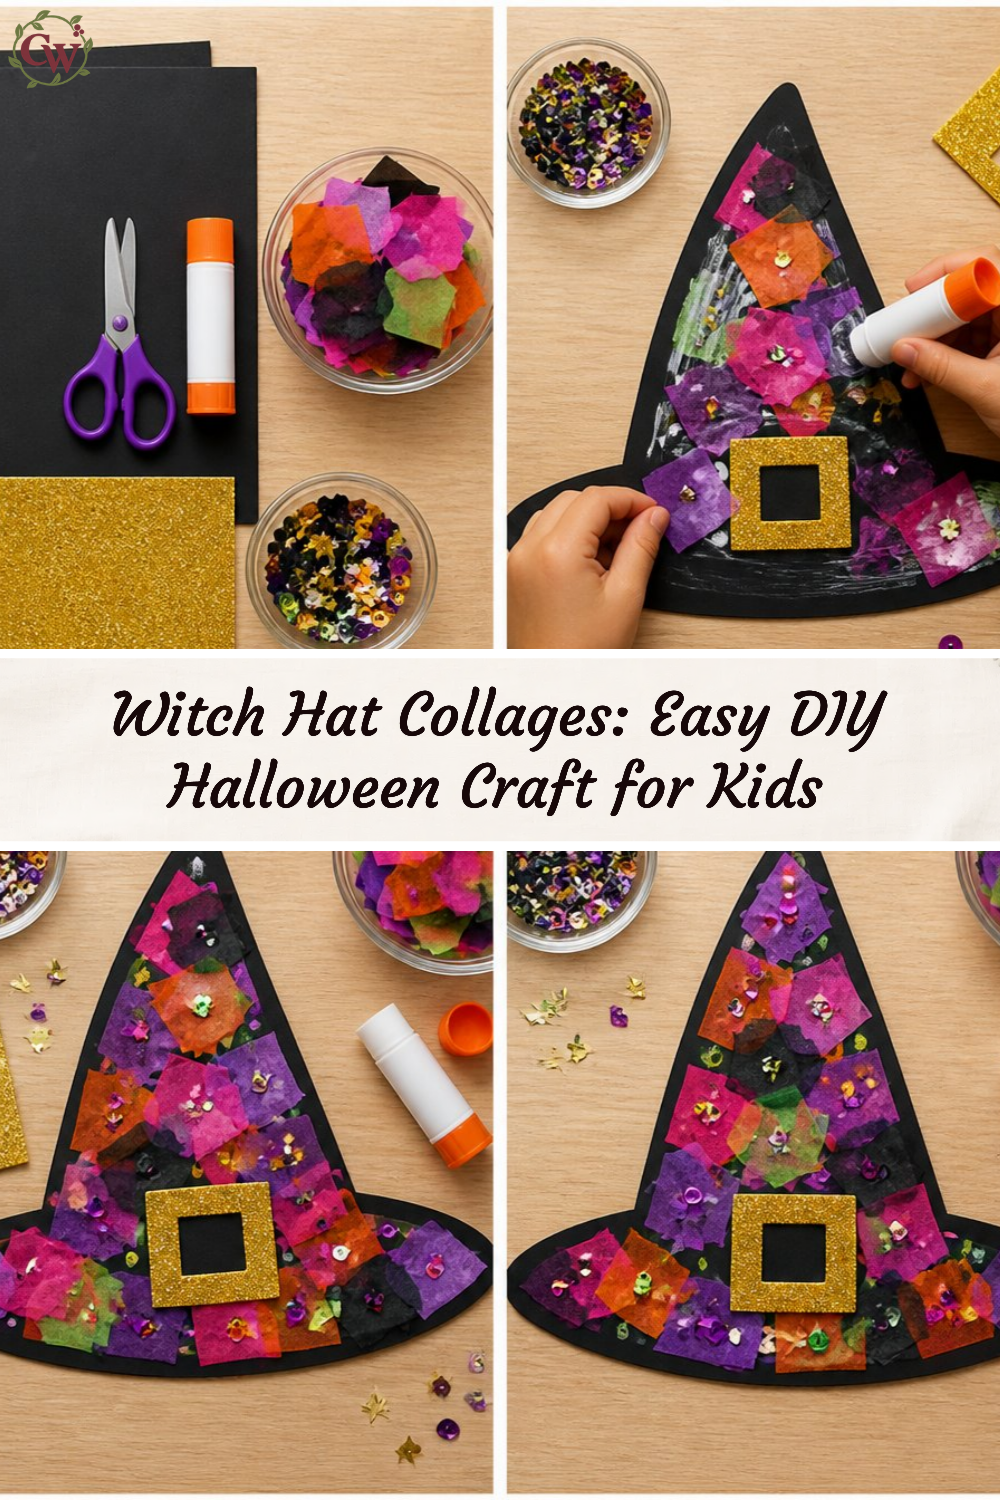
Before diving into crafting, it’s helpful to have a clear vision of the completed project. The finished witch hats should feel playful and festive, embodying the fun spirit of Halloween. Pay special attention to the hat’s shape and embellishments – these elements are where the real personality shines through. Setting up a dedicated workspace will make the crafting process smoother, allowing everyone to keep materials and tools organized and easily accessible.
“A handmade touch makes every home feel warmer.”
Materials and Supplies
Materials and Supplies
- Colored construction paper (black, purple, orange, etc.)
- Markers or crayons
- Scissors
- Glue or glue sticks
- Glitter (optional)
- Stickers (optional)
- Ribbon or yarn for embellishment
- Straws or small sticks for support
These materials are easy to find either around the house or at local craft stores. When selecting colored paper, choose a variety that makes your witch hats pop and creates a festive atmosphere. Additionally, remember that glitter can add a fun sparkle, but it’s best to use it in moderation to keep things from becoming too overwhelming.
How to Make Creative Witch Hat Collages: Easy Halloween Craft for Kids
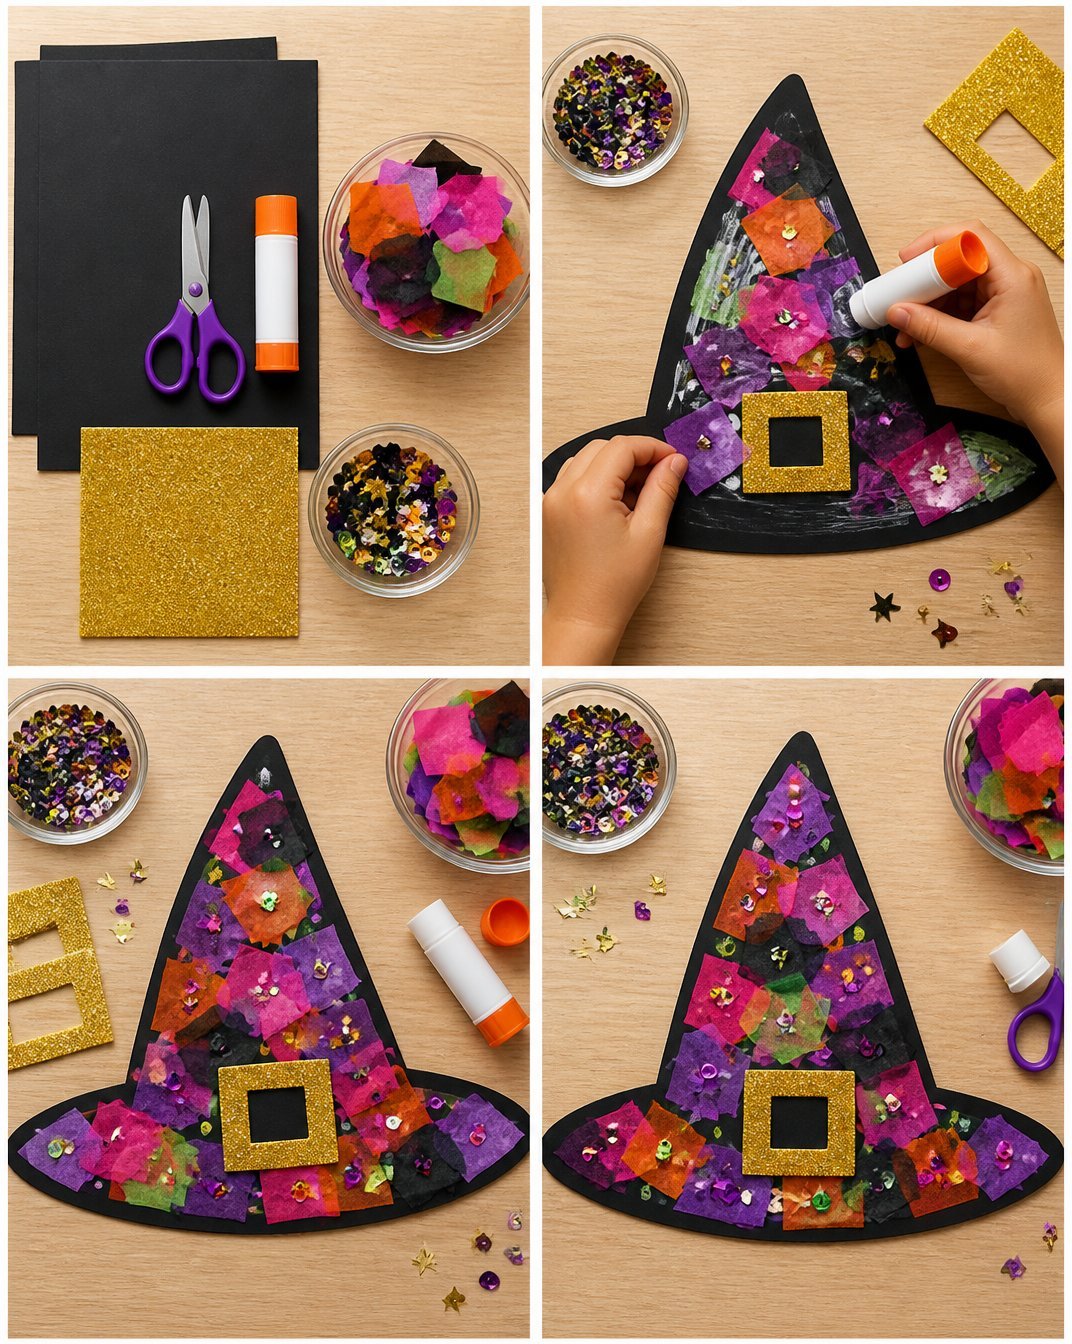
Gather Your Materials: Start by collecting all your supplies on a clean surface. Make sure to have plenty of colored paper, scissors, and glue.
Create the Hat Base: Take a piece of black paper and cut it into a large circle for the witch hat’s brim. The size can vary depending on your desired look.
Form the Hat Cone: Cut a triangle shape from another piece of paper for the hat’s top. Roll the triangle into a cone shape and secure it with glue or tape, making sure the pointy side is facing upwards.
Attach the Cone to the Brim: Carefully glue the base of the cone to the center of the larger circle to form the witch hat.
Decorate Your Hat: This is where the fun really begins! Use markers to draw designs, or stick on some of that glitter for added flair. You can also use ribbons, stickers, or any decorative embellishments to personalize the hats.
Add Support: If you want your hats to stand up, you can insert a straw or small stick into the base. Secure it with glue to make sure it holds firmly.
Display Your Creation: Once your creative pieces are complete, find the perfect spot in your home to showcase these fun witch hats. They make a charming addition to any Halloween decor.
How to Style Your Finished Creative Witch Hat Collages: Easy Halloween Craft for Kids
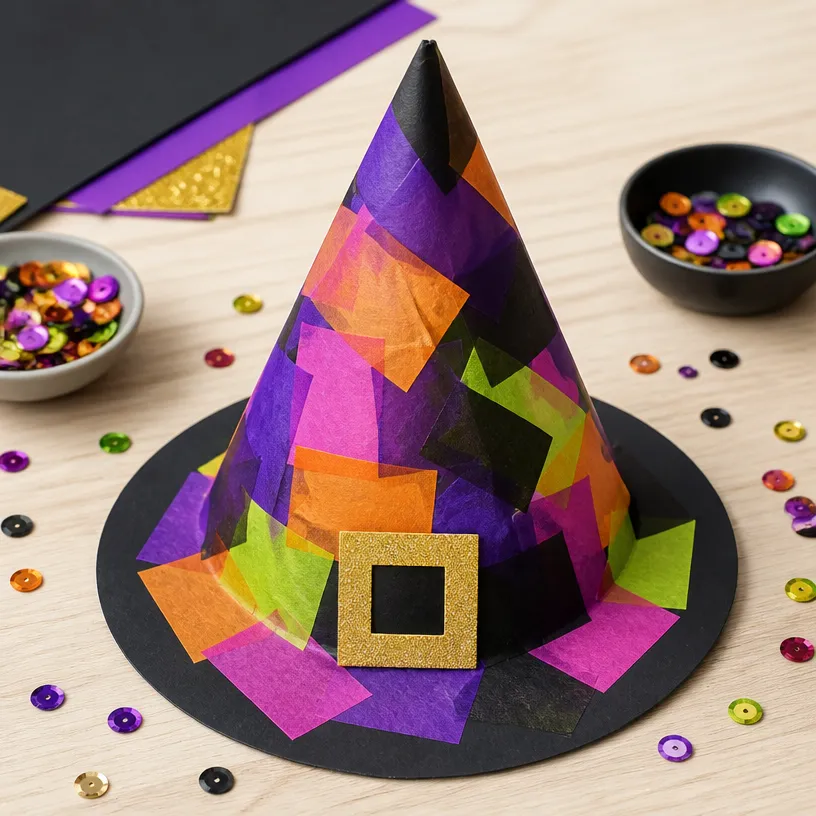
After investing creativity and effort into crafting your witch hats, stylings them around your home will bring joy to your spaces. These charming hats can be placed on your mantel, entryway console, or in groups on your dining table as centerpieces.
Consider pairing them with small pumpkins or other Halloween-themed items to create a cohesive look. The colorful witch hats, with their personality and flair, will surely add warmth and charm to your seasonal decorations.
Maggie’s Tips for the Best Results
- Always dry-fit your hat pieces before gluing to ensure a good fit.
- Experiment with different color combinations for a truly unique look.
- Encourage little ones to layer their decorations, which can add depth and interest.
- When gluing ribbon or embellishments, hold them in place for a few moments for better adherence.
- Use a thin layer of glue for glitter to prevent clumping.
- Make sure to clean up glitter spills quickly, as they can be tricky to manage.
Easy Ways to Customize This Project
- Play with different seasonal colors such as deep reds, greens, or even golds for a different look.
- Incorporate various textures by using fabrics or natural elements like dried flowers or feathers.
- Try different hat shapes, such as a softer round or a sharper tip.
- Add personal initials or names using markers for a custom touch.
Caring for Your Handmade Decor
To keep your witch hats in great shape, store them in a dry and cool place when not in use. Avoid stacking heavy items on top of them to maintain their shape. If the hats get dusty, gently shake them out or use a soft brush to clean them.
FAQs About Creative Witch Hat Collages: Easy Halloween Craft for Kids
Can I use other materials instead of paper?
Absolutely! You can also utilize fabric scraps, recycled cardboard, or even felt for a different texture.
How can I display these outdoors?
If using them outside, ensure they’re made with weather-resistant materials or place them under a covered area.
What’s the best way to attach embellishments?
A strong craft glue is best, but double-sided tape can work well for lighter items.
Can we make this project for other holidays?
Yes! Simply switch the colors and themes to reflect other seasons or holidays.
Conclusion
With Creative Witch Hat Collages: Easy Halloween Craft for Kids, you can create warm, inviting, and personal decorations that celebrate the festive spirit of Halloween. This project not only entertains but fosters creativity and family bonding. If you’re looking for additional Halloween crafting inspiration, check out this list of 20 witch crafts for kids. Enjoy crafting!
Print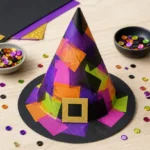
Creative Witch Hat Collages: Easy Halloween Craft for Kids
- Total Time: 15 minutes
- Makes: Varies based on the number of hats made
Description
A delightful and easy crafting project for kids to create vibrant witch hats for Halloween decoration.
Materials
- Colored construction paper (black, purple, orange, etc.)
- Markers or crayons
- Scissors
- Glue or glue sticks
- Glitter (optional)
- Stickers (optional)
- Ribbon or yarn for embellishment
- Straws or small sticks for support
Instructions
- Gather Your Materials: Start by collecting all your supplies on a clean surface.
- Create the Hat Base: Take a piece of black paper and cut it into a large circle for the witch hat’s brim.
- Form the Hat Cone: Cut a triangle shape from another piece of paper for the hat’s top and roll it into a cone shape.
- Attach the Cone to the Brim: Glue the base of the cone to the center of the larger circle.
- Decorate Your Hat: Use markers, glitter, ribbons, stickers, or any decorative embellishments to personalize.
- Add Support: Insert a straw or small stick into the base and secure it with glue.
- Display Your Creation: Find a perfect spot in your home to showcase the finished witch hats.
Notes
Encourage creativity by trying different colors and personalization options.