

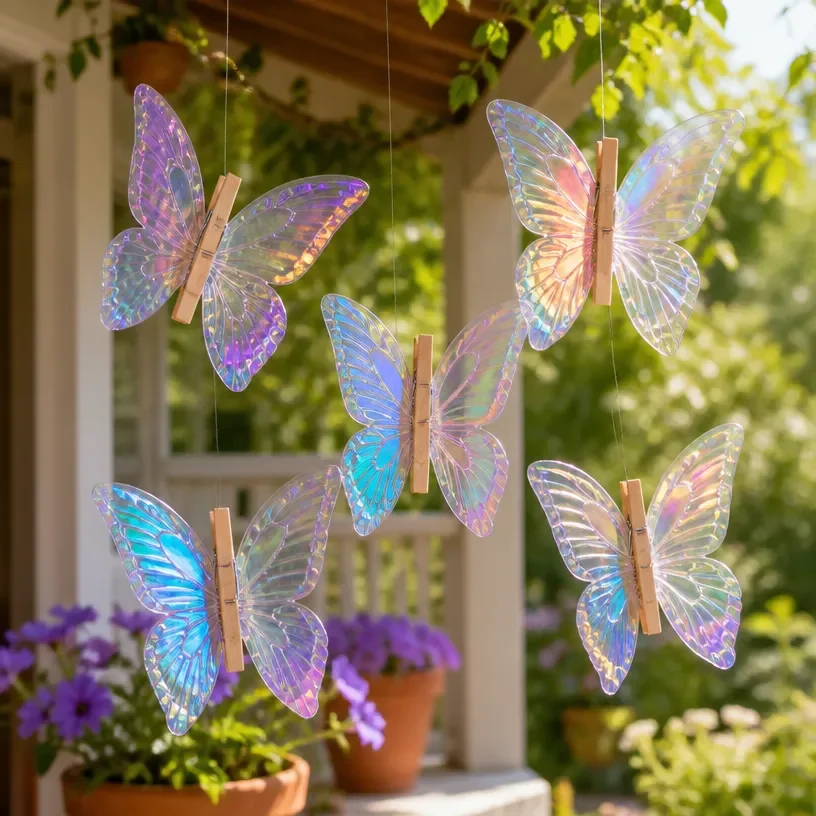
DIY Shimmering Butterflies to Create Dreamy Decor You may also find Diy Flower Globe Ornament Easy Hanging Decor Tutorial useful.
The charm of DIY Shimmering Butterflies lies in their whimsical nature and ability to bring life to any space. These enchanting decorations can be hung from ceilings, adorned on mantels, or placed on tables, creating a dreamy ambiance. Their soft shimmering effect adds a touch of magic, transforming ordinary spaces into something truly special. Plus, they are an approachable craft for anyone looking to add a handmade touch to their home decor. You may also find Bottle Cap Flower Magnets Diy Tutorial useful.
Imagine walking into a room filled with these delicate butterflies glimmering in the light, casting beautiful reflections. Not only do they evoke the feelings of spring and warmth, but they also make for a wonderful family project or a serene activity for an afternoon. For those who enjoy seasonal DIY projects, these butterflies fit perfectly into any décor style. You may also find Colorful Wildflower Lantern Jar Diy Garden Decor useful.
Why You’ll Love This Project
Creating DIY Shimmering Butterflies is a delightful and gratifying experience. This project uses materials that are often inexpensive and easy to find, making it perfect for anyone looking to enhance their home decor without breaking the bank. The versatility of these butterflies allows you to customize them in various seasonal colors or embellishments, making them suitable for any time of year.
The soft shimmer of these butterflies can make even the simplest spaces look elevated and thoughtfully curated. You might find them perfect for decorating a child’s room, brightening a sunroom, or adding a bit of charm to your porch decor. Their potential for personalization means you can truly make them your own, fostering a unique and creative approach to home styling.
Before You Start
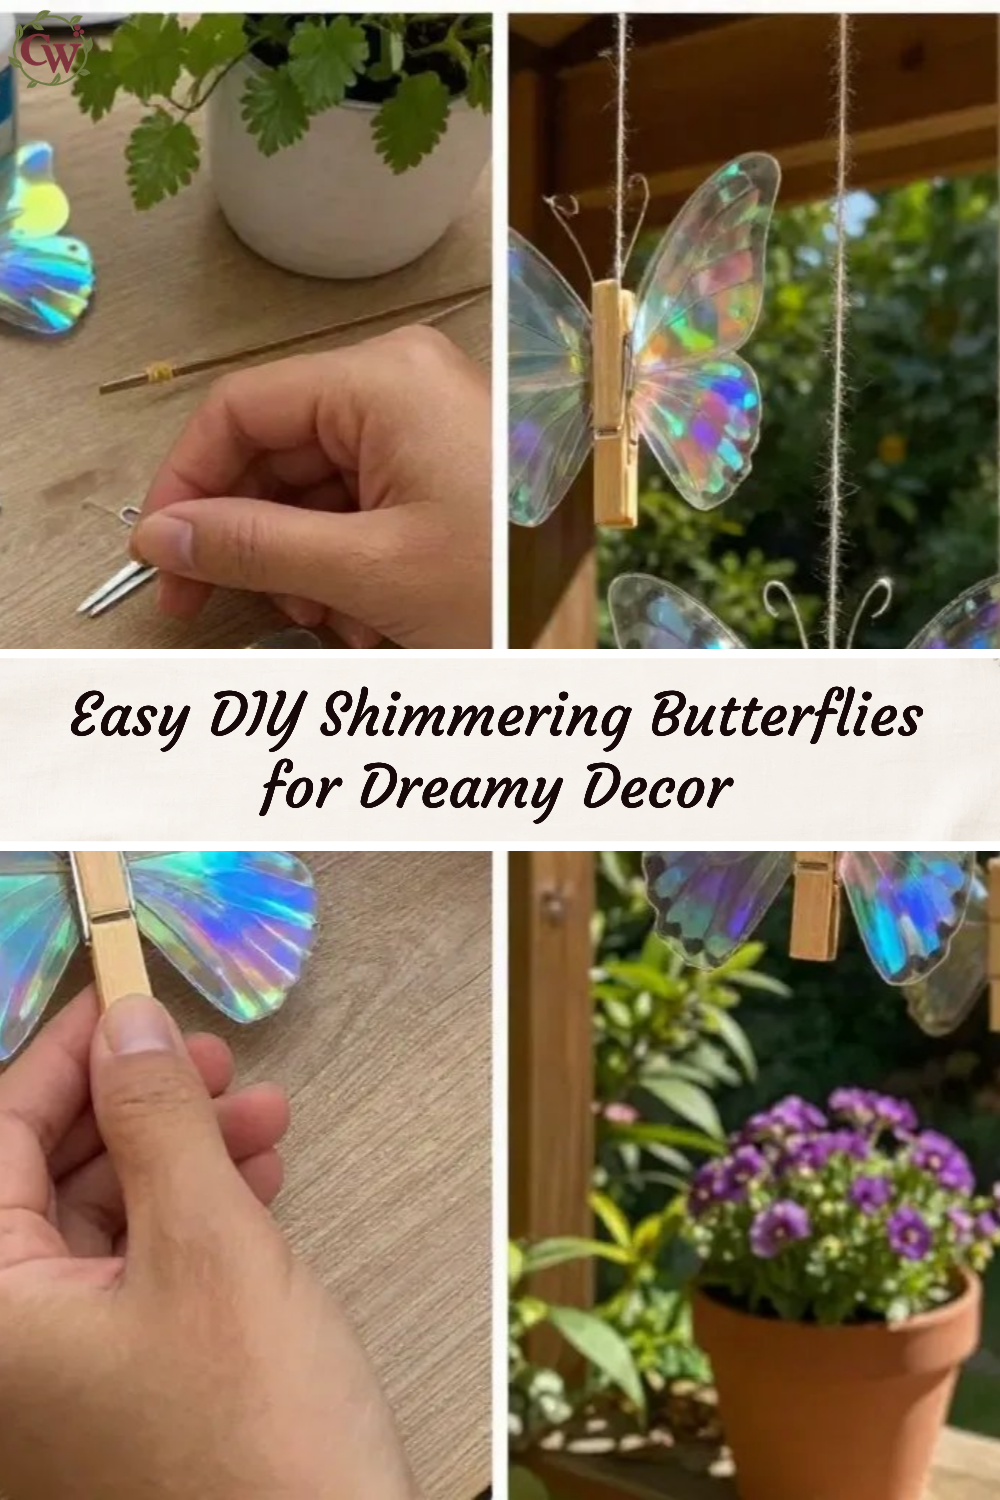
Before diving into this shiny and colorful project, it’s helpful to visualize how your finished butterflies should look. Aim for a light, airy feel, as if they are ready to take flight. Pay particular attention to how they catch and reflect light, as this will add to their shimmering quality. Make sure to clear an area for your workspace having ample room to maneuver with materials is essential.
“A handmade touch makes every home feel warmer.”
Materials and Supplies
Materials and Supplies
- Cardstock or Craft Paper (in various colors)
- Glitter (fine and coarse for different effects)
- Hot Glue Gun and Glue Sticks
- Wire or Pipe Cleaners (for crafting the butterfly bodies)
- Scissors
- Decorative Ribbon (for hanging)
- Decorative Paint or Spray Adhesive (optional, for added shimmer)
Selecting the right cardstock is crucial; a slightly heavier weight will give your butterflies stability. Choose colors that resonate with the season you’re decorating for, and remember that the type of glitter will impact the final look fine glitter offers a more subtle shine versus coarse glitter’s sparkle.
How to Make DIY Shimmering Butterflies to Create Dreamy Decor
Step 1: Design Your Butterflies
Start by sketching a butterfly shape on the cardstock. You can use templates available online or create your own. Aim for varying sizes to add visual interest.
Step 2: Cut and Shape
Carefully cut out your butterfly shapes. For dimension, consider gently folding the wings upwards. This simple step creates a more lifelike appearance.
Step 3: Add the Glitter
Using the decorative paint or spray adhesive, coat one side of the butterfly. Sprinkle the chosen glitter over the wet surface and let it dry completely before handling. If desired, repeat this for an extra layer of sparkle.
Step 4: Assemble the Bodies
While the butterflies dry, use wire or pipe cleaners to create the butterfly bodies. Cut a piece about 6-8 inches long, fold it in half, and twist the end to create the antennae and body.
Step 5: Attach the Wings
Once the glittered wings are dry, hot glue them to the body. Ensure they are positioned in a way that looks natural, just as if the butterfly is ready to take off.
Step 6: Hang and Display
Attach a piece of ribbon to the top of the butterfly for hanging. You can either dangle them from ceilings or affix them to displays around your home.
How to Style Your Finished DIY Shimmering Butterflies to Create Dreamy Decor
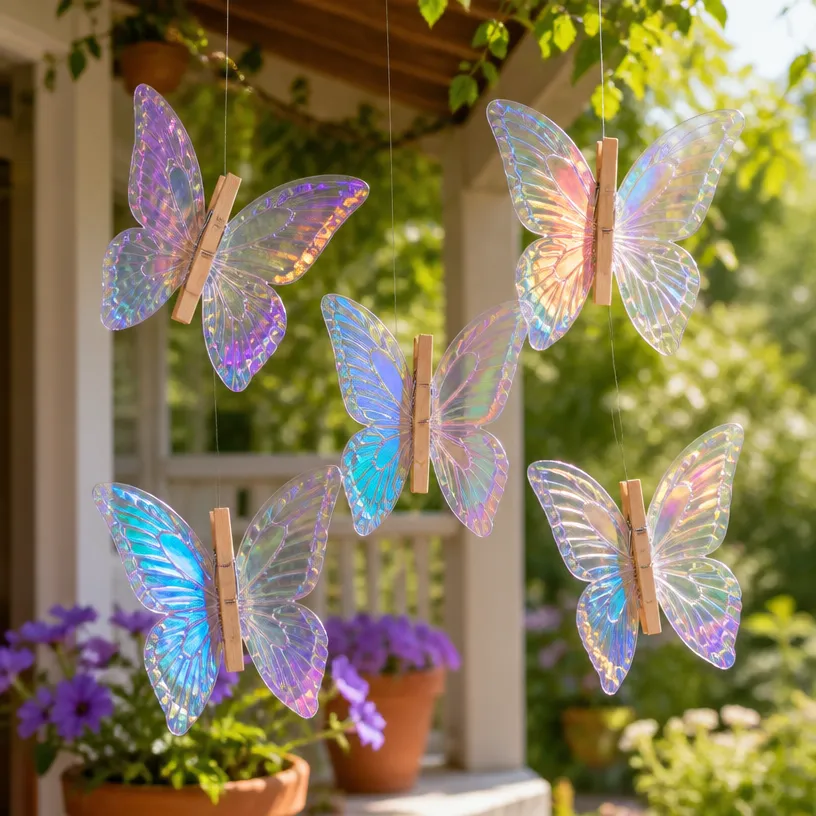
To see the beauty of your shimmering butterflies fully realized, consider various locations for display. They make gorgeous additions to your mantel, adding lightness and color. Alternatively, cluster several on a table for a centerpieces that spark conversation. They can even be hung in windows, where the sunlight will enhance their sparkle and cast fascinating shadows.
Accompany them with other simple decorations, such as seasonal florals or candles, for a warm and welcoming atmosphere. Just remember to keep it balanced and not overcrowded Maggie’s philosophy is to create a space that feels lived in and reflective of those who inhabit it.

Maggie’s Tips for the Best Results
- Dry-Fitting: Always dry-fit the pieces together before gluing to ensure the perfect layout.
- Layering: Work in layers. Adding more glitter can create depth and extra shimmer.
- Be Patient: Allow the glue to dry completely before moving to the next step.
- Balance Elements: Ensure that the size and color of the butterflies complement other decorations.
- Keep it Proportional: When using ribbon for hanging, ensure that the lengths are proportional to the butterfly size.
Easy Ways to Customize This Project
There are numerous ways to give your butterflies a personal touch. Consider using seasonal colors pastels for spring, rich hues for fall, or traditional colors for the holidays. Adding beads or floral embellishments to their bodies could also enhance their charm. You could even experiment with faux flowers to give them an even more vibrant appearance. Remember, each butterfly can showcase a different theme, so feel free to let your creativity soar!
Caring for Your Handmade Decor
To keep your shimmering butterflies in great shape, keep them out of direct sunlight for prolonged periods, as this may fade the colors. If they gather dust, a gentle wipe with a soft cloth will help maintain their sparkle. For seasonal storage, consider storing them in a cool, dry place, possibly wrapped in acid-free tissue paper to avoid crushing the wings.
FAQs About DIY Shimmering Butterflies to Create Dreamy Decor
Can I use different kinds of adhesives?
Yes, hot glue works well, but you can also use craft glue or double-sided tape depending on your preference and the materials you use.
What if I don’t have glitter?
You can achieve a shimmering effect using metallic paints or iridescent papers if glitter is unavailable.
Can these butterflies be used outdoors?
If properly sealed, they can be used outdoors; however, consider that strong winds might displace them.
How long does it take for the glue to dry?
Each type of glue can vary, but generally, allowing 30 minutes to an hour for the glue to dry thoroughly is recommended.
Conclusion
Creating your DIY Shimmering Butterflies is not only an enjoyable craft but also brings a handmade warmth into your home. They serve as beautiful decorations that hold personal meaning and memory after all, there’s something special about filling your space with items made by your own hands.
For further creative inspiration, you might want to explore kits like the Creativity for Kids Butterfly Fairy Lights Kit, which can complement your new butterfly decor wonderfully. Let your creativity shine as brightly as the shimmering wings you create!
Print
DIY Shimmering Butterflies
- Total Time: 15 minutes
- Makes: 10 butterflies
Description
Create enchanting shimmering butterflies to enhance your home decor with a whimsical touch.
Materials
- Cardstock or Craft Paper (in various colors)
- Glitter (fine and coarse)
- Hot Glue Gun and Glue Sticks
- Wire or Pipe Cleaners
- Scissors
- Decorative Ribbon
- Decorative Paint or Spray Adhesive (optional)
Instructions
- Design your butterflies by sketching a shape on cardstock.
- Cut out your butterfly shapes and fold wings for dimension.
- Add glue on one side and sprinkle glitter, letting it dry.
- Assemble the bodies using wire or pipe cleaners.
- Attach the glittered wings to the body with hot glue.
- Hang using ribbon to display your butterflies as desired.
Notes
Customize your butterflies with seasonal colors or embellishments for a personal touch.