


DIY Glittery Heart Ornaments: Simple Handmade Decor You may also find Diy Autumn Rainbow Leaf Mason Jar Luminary Decor useful.
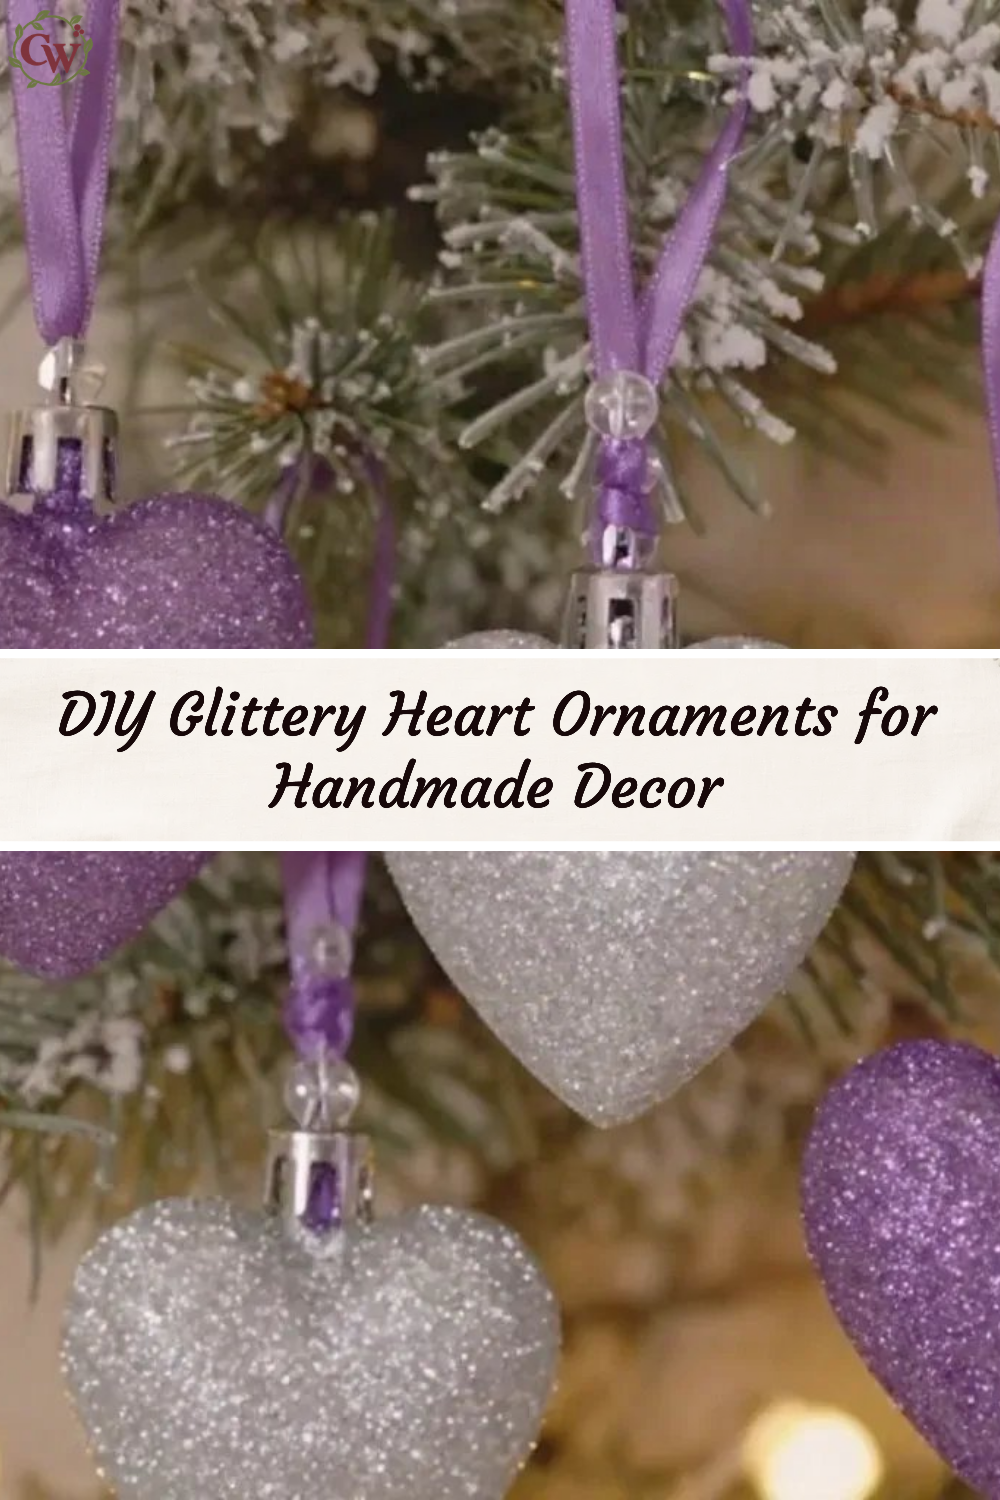
Creating DIY Glittery Heart Ornaments adds a personal and cheerful touch to your home decor! These lovely ornaments can be displayed on a tree, hung in windows, or used as a charming centerpiece. They’re perfect for various occasions, whether it’s the Valentine’s season or simply a delightful decoration to showcase year-round. The beauty of these ornaments lies in their simplicity, allowing even novice crafters to create something truly special for their space. You may also find Diy Butterfly Crystal Window Decor useful.
As someone who appreciates a warm, handmade touch in home decor, I find that making these ornaments is an enjoyable process. With just a few materials and steps, you can transform ordinary materials into custom, eye-catching decor that brings joy to you and your loved ones. Let’s dive into why you’ll love this project!
Why You’ll Love This Project
Making DIY Glittery Heart Ornaments is a delightful venture for many reasons. First, the construction process is approachable and accessible, perfect for crafters at all skill levels. You’ll find the basic supplies are often already tucked away in your crafting closet, making it a budget-friendly option as well.
These ornaments are highly versatile and can easily be customized to suit various themes or color schemes throughout the year. They make a charming addition to a mantel, an entryway, or as part of a whimsical Easter decor. Plus, they bring a rustic charm and warmth that any farmhouse-style home will love. For more seasonal decorations that capture this spirit, check out this color-changing butterfly jar project.
Before You Start
Before crafting, picture your finished hearts: shimmering with glitter and bursting with color, adding a cheerful ambiance wherever they hang. It’s a good idea to prepare your workspace by having all materials within reach and a clean, flat surface to work on. Pay special attention to the glitter application, as it will give your ornaments the lovely sparkle they deserve.
“A handmade touch makes every home feel warmer.”
Materials and Supplies
Materials and Supplies
To get started on your DIY Glittery Heart Ornaments, gather the following materials:
- Cardstock in various colors
- Craft glue or Mod Podge
- Glitter in your choice of colors
- Scissors
- A hole punch
- Ribbon or twine for hanging
When choosing cardstock, consider vibrant colors that will stand out beautifully among your home decor. The type of glitter can also impact the final look, whether you prefer fine glitter for a subtle shimmer or chunky glitter for a more playful effect.
How to Make DIY Glittery Heart Ornaments: Simple Handmade Decor
Step 1: Create Heart Shapes
Begin by cutting out heart shapes from the cardstock. You can make them in various sizes for added visual interest. Use a pencil to draw your hearts first, then carefully cut them out, ensuring smooth edges.
Step 2: Apply Glue
Next, take your craft glue or Mod Podge and apply an even layer to one side of each heart. This is where the glitter will stick. Be generous; you want to ensure full coverage.
Step 3: Add Glitter
While the glue is still wet, sprinkle glitter over the glued surface of the hearts. Tap off any excess glitter so that only the glitter adhered to the glue remains.
Step 4: Drying Time
Allow the glued hearts to dry completely. This usually takes about 1-2 hours. It’s best to place them on a flat surface to avoid smudging the glitter.
Step 5: Punch Holes
Once dry, use a hole punch to create a small hole at the top of each heart. This will allow you to attach ribbon or twine for hanging.
Step 6: Attach Ribbon
Cut a length of ribbon or twine and feed it through the hole you just punched, tying it in a knot for security. This is the final touch that will allow you to hang your beautiful ornaments!

How to Style Your Finished DIY Glittery Heart Ornaments: Simple Handmade Decor
Once you’ve finished your ornaments, think about where they will shine in your home. They look beautiful hung in windows, where sunlight can catch the glitter, or strung along a garland on your mantel. You could even place them in a decorative bowl as a centerpiece on your dining table. Keep the grouping simple and balanced for a warm and inviting feel.

Maggie’s Tips for the Best Results
- Always dry-fit your pieces before using glue to avoid mistakes.
- Work in layers when applying glue and glitter for even coverage.
- Consider varying your heart sizes for visual appeal.
- Allow appropriate drying time to ensure your ornaments hold up well.
- Test different glitter colors against your cardstock to find the best combination.
Easy Ways to Customize This Project
Adding personal touches can truly elevate your ornaments. Changing up the colors to suit seasonal themes can make them festive for holidays or special events. You might use pastel colors for spring or rich earthy tones for the fall. Consider adding small embellishments, like beads or stamps, for a more personalized touch. Don’t shy away from experimenting; after all, crafting is about enjoying the process!
Caring for Your Handmade Decor
To keep your Glittery Heart Ornaments looking pristine, store them in a cool, dry place away from direct sunlight. Dust them lightly with a soft cloth if they accumulate any dust. If you want to refresh the glitter look, a small touch of glue and a sprinkle of glitter can bring back their shine.
FAQs About DIY Glittery Heart Ornaments: Simple Handmade Decor
What type of glitter works best?
Fine glitter tends to provide a more elegant finish, while chunky glitter adds a playful look. Choose based on the theme you want to achieve.
Can I use different materials for the hearts?
Certainly! Felt or even cookie sheets for a more solid ornament can work well.
How long does it take for the glue to dry?
Typically, 1-2 hours is sufficient, but it’s best to wait longer in humid conditions.
Are these suitable for outdoor display?
If you plan on hanging them outside, consider using waterproof glue and outdoor-safe glitter to ensure their longevity.
Can I make these with kids?
Absolutely! Just supervise any cutting and glue application for safety, and it can be a fun craft together.
A Handmade Touch for the Season
Crafting these DIY Glittery Heart Ornaments not only embellishes your home but also creates an avenue for cherished memories. With a bit of creativity and simple materials, you can make decor that feels personal and inviting. The warmth of handmade decorations truly shines through in every home, reminding us that imperfections can often lead to the most memorable creations. If you’re looking for more festive inspirations, I recommend checking out this guide on simple DIY Christmas stars to keep the creativity flowing throughout the seasons!
Print
DIY Glittery Heart Ornaments
- Total Time: 135 minutes
- Makes: 12 ornaments
Description
Create simple and beautiful DIY Glittery Heart Ornaments to brighten your home decor for any season.
Materials
- Cardstock in various colors
- Craft glue or Mod Podge
- Glitter in your choice of colors
- Scissors
- A hole punch
- Ribbon or twine for hanging
Instructions
- Create heart shapes by cutting cardstock.
- Apply glue to one side of each heart.
- Add glitter to the glued surface.
- Dry completely for 1-2 hours.
- Punch holes at the top of each heart.
- Attach ribbon or twine for hanging.
Notes
Customize colors and sizes for every season. Store ornaments in a cool, dry place to maintain their look.