

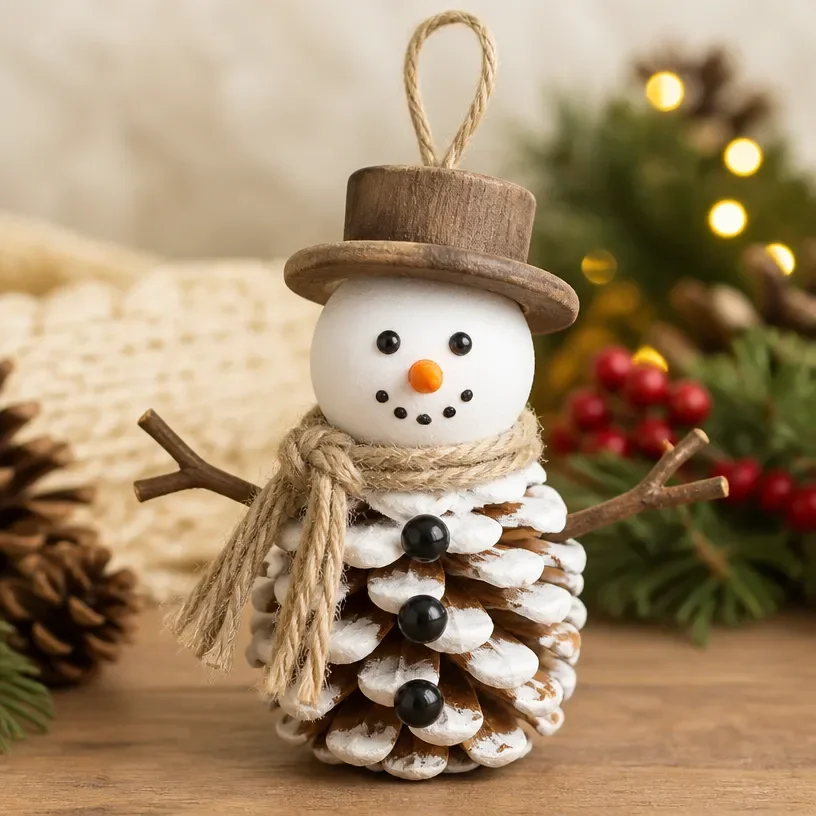
DIY Pinecone Snowman Craft for Christmas Decorations You may also find Easy Diy Paper Plate Fish Craft For Kids useful.
Creating your own holiday decorations can fill your home with warmth and charm during the festive season. The DIY Pinecone Snowman Craft is a delightful project that captures the essence of winter and brings a cozy touch to your holiday decor. With its rustic appeal and simple materials, this snowman can be displayed on your mantel, as part of a festive table centerpiece, or even on your porch to welcome guests. It’s an approachable project for crafters of all levels. You may also find Witch Hat Collages Easy Diy Halloween Craft For Kids useful.
Whether you’re decorating for a winter gathering or looking for a fun way to get the kids involved in crafting, this project combines creativity and hands-on fun. Plus, using natural materials like pinecones makes it even more special, creating a connection with nature as you celebrate the season. You may also find Witch Hat Diy Halloween Collage Craft For Kids useful.
Why You’ll Love This Project
The DIY Pinecone Snowman Craft is a wonderful way to express your creativity without breaking the bank. This craft not only uses inexpensive materials but also allows for personalization making it perfect for your unique home style. Its rustic and charming character fits seamlessly with farmhouse decor, adding a festive touch that feels inviting and cozy. Moreover, it’s suitable for decorating various spaces, including your entryway, dining table, or as part of your Christmas decor.
What’s great about this snowman is that it embraces imperfections, which can be a wonderful reminder that handmade treasures don’t need to be flawless. This can be a perfect weekend project, creating lasting memories while making something beautiful to cherish during the holiday season.
Before You Start
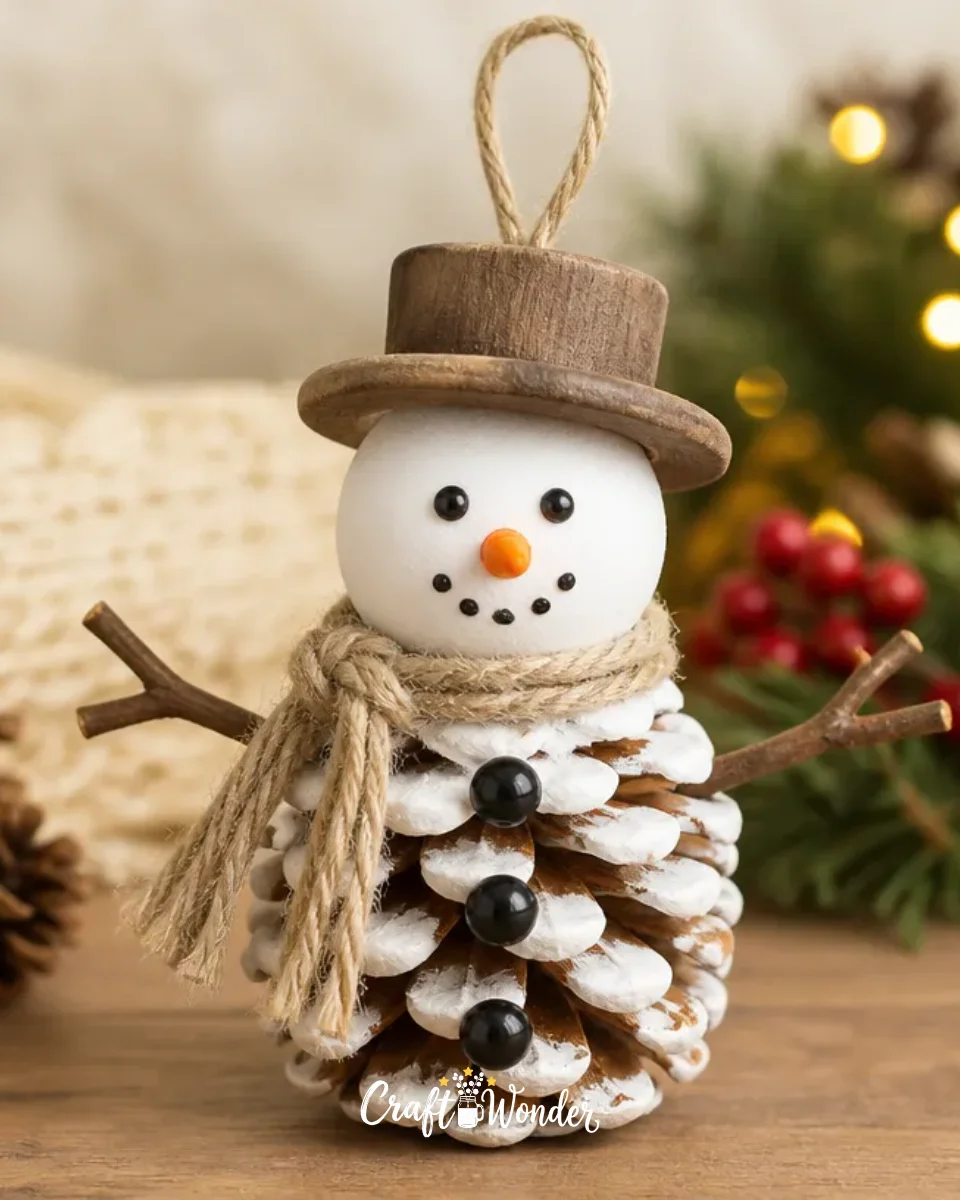
To make your Pinecone Snowman, imagine a whimsical snowman standing proudly among your holiday decorations. The finished piece should look charmingly rustic, with a combination of textures and colors from the natural materials used. Focus on the details, such as the snowman’s facial features and scarf, as they will add personality to your creation. Preparing your workspace in advance will help streamline the crafting experience. Gather your materials and set aside a comfortable area where you can spread out and enjoy the process.
“A handmade touch makes every home feel warmer.”
Materials and Supplies
Materials and Supplies
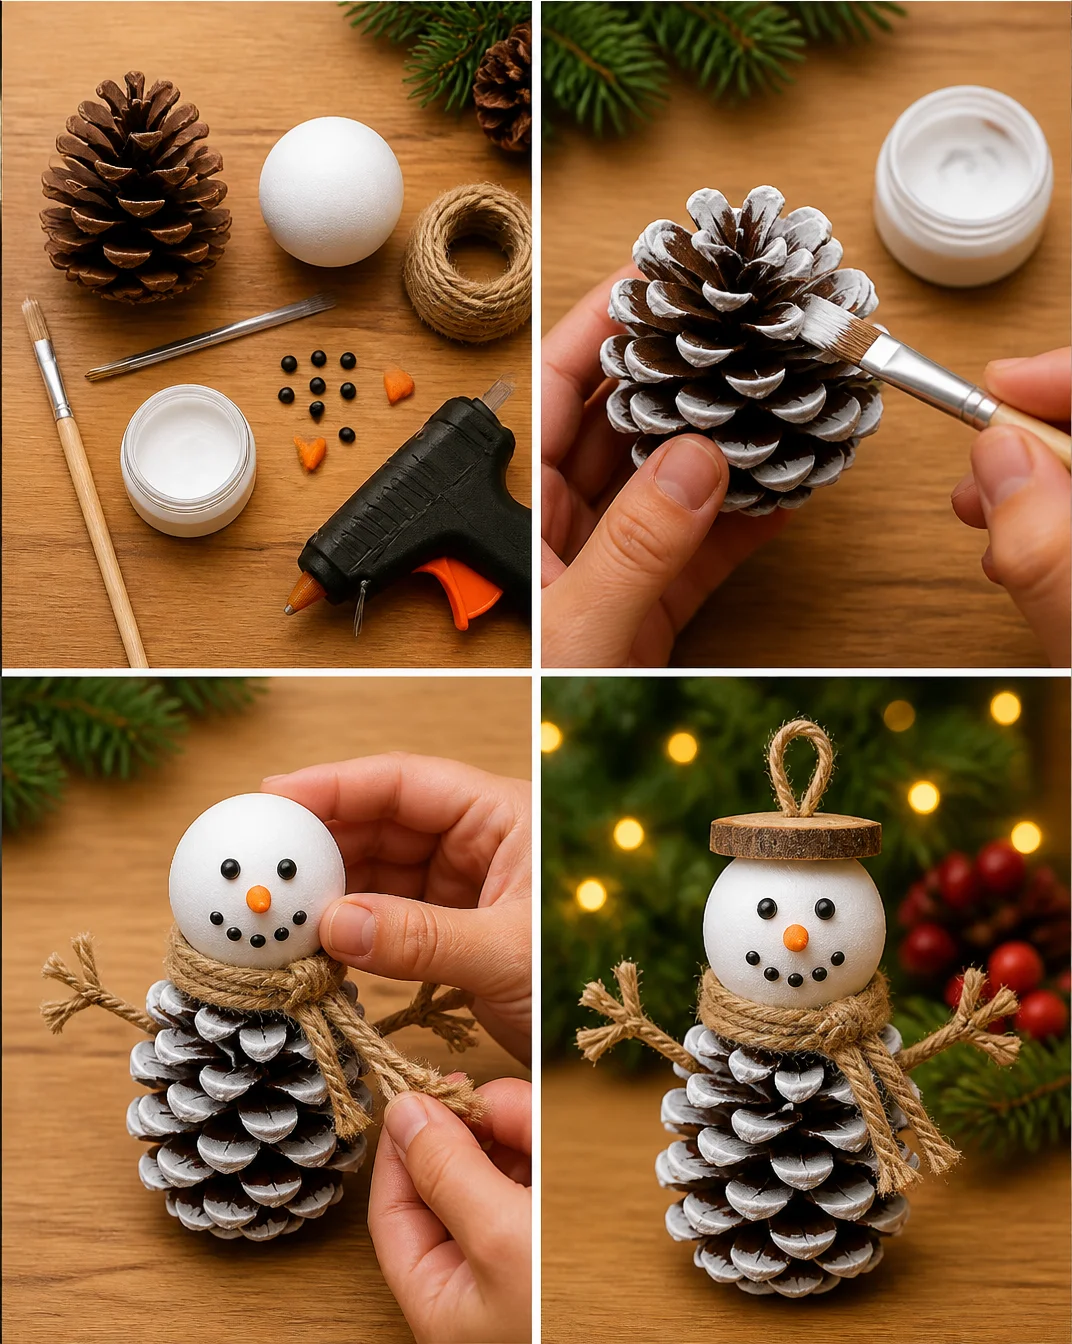
- Pinecones (medium to large)
- White paint or spray paint
- Black and orange buttons or beads (for eyes and nose)
- Black felt or fabric (for the hat)
- Ribbon or twine (for a scarf)
- Hot glue gun and glue sticks
- Scissors
When choosing your materials, consider the size of the pinecones in relation to the buttons and other embellishments. The right proportions will make your snowman appear more harmonious and appealing.
How to Make DIY Pinecone Snowman Craft for Christmas Decorations
Step 1: Prep Your Pinecones
Start by cleaning your pinecones thoroughly to remove any dirt or debris. If desired, apply white paint or spray paint to give them a snowy appearance. Allow the paint to dry completely; this can take about 30 minutes.
Step 2: Assemble the Features
Once your pinecones are dry, use the hot glue gun to attach the black buttons or beads as the eyes. For the nose, you can use an orange bead or cut a small triangle out of an orange piece of paper. Attach this securely with hot glue, making sure it is positioned well.
Step 3: Create the Hat
Cut a piece of black felt or fabric into a rectangle size that can be rolled into a small hat. Secure the ends with hot glue, and then attach this hat to the top of your snowman’s pinecone head.
Step 4: Add the Scarf
To give your snowman character, cut some ribbon or twine and wrap it around the neck. Secure it in place with a dab of hot glue at the back. Allow it to hang down for a lovely scarf effect.
Step 5: Final Touches
Inspect your snowman and add any additional features, such as small decorations or more embellishments. Set aside your creation to allow the glue to set and dry properly.
How to Style Your Finished DIY Pinecone Snowman Craft for Christmas Decorations
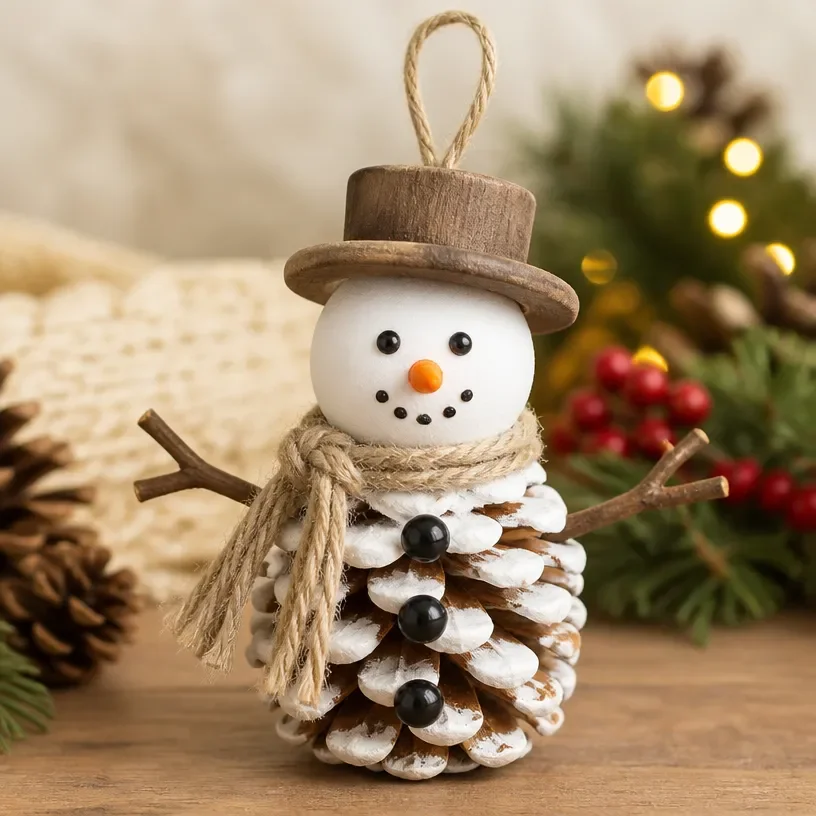
Bringing your DIY Pinecone Snowman into your home can add a delightful, festive touch. This snowman looks charming when placed on the mantel or nestled among your other holiday decorations on the dining table. Consider grouping it with candles, evergreen branches, or other handmade pieces to create a cohesive display.
It can also be a lovely greeting for visitors when placed on your porch. The rustic nature of the pinecone combined with warm, soft textures makes it a welcoming sight suitable for winter celebrations.
Maggie’s Tips for the Best Results
- Dry-fit the pieces before gluing to ensure everything aligns perfectly.
- Work in layers to build up textures and details on your snowman.
- Allow the paint to dry thoroughly before adding features to avoid smudging.
- Balance the proportions of your snowman; the larger the pinecone, the bigger the embellishments should be.
- Avoid excessive hot glue to keep your snowman looking neat and tidy.
Easy Ways to Customize This Project
This Pinecone Snowman Craft can easily be customized to fit your personal style. Consider using brightly colored ribbons for a more vibrant look or adding festive embellishments like small charms or glitter for extra sparkle. You might also paint the snowman a different color to fit a specific theme or party. For a more natural finish, avoid paint altogether and just enhance the pinecone with ribbons and accessories that complement its texture.
How to Store Your Pinecone Snowman Craft
To keep your Pinecone Snowman looking its best during the off-season, gently dust it with a soft cloth before storing. If displayed outdoors, consider bringing it inside to protect it from moisture and harsh weather. Store it in a box lined with tissue paper to cushion it, helping to prevent any potential damage from items shifting during storage.
FAQs About DIY Pinecone Snowman Craft for Christmas Decorations
Can I use larger or smaller pinecones for this craft?
Absolutely! You can adjust the size of the pinecones based on how large or small you want your snowman to be. Just be mindful to keep the embellishments proportional.
Is it safe to use real pinecones outdoors?
While real pinecones can be used outdoors, it’s best to bring them in during wet conditions to prevent mold and decay.
How can I change the colors of my snowman?
If you prefer a color other than white, simply choose a different paint color that suits your holiday theme.
Can I use other materials instead of felt for the hat?
Certainly! You can use any fabric or even paper to create a fun hat for your snowman. Be creative!
Conclusion
Handcrafting decorations like the Pinecone Snowman brings a unique charm to your home during the holiday season. Embracing this project can enrich your festive atmosphere and allow you the joy of creating something special. Weaving a bit of personal touch through such crafts fosters a warm atmosphere that welcomes others in.
If you’re looking for more seasonal inspiration, you might want to explore this guide on how to make pinecone snowman ornaments.
Print
DIY Pinecone Snowman Craft for Christmas Decorations
- Total Time: 45 minutes
- Makes: 1 Pinecone Snowman
Description
Create a charming Pinecone Snowman to add a festive touch to your holiday decor with this easy DIY craft.
Materials
- Pinecones (medium to large)
- White paint or spray paint
- Black and orange buttons or beads (for eyes and nose)
- Black felt or fabric (for the hat)
- Ribbon or twine (for a scarf)
- Hot glue gun and glue sticks
- Scissors
Instructions
- Prep your pinecones by cleaning them thoroughly and painting them white if desired. Allow to dry for 30 minutes.
- Assemble the features by gluing on the black buttons for eyes and the orange bead or paper triangle for the nose.
- Create the hat by cutting a rectangle of felt, rolling it, and gluing the ends together before attaching it to the pinecone head.
- Add the scarf by cutting some ribbon or twine, wrapping it around the neck, and securing it with hot glue.
- Inspect your snowman and add any final touches before letting the glue dry.
Notes
Customize your snowman with bright ribbons or extra embellishments to match your holiday theme.