

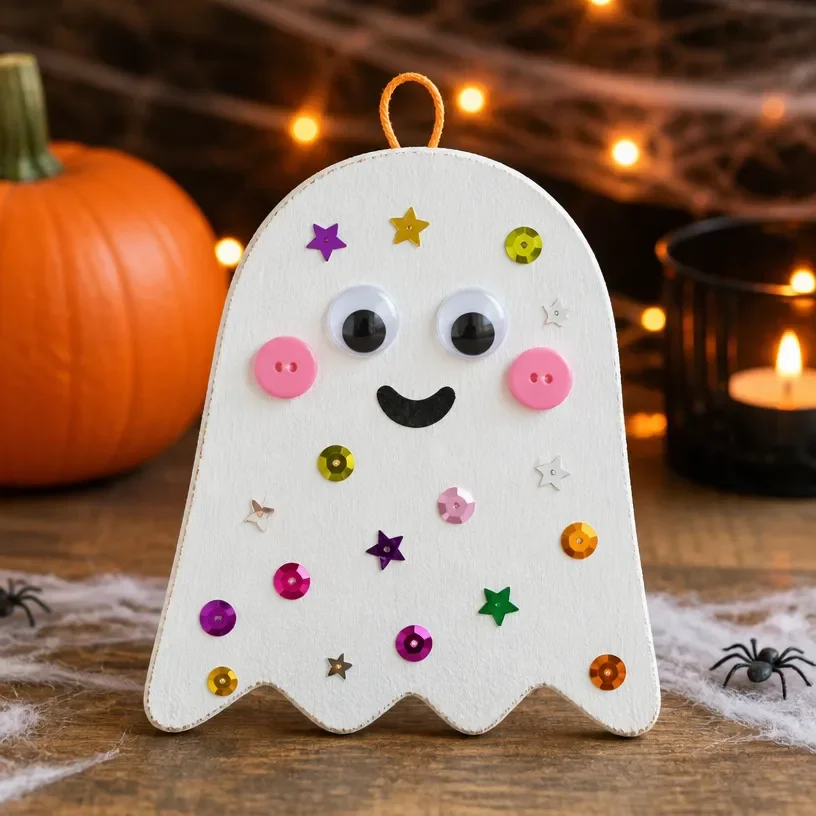
With the crispness of autumn in the air, it’s the perfect time to bring some seasonal cheer into your home with a delightful crafting project. The Easy DIY Halloween Ghost Craft for Kids and Families is a simple yet charming decoration that is fun to make and engaging for all ages. These little ghostly figures can be displayed around your home or used to create a spooky centerpiece. This approachable project requires minimal supplies and can spark creativity for both kids and parents alike. You may also find Easy Diy Fall Leaf Suncatcher Garland For Kids useful.
Children love crafting spooky decorations, and these friendly ghosts are no exception. As they gather materials and assemble their creations, they not only boost their artistic skills but also create cherished memories. You can hang them around your porch to welcome trick-or-treaters or place them on your dining table for festive meals. This project fits perfectly within any Halloween decor theme, effortlessly adding a touch of whimsy and fun. You may also find Easy Diy Paper Plate Fish Craft For Kids useful.
Why You’ll Love This Project
Creating your own Halloween decorations is rewarding, and this Easy DIY Halloween Ghost Craft offers several appealing benefits. You will find that this project is not only simple to construct but also utilizes inexpensive materials you likely have at home. The ghosts are incredibly versatile, making them suitable for various settings, from the front porch to the kitchen table.
Moreover, these ghosts can easily be personalized with different facial expressions or made in various sizes to suit your style. Whether you choose to go for a classic white ghost or a more colorful version, your family can enjoy the creative process together, making it a wonderfully interactive family activity.

Before You Start
Before diving into the crafting, it helps to have a clear idea of what your finished ghosts will look like. Ideally, they should resemble friendly, floating spirits, perfect for Halloween decor. Pay special attention to the details like the face and fabric draping, as these elements will define the look of your ghosts.
Prepare your workspace by clearing a flat area for assembling your crafts, and gather all the supplies so you can easily access them during the crafting process.
“A handmade touch makes every home feel warmer.”
Materials and Supplies
Materials and Supplies
- White balloons
- Black permanent marker
- Cheesecloth or white fabric
- Cotton balls or stuffing
- Twine or string
- Scissors
- Optional: LED tea lights for added effect
These materials are common and can be sourced from local craft stores or perhaps even found in your home. The cheesecloth or other white fabric will give your ghosts their ethereal appearance, while cotton stuffing will help shape them. Twine is an excellent choice for hanging them, allowing for easy display.
How to Make Easy DIY Halloween Ghost Craft for Kids and Families
Step 1: Prepare the Balloons
Start by blowing up your white balloons. A size of about 10-12 inches is great for making medium-sized ghosts. Ensure they’re tied securely so they won’t deflate during the crafting process.
Step 2: Create the Ghost Shape
Drape the cheesecloth or white fabric over the inflated balloon. Allow the fabric to hang freely, which will form the ghost’s ‘body’. Adjust the amount of fabric you use based on the desired look of your ghost.
Step 3: Add the Face
Using a black permanent marker, draw eyes and a mouth on the balloon. A simple dot for eyes and a curved line for a smile can create an adorable ghost, or you could go for a more spooky expression to fit the Halloween theme.
Step 4: Fill with Stuffing
Take cotton balls or any soft stuffing and place it under the draped fabric to give your ghost some volume. You want it to appear playful rather than flat.
Step 5: Tie it Up
Use twine or string to tie around the base of the balloon just above the stuffing. This will create the ghost’s neck and help hold everything in place.
Step 6: Display Your Ghosts
Once your ghosts are complete, decide where you’d like to display them. You can hang them outdoors or inside your home, using a hook or simply draping them over furniture for a fun look. Want to take your decor a step further? Consider combining your ghosts with other crafty decorations, such as witch hat collages for a captivating Halloween display.

How to Style Your Finished Easy DIY Halloween Ghost Craft for Kids and Families
These playful ghosts can brighten up various areas in your home. For example, they would be fantastic hanging from your porch ceilings or clustered on a mantel. Their gentle swaying adds a whimsical touch to a Halloween gathering or creates a soft, spooky atmosphere for an evening of storytelling.
To enhance the decor, consider arranging them beside other crafted pieces, like pumpkins or autumn-themed decor. Keep your styling simple yet inviting, allowing these ghosts to shine without being overly cluttered.

Maggie’s Tips for the Best Results
- Test Placement First: Before tying or hanging, it’s a good idea to dry-fit your ghosts to see how they look in your chosen space.
- Create Different Faces: Vary expressions across the ghosts to add more interest and character in your display.
- Group Arrangement: Hang multiple ghosts at varying heights for a more dynamic look.
- Use LED Lights: If using lights, ensure they are safe and distance them from flammable materials.
- Layer Fabrics: You can layer different fabrics for more texture and dimension in your ghost bodies.
Easy Ways to Customize This Project
Creating unique looks for your ghosts can be as simple as changing the face designs or using different fabric colors. For a touch of fall, try using fabric that has autumn patterns. You could also dress your ghosts with scarves made from scrap fabric or fall-themed ribbons to tie in with seasonal colors.
Consider different sizes as well smaller ghosts can hang closely together, creating a charming line-up, or you could make one larger ghost as a statement piece.
How to Pack This Project Away for Next Season
To keep your ghosts looking their best, consider using clear storage bins and layering with tissue paper to prevent crushing. Keep them in a cool, dry place to avoid moisture damage over time. If using cotton or similar materials, ensure they’re clean and dry before storing to prevent mold. You can easily reuse the balloons if they haven’t been popped during crafting!
FAQs About Easy DIY Halloween Ghost Craft for Kids and Families
Can I make these ghosts with smaller balloons?
Yes, smaller balloons work well if you’re aiming for tiny ghosts. Just adjust the amount of fabric you use.
How long do they take to make?
This craft typically takes about 30-45 minutes, depending on how many ghosts you choose to make.
Are these suitable for outdoor display?
Yes, but ensure you use materials that can withstand the weather, or bring them inside if it rains.
What if I don’t have cheesecloth?
You can use any lightweight white fabric, such as an old sheet or curtains, as a substitute.
A Handmade Touch for the Season
As you create your Easy DIY Halloween Ghost Craft, remember that the joy lies in the process of making something by hand. These charming ghosts can bring warmth and a sense of fun to your home this Halloween. Each crafted piece has a story and can turn into a cherished memory, becoming a part of your family’s seasonal tradition. Crafting doesn’t have to be perfect; it’s the effort you put in that truly makes it beautiful.
For more delightful craft ideas, check out this resource for fun options to inspire your Halloween decorating! Boo-tiful Fun: DIY ghosts & easy Halloween decor for kids
Print
Easy DIY Halloween Ghost Craft for Kids and Families
- Total Time: 45 minutes
- Makes: 4 ghosts
Description
Create charming Halloween ghost decorations that are fun to make and great for all ages.
Materials
- White balloons
- Black permanent marker
- Cheesecloth or white fabric
- Cotton balls or stuffing
- Twine or string
- Scissors
- Optional: LED tea lights
Instructions
- Prepare the balloons by blowing them up and securing them.
- Drape the cheesecloth or fabric over the balloon to form the ghost shape.
- Add the face using a black marker.
- Fill with cotton balls or stuffing for volume.
- Tie with twine around the base of the balloon to secure.
- Display your ghosts where desired, indoors or outdoors.
Notes
Consider varying expressions on ghosts for more character and use different fabric colors for customization.