

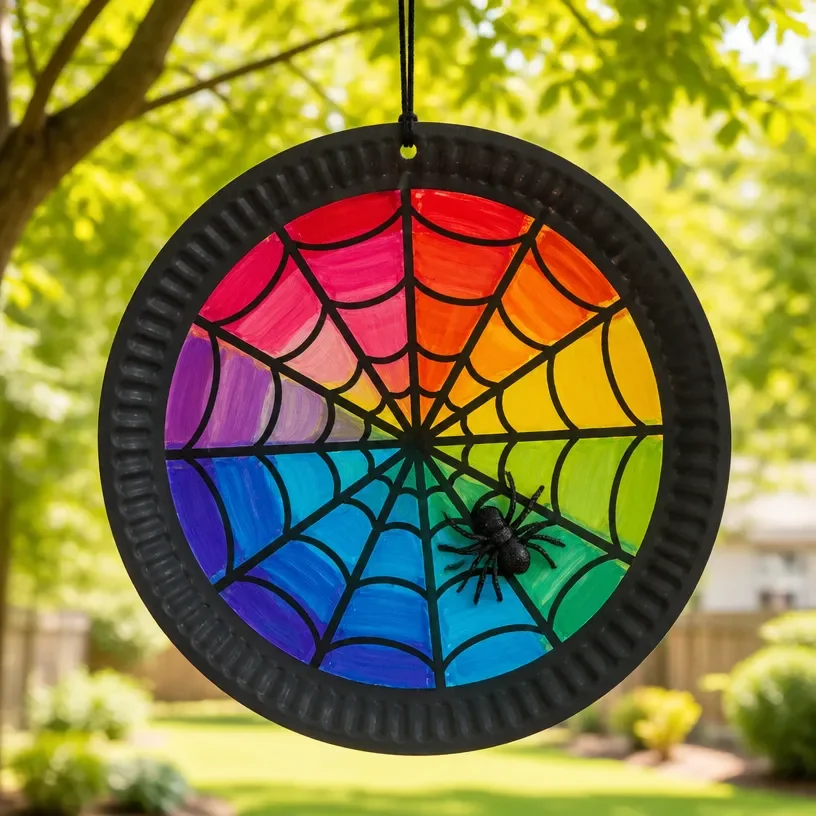
Creating a paper plate sun catcher inspired by spider webs is a delightful and engaging craft project, perfect for all ages. This project transforms simple materials into a mesmerizing display that can brighten up your home or classroom. It’s an ideal decor craft for autumn, Halloween, or any time of year when you want to add a welcoming, seasonal touch to your space. You may also find Wreath Rainbow Spiderweb Paper Plate Tutorial useful.
Paper plate sun catchers are not only easy to make but also provide an opportunity for creativity. With a splash of color and a bit of imagination, these sun catchers can be a fun activity for kids and adults alike. They make lovely decorations for windows, allowing sunlight to filter through and create vibrant patterns in your room. Plus, since you can customize the colors and designs, each creation is unique and personal. You may also find Diy Rainbow Ghost Suncatcher Garland Window Decor useful.
If you enjoy seasonal DIY projects, this paper plate sun catcher craft offers the chance to explore your artistic side while creating something beautiful for your home. The simplicity of the materials makes it perfect for beginners and seasoned crafters alike. As an added bonus, it’s a budget-friendly way to bring a handmade touch to your decor. You may also find Easy Diy Glass Bead Suncatchers Window Decor useful.
Why You’ll Love This Project
Making a paper plate sun catcher is not only a creative endeavor but also a practical one. The project uses inexpensive and commonly found materials, making it accessible for everyone. Whether you want to brighten up your entryway, enhance your porch decor, or simply enjoy a sunny afternoon crafting, this project has versatility.
The farmhouse character and personalization options of this craft allow you to infuse your own style. Each sun catcher can be adapted to suit your home’s aesthetic by choosing different colors, patterns, or embellishments. This means you could even switch them out with the changing seasons consider warm hues for fall or bright pastels for spring. As you create, you’ll enjoy the soothing process that comes with crafting, leading to a satisfying and decorative end result.
Before You Start
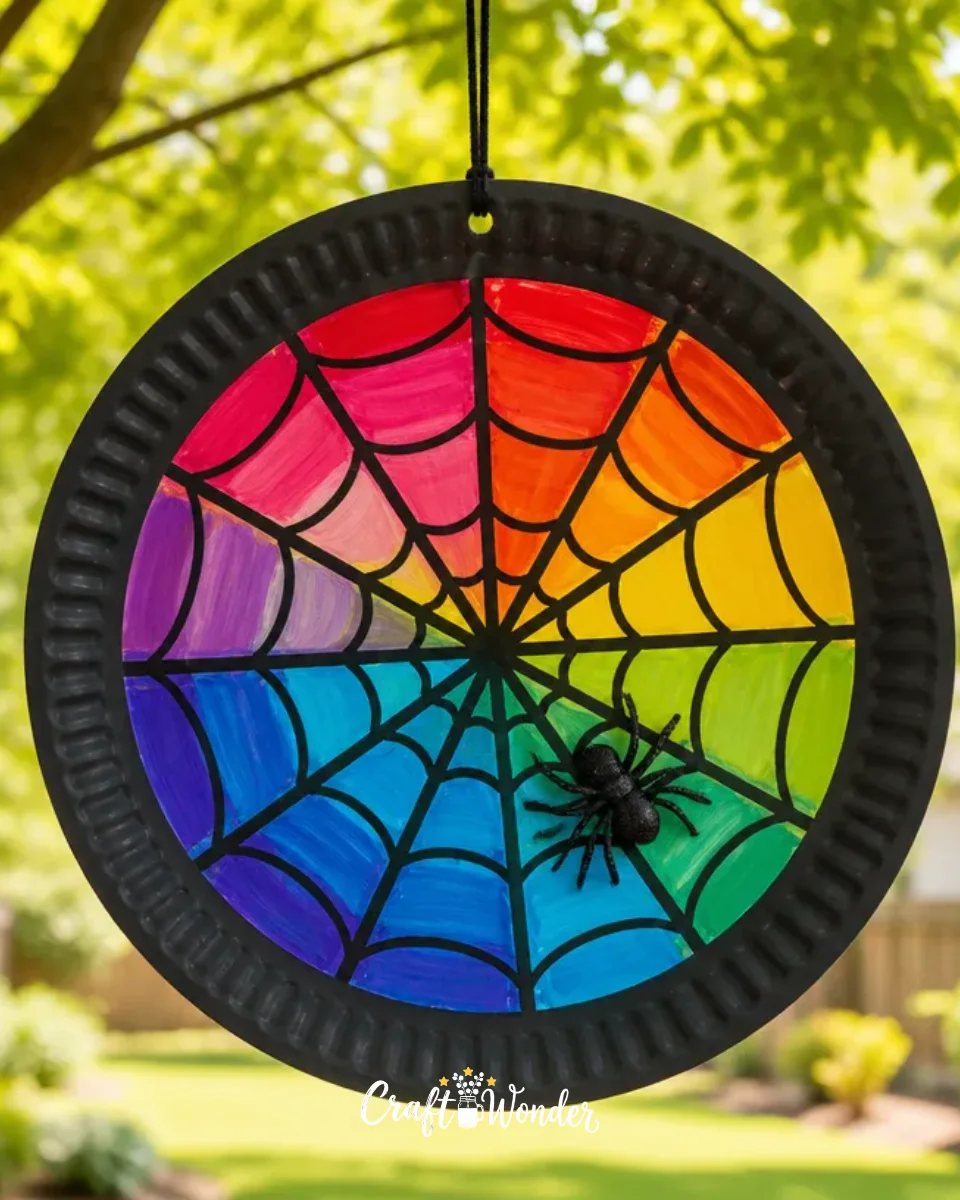
Before diving into the craft, let’s clarify what your finished paper plate sun catcher should look like. Imagine a circular plate adorned with a beautiful spider web design, made vibrant by sun-catching colors. Pay special attention to the way you create the web; the design is the heart of this project.
Prepare your workspace by gathering all your materials in one place. A clean table with good lighting will make the crafting process smoother. Organizing your supplies ahead of time can minimize stress while you work.
“A handmade touch makes every home feel warmer.”
Materials and Supplies
Materials and Supplies
- Paper plates (1-2 per sun catcher)
- Black paint or marker (for the spider web design)
- Colored tissue paper (in various shades)
- Scissors
- Glue or Mod Podge
- String or ribbon (for hanging)
- Optional: glitter, sequins or other embellishments
When choosing materials, consider the colors you want for your sun catcher. Tissue paper works best if it is translucent, allowing the sunlight to shine through beautifully. If you like a bit of sparkle, adding glitter or sequins can enhance the overall effect.
How to Make Paper Plate Sun Catcher | Spider Web Paper Plate Crafts, Decor Crafts, Ideas
Step 1: Prepare the Paper Plate
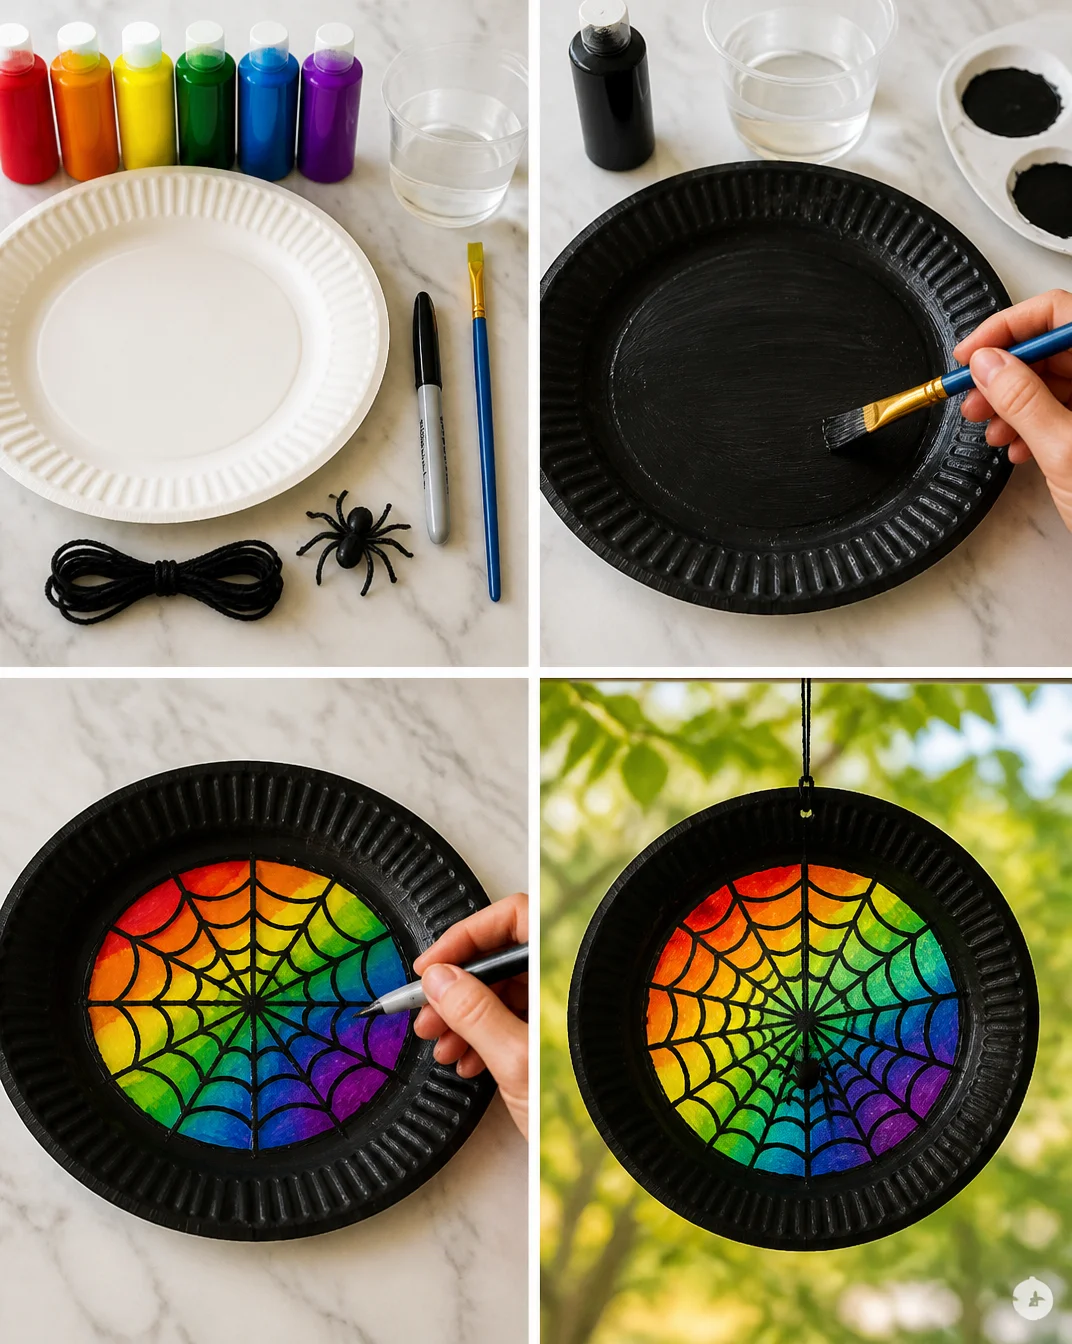
Begin by taking your paper plate and painting it black or drawing a spider web design with a marker. Allow it to dry completely, which shouldn’t take long. The dark color will create a striking contrast with the colorful tissue paper you’ll add next.
Step 2: Cut the Tissue Paper
While your plate is drying, take the tissue paper and cut it into small squares or shapes. These will be used to create a colorful background for your sun catcher. The more vibrant the colors, the better the effect will be when the sunlight shines through.
Step 3: Apply the Tissue Paper
Once the plate is dry, you can start gluing the tissue paper squares onto the plate. Use your glue or Mod Podge to secure the paper. You can layer them as you like, adding depth and interest to the design.
Step 4: Add the Spider Web
With the tissue paper in place, use your black paint or marker to draw the spider web overlay. You can create thick lines or delicate swirls, depending on your preference. This step emphasizes the spider web theme you’ve chosen for your sun catcher.
Step 5: Attach the Hanging Mechanism
Cut a length of string or ribbon and attach it to the top of your paper plate sun catcher. Make sure it’s secure so you can hang it without worry. You may need to poke small holes to thread the string through depending on your design.
How to Style Your Finished Paper Plate Sun Catcher | Spider Web Paper Plate Crafts, Decor Crafts, Ideas
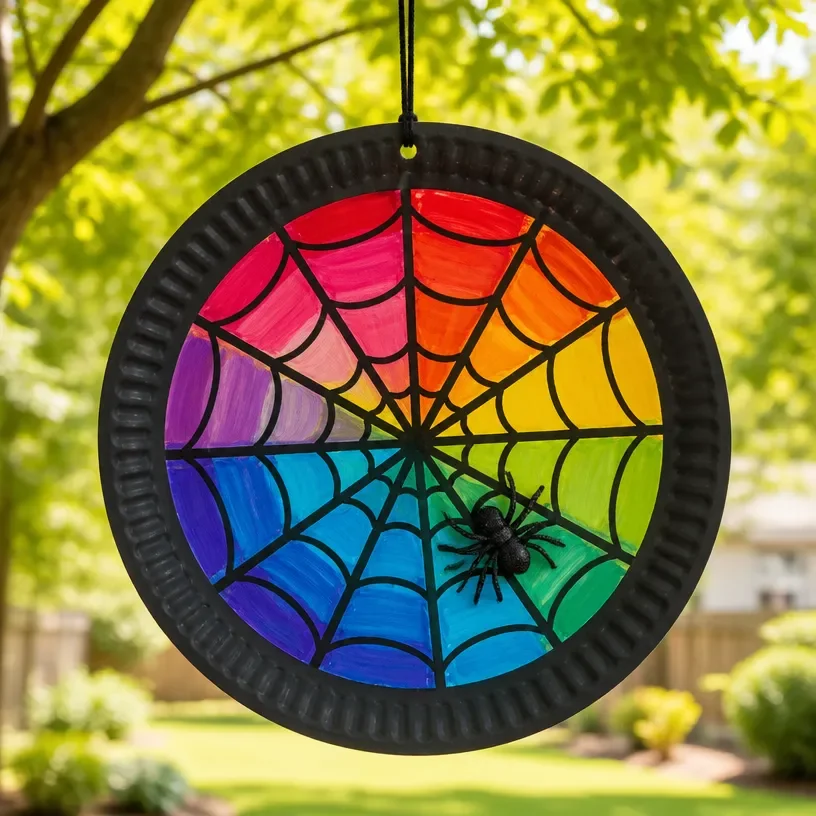
Once your paper plate sun catcher is complete, it’s time to find the perfect place to display it. Consider hanging it in a sunny window where it can catch the light beautifully. This will allow the colors to shine, creating lovely reflections in your space.
You might also choose to display it on your front door or in your entryway to welcome guests with a handmade touch. Alternatively, these can make charming decorations for a seasonal mantle or even as part of a centerpiece on your dining table. The simplicity and charm of this craft make it a versatile piece for various displays.
Maggie’s Tips for the Best Results
- Dry-Fit First: Before gluing the tissue paper, lay out your design to see how you want it to look. This will help ensure balance and color placement.
- Work in Layers: When applying the tissue paper, consider building layers for depth and intrigue.
- Allow Proper Dry Time: Take time between steps to let glue dry fully for the best results.
- Embrace Imperfections: Remember, handmade creations don’t need to be perfect. Embrace the unique character of each piece.
- Test Placement: Before hanging, hold your sun catcher up in different spots to find the best angle for maximum sunlight.
Easy Ways to Customize This Project
Customize your sun catcher with seasonal or personal touches. You might choose deeper colors like burgundy and forest green for fall or bright pinks and yellows for spring. Adding small embellishments, like beads or letters, can bring an extra touch of flair that reflects your personal style.
How to Care for Your Handmade Decor
To maintain the beauty of your paper plate sun catcher, it’s wise to keep it away from moisture and direct sunlight for long periods, as these can lead to fading or damage. If it gathers dust, simply wipe it gently with a soft cloth. Since this project is quite simple, you can also easily replace it or refresh your design whenever you like.
FAQs About Paper Plate Sun Catcher | Spider Web Paper Plate Crafts, Decor Crafts, Ideas
1. What alternative materials can I use for the spider web design?
You can use yarn or string instead of paint, simply gluing or tying it on in a web pattern.
2. How long does the glue take to dry?
Drying time can vary, but generally, it should be around 30 minutes to an hour for standard school glue.
3. Can I use this project outdoors?
Yes, but consider using waterproof materials if you want it to last longer outside.
4. What if I want a larger sun catcher?
Feel free to use larger plates or even combine several smaller plates to create a bigger piece.
Conclusion
Creating a paper plate sun catcher is a wonderful way to practice your crafting skills while making something beautiful. Whether you’re decorating your home or creating a gift, this project embodies the joy of handmade decor. For additional inspiration, you can explore more ideas, such as the Very Busy Spider Web Craft for Kids inspired by the beloved children’s book. Embrace the beauty of handcrafted items that bring warmth and personality to your space.
Print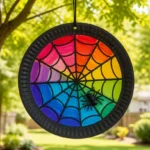
Paper Plate Sun Catcher
- Total Time: 45 minutes
- Makes: 1 sun catcher
Description
A delightful and engaging craft project to create colorful sun catchers inspired by spider webs, perfect for all ages.
Materials
- Paper plates (1-2 per sun catcher)
- Black paint or marker (for the spider web design)
- Colored tissue paper (in various shades)
- Scissors
- Glue or Mod Podge
- String or ribbon (for hanging)
- Optional: glitter, sequins or other embellishments
Instructions
- Prepare the Paper Plate by painting it black or drawing a spider web design with a marker. Allow it to dry completely.
- Cut the tissue paper into small squares or shapes for a colorful background.
- Apply the tissue paper squares onto the plate using glue or Mod Podge.
- Add the spider web overlay with black paint or marker.
- Attach a length of string or ribbon to the top for hanging.
Notes
Customize your sun catcher with seasonal colors and embellishments for a personal touch.