

Frosted Birch Lantern: Rustic Log Lighting Decor You may also find Diy Frosted Birch Lantern Rustic Log Lighting Decor useful.
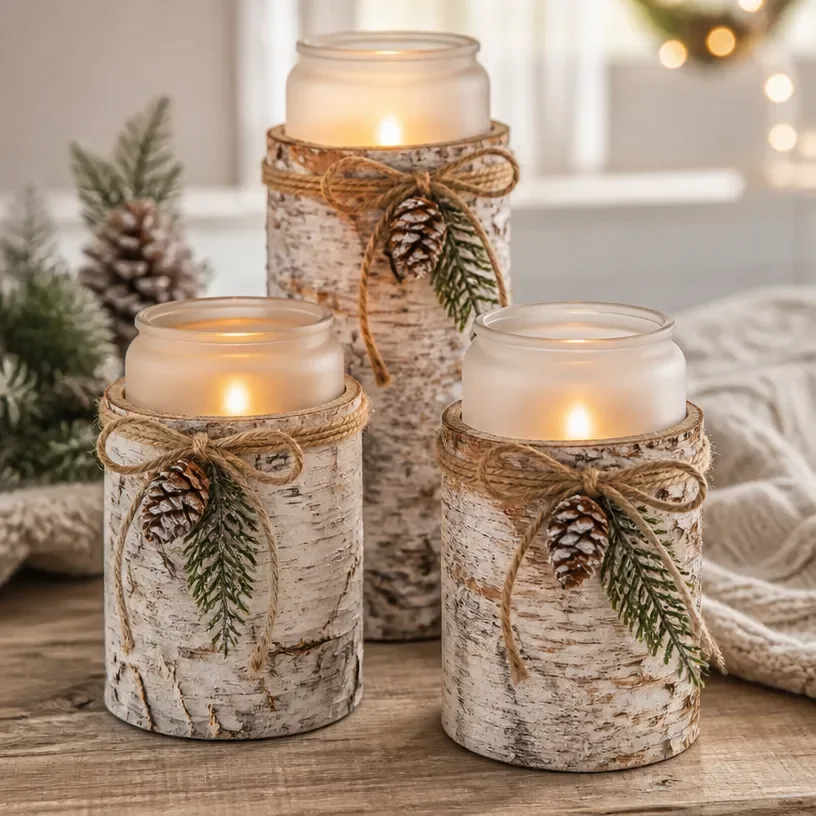
Create a warm and welcoming atmosphere in your home with the stunning Frosted Birch Lantern. This delightful DIY project utilizes natural birch logs and frosted glass jars to illuminate your space with a touch of rustic charm. Ideal for both indoor and outdoor settings, these lanterns can grace your porch, mantel, or dining table, casting a soft glow that invites comfort and relaxation. With simple materials and accessible techniques, this project can become a favorite on your seasonal decor list. You may also find Diy Rainbow Fall Leaf Garland Rustic Porch Decor useful.
By incorporating natural textures and the warm flicker of LED candles, this project embodies the essence of handmade decor. It’s an approachable craft for any home decorator, allowing you to take pride in creating a piece that not only beautifies your space but also tells a story of craftsmanship.
Why You’ll Love This Rustic Log Lighting Decor
The Frosted Birch Lantern offers several appealing benefits that make it a perfect addition to your DIY repertoire. First and foremost, the construction is both approachable and satisfying. You can craft this lantern with fairly inexpensive materials, which may even be readily available if you enjoy outdoor crafting. The use of birch logs not only brings a unique aesthetic but also bolsters the farmhouse character of your home.
This project shines with versatility; it can seamlessly transition from one season to another. Imagine using it in the fall with cozy accents like pumpkins or in winter with evergreen branches. Additionally, it encourages creativity, as you can customize the logs with paints, decorations, or different jar styles. For more inspiring seasonal projects, you might enjoy the DIY Lavender Hanging Bouquet for Rustic Home Decor.

Before You Start
Before diving into the Frosted Birch Lantern project, it helps to visualize the finished piece. The lanterns should feature a rustic log base with a frosted glass jar nestled in the center, allowing the soft glow of an LED candle to shine through. The height of the logs can be adjusted based on your preference, so consider what best fits your space.
Prepare your workspace neatly, ensuring you have ample room to cut and sand the logs safely. This particular project deserves attention in the details, such as ensuring the logs are smooth and well-prepared before adding the jars.
“A handmade touch makes every home feel warmer.”
Materials and Supplies
Materials and Supplies
- Birch logs
- Frosted glass jars
- LED candles
- Twine or decorative rope
- Paint (optional, for decoration)
- Sealant (optional, for durability)
When choosing your birch logs, look for pieces that have interesting textures and variations in bark. The size of your frosted glass jars can also vary, depending on how large you’d like your lantern to be. If you decide to paint the logs, think about whether you want a natural finish or a pop of color to brighten the decor.
How to Make Frosted Birch Lantern: Rustic Log Lighting Decor
Step 1: Cut the Birch Logs
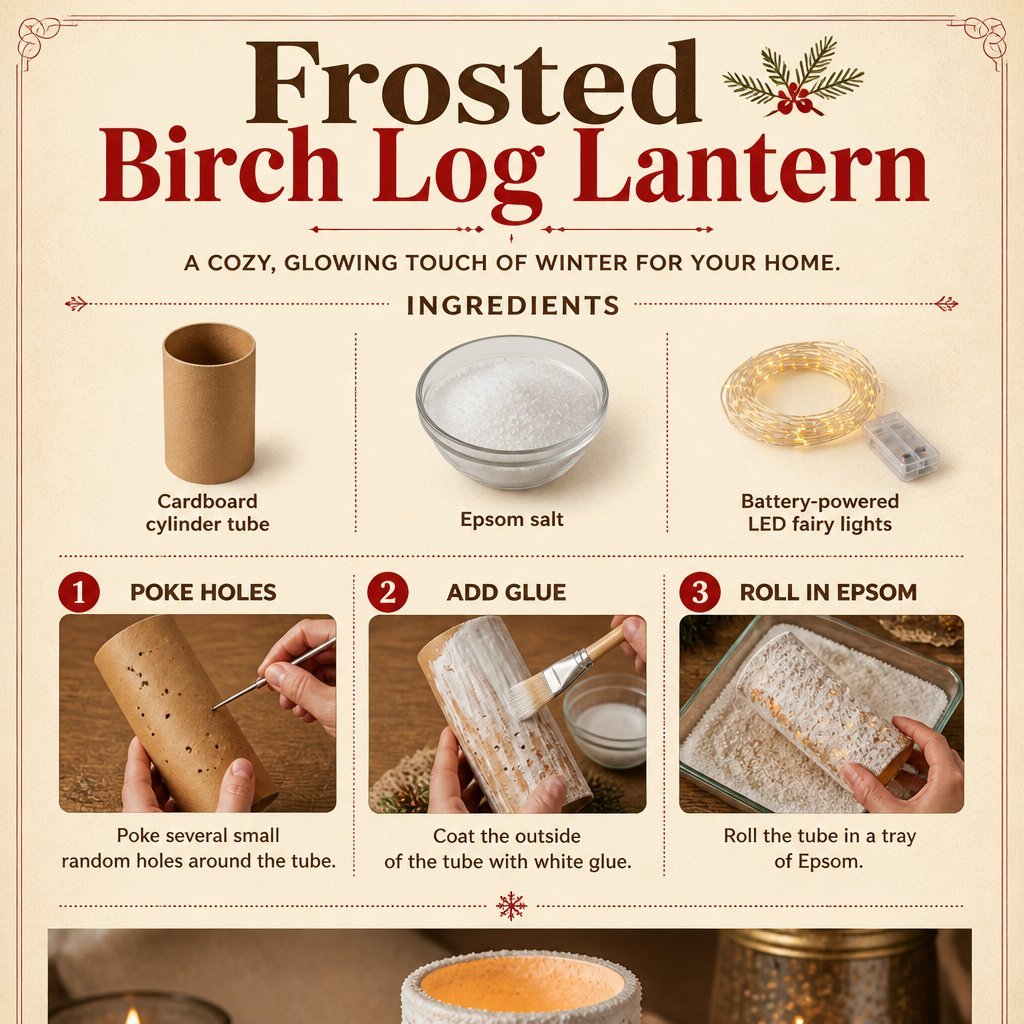
Begin by cutting your birch logs to the desired height. You may choose to have them all the same size for uniformity or mix different heights for visual interest. Use a saw that provides a clean cut to avoid rough edges.
Step 2: Sand the Edges
Lightly sand the edges of the logs for a smooth finish. This step is crucial to ensure safety and enhance the appearance of your lantern.
Step 3: Place the Frosted Glass Jars
Next, take your frosted glass jars and place them inside the hollowed centers of the logs. Make sure they are snug but not overly tight, as you want to be able to secure them easily.
Step 4: Decorate the Logs
If you wish, now is the time to personalize your logs. You can paint them, add embellishments, or leave them in their natural state.
Step 5: Secure the Jars
Using twine or decorative rope, gently wrap it around the logs to keep the jars secure. This not only holds everything in place but adds a rustic touch to the overall design.
Step 6: Add LED Candles
Finally, place the LED candles inside the jars. Once the candles are lit, the combination of glass and wood will illuminate your surroundings beautifully, enhancing the ambiance of any setting.
How to Style Your Finished Frosted Birch Lantern
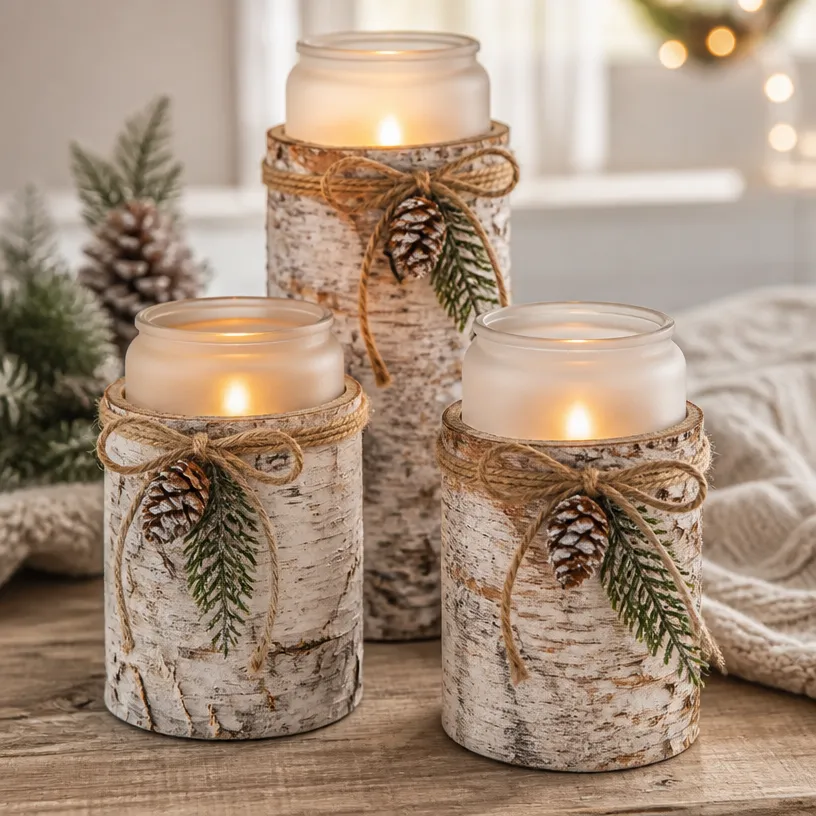
Now that your Frosted Birch Lantern is complete, consider where it will shine brightest in your home. These charming lanterns look stunning on a dining table, providing a warm glow during family dinners. They can also grace your entryway, welcoming guests with a gentle light. If you place them outdoors, they work wonderfully on a porch or patio for evening entertaining.
When styling your lantern, think about pairing it with other rustic elements like natural fibers, greenery, or seasonal flowers. The goal is to create a cohesive look that feels inviting without being overcrowded.
Maggie’s Tips for the Best Results
- Dry-Fit Before Securing: Always dry-fit the logs, jars, and any decorations before securing them in place. This ensures that everything fits together as you envision.
- Work in Layers: If painting or decorating, build up layers gradually to avoid drips or uneven coverage.
- Allow Paint to Dry: If you choose to paint your logs, allow ample time for the paint to dry before adding any additional elements.
- Balance Your Elements: Consider the balance of the lanterns in your decor, keeping larger elements proportionate to the smaller ones.
- Natural Texture Preservation: Embrace the natural imperfections of the wood for a more authentic look.
Easy Ways to Customize This Project
Feel free to put your personal spin on the Frosted Birch Lantern. Try using seasonal colors in your paint choices, or add sprigs of faux or fresh greenery for a lively touch. You could also experiment with different types of twine or rope, perhaps even adding metallic accents for a bit of shine. Changing up the glass jars according to the season can further enhance the look think clear, colored, or patterned jars that complement your home decor.
Caring for Your Handmade Decor
To keep your Frosted Birch Lantern looking its best, dust it periodically to prevent any buildup. If used outdoors, bring it inside during inclement weather to avoid moisture damage. Additionally, apply a sealant if you want to protect painted surface, ensuring your crafts last through the seasons.
FAQs About Frosted Birch Lantern: Rustic Log Lighting Decor
1. Can I use real candles instead of LED?
It’s recommended to use LED candles to avoid fire hazards, especially with wooden elements involved.
2. How tall should the birch logs be?
The height depends on your preference, but generally, they should be about 10 to 15 inches tall for a balanced look.
3. What type of paint works best on birch logs?
Any acrylic or outdoor paint will work well, but it’s best to test a small area first.
4. Is it safe to put these lanterns outside?
Yes, as long as you avoid using real candles, they can be placed outside.
A Handmade Touch for the Season
Crafting your own Frosted Birch Lantern brings not only a personalized charm to your home but also a sense of accomplishment. Each lantern you create carries the essence of your craftsmanship and enhances the cozy atmosphere of your living space. As you light them up, they become more than just decor; they create lasting memories for you and your loved ones.
If you’re looking to further elevate your home decor, consider exploring unique lighting options like a Wood Tree Branch Candle Holder to complement your new lanterns.
Print
Frosted Birch Lantern
- Total Time: 10 minutes
- Makes: 1 lantern
Description
Create a warm and welcoming atmosphere with this stunning DIY Frosted Birch Lantern, using natural birch logs and frosted glass jars.
Materials
- Birch logs
- Frosted glass jars
- LED candles
- Twine or decorative rope
- Paint (optional, for decoration)
- Sealant (optional, for durability)
Instructions
- Cut the birch logs to the desired height.
- Sand the edges for a smooth finish.
- Place the frosted glass jars inside the hollowed centers of the logs.
- Decorate the logs if desired.
- Secure the jars with twine or decorative rope.
- Add LED candles inside the jars.
Notes
Consider dry-fitting all elements before securing to ensure a perfect fit. Customize your lantern according to the season for a unique touch.