

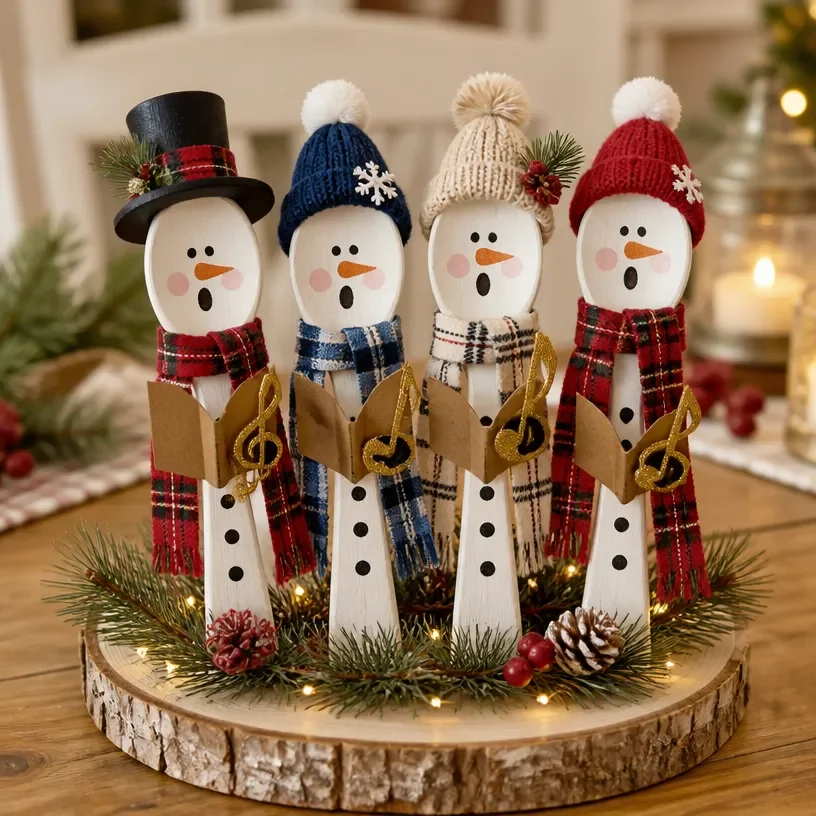
Diy Wooden Spoon Crafts Christmas: Spoon Snowman and Crafting Ideas You may also find Tree Branches Easy Diy Christmas Crafts Porch useful.
Creating handmade decorations for the holidays is a delightful way to bring warmth and personality into your home. One charming project you can easily take on is making festive wooden spoon snowmen. These delightful figures not only add whimsy to your holiday decor but also make a fun crafting session for the whole family. They’re perfect for placing on your mantel, table, or even gifting to loved ones, embodying the spirit of homemade cheer. You may also find How To Make Pinecone Gnomes Christmas Crafts useful.
Wooden spoon crafts like these are approachable for crafters of all skill levels. The simple materials and engaging steps provide a sense of accomplishment as you watch your snowman come to life. The tactile feel of the wood combined with the splashes of paint and fabric creates a warm aesthetic, sure to bring smiles during the chilly season. You may also find Diy Pinecone Gnomes Budget Friendly Craft Fall Christmas useful.
Why You’ll Love This Project
Making wooden spoon snowmen taps into the creative joys of crafting while delivering a charming holiday decoration. They’re not just easy to make; here are a few reasons why you’ll appreciate this project:
- Approachable Construction: Even beginners can successfully create these snowy friends with minimal frustration.
- Inexpensive or Reusable Materials: Most of the materials can be found around your home or at a local craft store, making it budget-friendly.
- Seasonal Versatility: While perfect for Christmas, these little snowmen can also be crafted for winter decorations beyond the holidays.
- Customization Options: Personalize each spoon snowman to reflect your style or the tastes of each recipient.
- Useful Display Options: You can adorn your home with these snowmen on the mantel, dining room table, or even as cheerful outdoor decor.
Before You Start
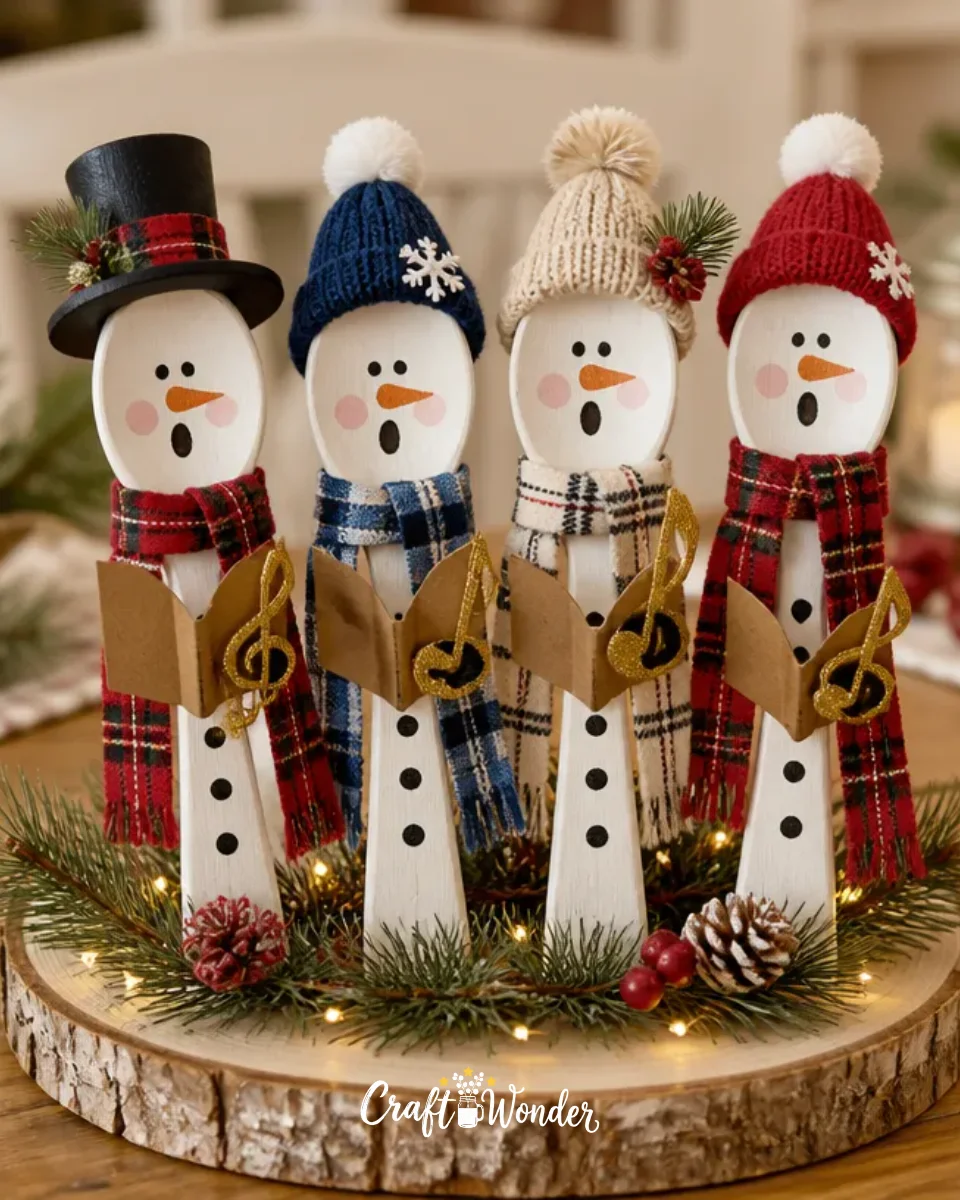
Before diving into your project, it’s helpful to visualize the end result: a delightful snowman crafted from a wooden spoon, complete with a hat and scarf. Focus on where the most detail will go, particularly the face and any accessories that will bring your snowman to life, as they tend to make the biggest impact.
Prepare your workspace to accommodate paint, glue, and other crafting materials, keeping everything within reach. Ensure you have a protective covering for your table, as working with paint can get messy.
“A handmade touch makes every home feel warmer.”
Materials and Supplies
Materials and Supplies
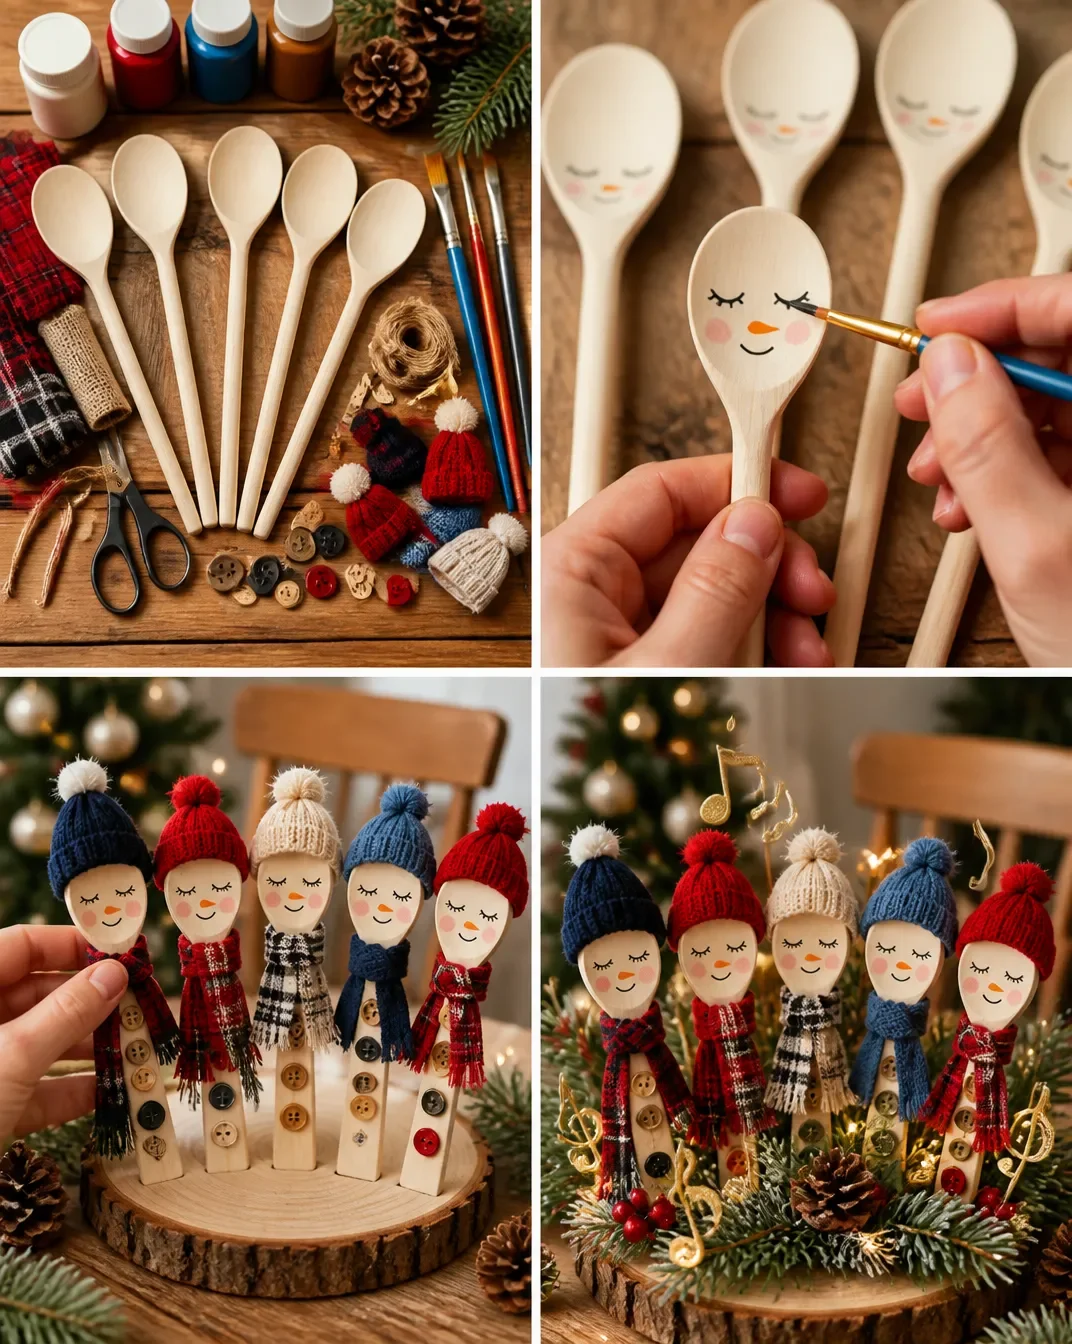
To create your wooden spoon snowman, gather the following materials:
- Wooden spoons (one for each snowman)
- White paint (acrylic or spray)
- Black paint or marker (for the eyes and mouth)
- Orange paint or marker (for the carrot nose)
- Fabric scraps (for scarves or hats)
- Glue (hot glue works well)
- Craft accessories (like buttons or beads)
- Optional: Glitter or embellishments for extra flair
When selecting materials, consider choosing fabrics with seasonal patterns for a touch of holiday contrast. You can experiment with different textures, too, as this adds depth and visual interest to your creation.
How to Make Diy Wooden Spoon Crafts Christmas: Spoon Snowman
Here’s a step-by-step guide for making your charming wooden spoon snowman.
Step 1: Prepare the Wooden Spoon
Start by painting the front of your wooden spoon with white paint. Allow it to dry completely; this usually takes about 1-2 hours depending on the paint type. Once dry, you can add a second coat for a more opaque finish.
Step 2: Add Facial Details
Once your spoon is fully dry, use a black paint or marker to add eyes and a mouth. For a playful look, consider giving your snowman a big smile and twinkling eyes.
Step 3: Create the Carrot Nose
Using orange paint or a marker, craft a cute carrot-shaped nose on your snowman. You can make it as simple or intricate as you’d like!
Step 4: Decorate with Accessories
Now it’s time to dress up your snowman! Cut pieces of fabric to create a scarf and hat. Secure them in place with hot glue, making sure they add character and style to your snowy friend.
Step 5: Final Touches
If you’d like, embellish your spoon snowman with buttons or beads for added charm. You may want to be sparing with these extras; the aim is to keep it simple yet cozy.
Bringing Your Diy Wooden Spoon Crafts Christmas Into Your Home
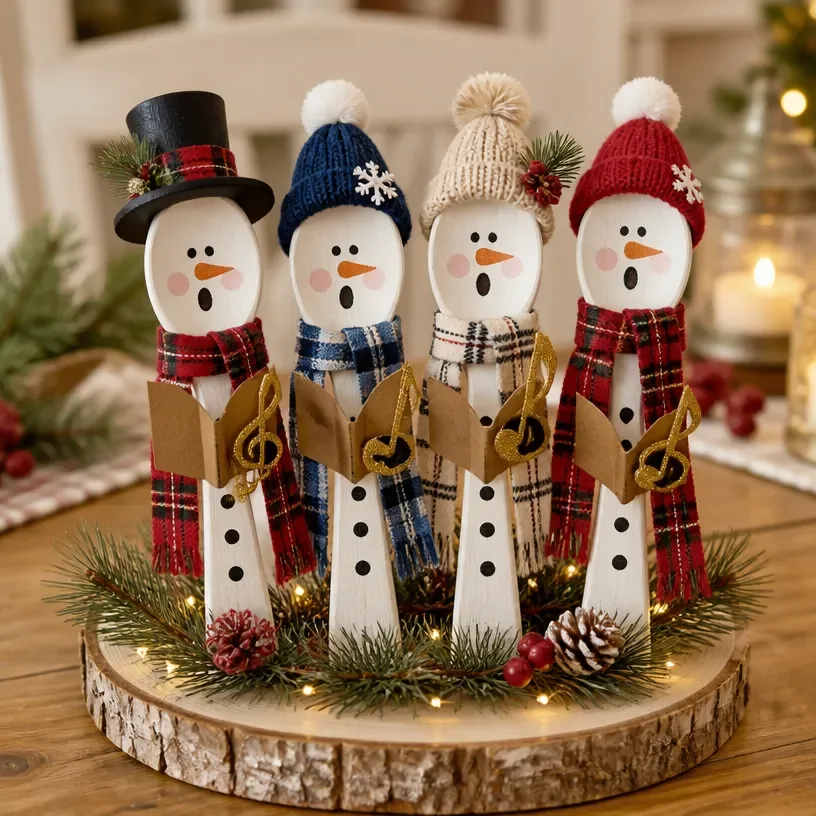
Your charming wooden spoon snowman can brighten various areas of your home. Consider placing it on your mantel surrounded by greenery or on the dining table as a conversation starter. You can also create a small snowman family and display them on a shelf or in a window to spread holiday cheer.
Maggie’s Tips for the Best Results
- Dry-Fit Before Gluing: Lay out your accessories to see how they look together before committing with glue.
- Work in Layers: This helps create depth, especially when layering fabric for hats and scarves.
- Let Paint Dry Fully: Rushing this step can lead to smudges, so be patient and allow adequate drying time.
- Balance Your Accessories: Ensure any embellishments, like buttons, are evenly spaced and securely attached for a polished look.
- Keep the Design Simple: Embrace the imperfections that come with handcrafted items; that’s part of their charm!
Easy Ways to Customize This Project
- Seasonal Colors: Paint your snowman in colors that reflect your seasonal décor.
- Diverse Fabrics: Use different textured fabrics for hats and scarves to add more visual appeal.
- Fun Accessories: Consider adding small mittens or even tiny holiday lights for a festive touch.
- Personalized Faces: Customizing each snowman’s expression can turn them into unique art pieces.
Caring for Your Handmade Decor
To keep your wooden spoon snowmen looking delightful, it’s best to dust them gently. Avoid exposure to moisture, which could damage the paint or materials used. Store them somewhere safe during off-seasons to ensure they remain intact for holiday use.
FAQs About Diy Wooden Spoon Crafts Christmas
Can I use real fabric instead of craft fabric?
Absolutely! If you have fabric scraps from previous projects, feel free to incorporate them into your design.
How long does the paint take to dry?
Drying time can vary, but generally, acrylic paint will dry within 1-2 hours. For best results, check the label on your paint.
Can I use glue other than hot glue?
Yes, other craft glues like tacky glue or fabric glue will also work. Just ensure they are suitable for the materials you’re using.
Are these snowmen suitable for outdoor display?
These wooden spoon snowmen are best for indoor use, as moisture can warp the wood and damage the paint.
How can I change the theme for other seasons?
You could easily adapt the spoon snowman concept for spring by using a flower theme or for Halloween by adding pumpkin-face designs.
A Handmade Touch for the Season
Creating wooden spoon snowmen offers a lovely way to embrace the spirit of the holidays while making something uniquely yours. Every crafting moment becomes an opportunity to celebrate togetherness and creativity. Remember, handmade decorations don’t have to be perfect they just need to be filled with love and a touch of personality.
If you’re looking for more holiday crafting ideas, check out this project for a fun wooden spoon snowman here.
Print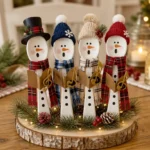
Diy Wooden Spoon Snowman
- Total Time: 20 minutes
- Makes: 1 snowman
Description
Create charming wooden spoon snowmen for a delightful holiday decoration.
Materials
- Wooden spoons (one for each snowman)
- White paint (acrylic or spray)
- Black paint or marker (for the eyes and mouth)
- Orange paint or marker (for the carrot nose)
- Fabric scraps (for scarves or hats)
- Glue (hot glue works well)
- Craft accessories (like buttons or beads)
- Optional: Glitter or embellishments for extra flair
Instructions
- Prepare the Wooden Spoon: Start by painting the front of your wooden spoon with white paint and allow it to dry completely.
- Add Facial Details: Once dry, use a black paint or marker to add eyes and a mouth.
- Create the Carrot Nose: Using orange paint or a marker, craft a cute carrot-shaped nose on your snowman.
- Decorate with Accessories: Cut pieces of fabric to create a scarf and hat, securing them with hot glue.
- Final Touches: Embellish your spoon snowman with buttons or beads for added charm.
Notes
Let paint dry fully to avoid smudges. Customize each snowman for a unique touch.