

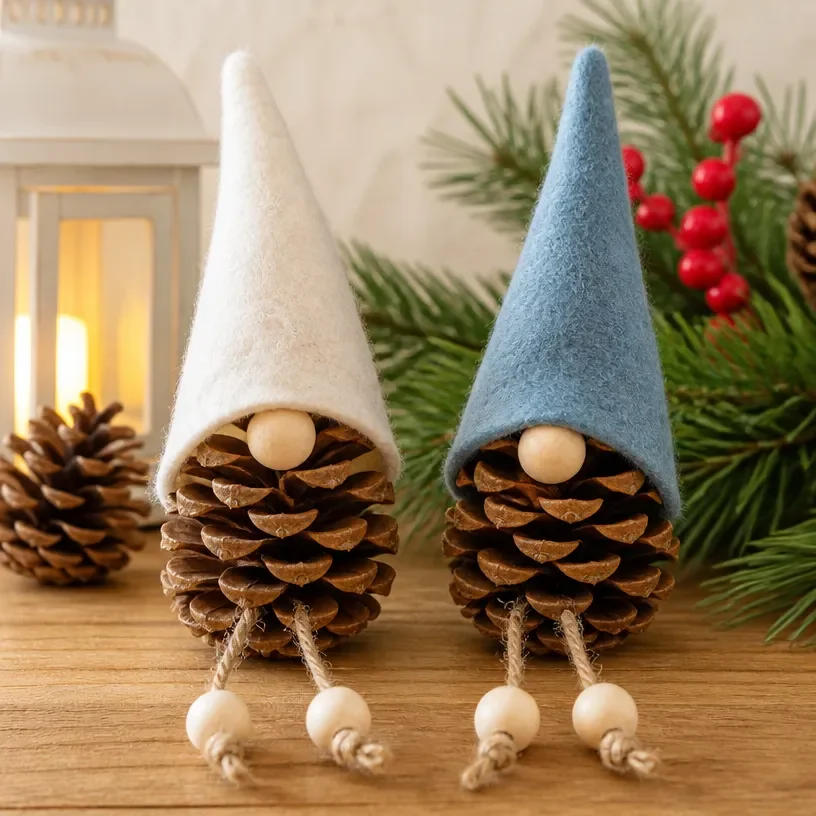
How to Make a Gnome from Pinecones | Christmas Crafts Gnomes with Pinecones, Pine Cone Crafts, Ornaments You may also find Crystal Pinecone Ornament useful.
Making a charming gnome from pinecones is a delightful project to add a handmade touch to your holiday decor. This craft not only captures the spirit of Christmas but also allows you to utilize natural materials that are often easy to find. Pinecone gnomes can be displayed on mantels, tabletops, or even as part of your seasonal centerpiece, bringing a cozy vibe to your home. You may also find Diy Pinecone Centerpiece Autumn Decor useful.
This project is approachable for crafters of all skill levels. With just a few simple materials, you’ll create a whimsical piece that showcases your creativity and adds warmth to your holiday festivities. Plus, making these gnomes can easily turn into a family favorite, perfect for crafting together during the colder months. You may also find How To Hang Mason Jars Diy Hanging Decorations useful.
Why You’ll Love This Pinecone Gnome
Creating a gnome from pinecones offers a variety of appealing features. First, the construction is simple and allows for personal touches, making it a great way to express creativity. The project uses inexpensive materials, most of which you might already have at home. Not to mention, these gnomes fit seamlessly into a rustic farmhouse aesthetic, easily complementing other seasonal decorations.
One of the great things about this project is its versatility. You can customize each gnome with different colors, embellishments, or even styles to match your unique decor. From the mantel to the dining table, these gnomes will bring a cheerful presence wherever they’re placed.
Before You Start
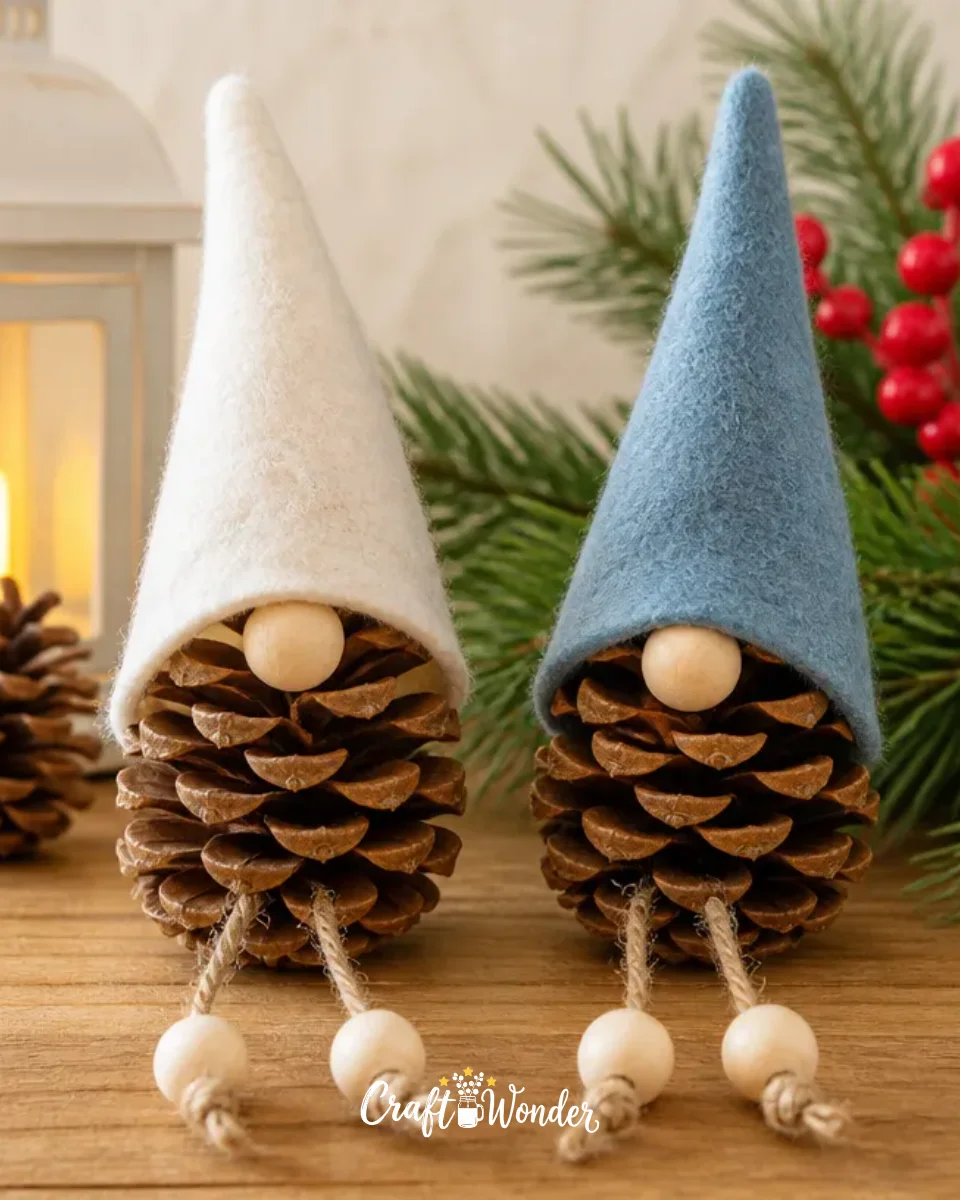
Before diving into the crafting process, it’s helpful to visualize your finished pinecone gnome. It should embody a whimsical character with a playful spirit. The most essential part to focus on is the gnome’s hat and facial features these really bring your creation to life.
Prepare a clean workspace where you can spread out your materials comfortably. Having everything within reach will help streamline the crafting process.
“A handmade touch makes every home feel warmer.”
Materials and Supplies
Materials and Supplies
- Pinecones (one per gnome)
- Felt or fabric (for the hat)
- Small wooden balls or pompoms (for the nose)
- Scissors
- Hot glue gun and glue sticks
- Yarn or string (for the beard)
- Optional: Paint for added details
When selecting fabric for the hat, consider using seasonal colors that harmonize with your decor. The type of yarn you choose can also set the tone for your gnome’s personality fluffy yarn gives a cozy look, while smoother options can reflect a more polished style.
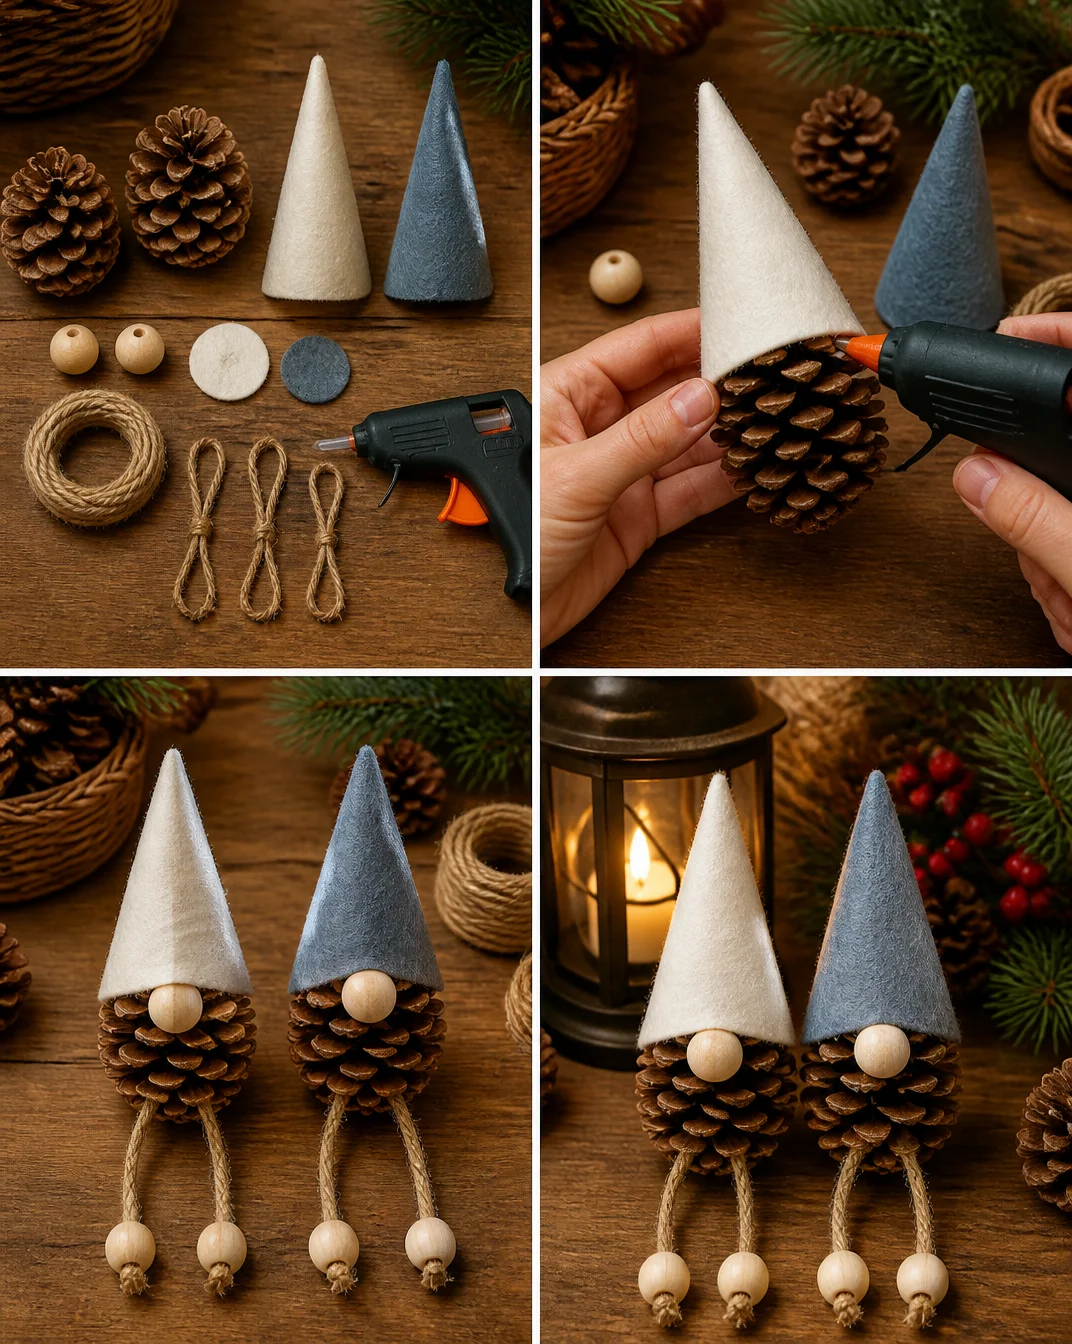
How to Make a Gnome from Pinecones | Christmas Crafts Gnomes with Pinecones, Pine Cone Crafts, Ornaments
Step 1: Prepare Your Pinecone
Start by selecting a well-shaped pinecone. Remove any debris or dirt, making sure it’s clean and dry. This will help the glue adhere better.
Step 2: Create the Gnome’s Hat
Cut a triangle from your felt or fabric this will form the gnome’s hat. The triangle should be large enough to cover the top of the pinecone when rolled into a cone shape. Use the hot glue gun to secure the sides together, forming a cone.
Step 3: Attach the Hat
Position the hat on top of the pinecone and secure it with hot glue. Make sure it sits securely on the pinecone to give a stable base for your gnome.
Step 4: Add the Nose
Now, take the small wooden ball or pompom and glue it just below the hat. This will act as your gnome’s nose. Ensure it is centered and securely attached.
Step 5: Create the Beard
To create the beard, cut strands of yarn to your desired length. You can tie them together in the center and glue the top edge to the pinecone, allowing the yarn to fall down like a beard. Fluff it out to give a fuller appearance.
Step 6: Final Touches
Feel free to paint or add embellishments to personalize your gnome. You can add buttons, ribbons, or even glitter for a fun touch. Let your imagination guide you!
How to Style Your Finished Pinecone Gnome
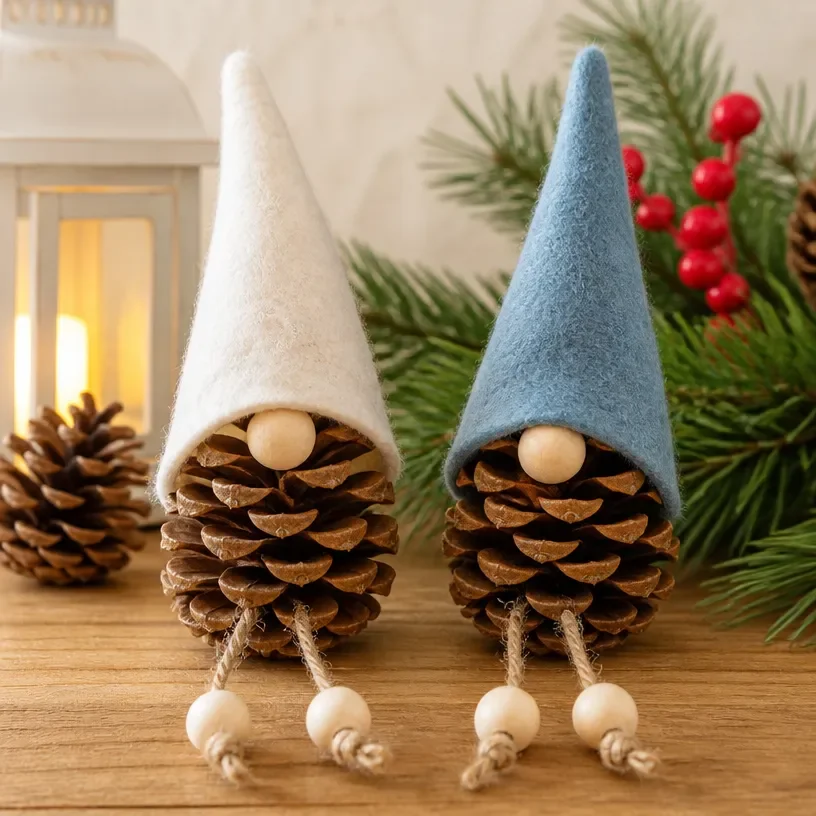
To showcase your newly created pinecone gnome, consider placing it on your mantel alongside other seasonal decor, or you can highlight it as a centerpiece on your dining table. They also work beautifully in an entryway to welcome guests with a touch of whimsy. Complement your gnome with simple touches like greenery or candles for an inviting atmosphere.
Maggie’s Tips for the Best Results
- Always dry-fit your pieces before gluing to ensure everything fits well.
- Work in layers when creating the beard for a more natural look.
- Allow any paint or glue to dry fully before moving to the next step.
- Balance your decor by varying the heights and styles of gnomes if you make several.
Easy Ways to Customize This Project
There are plenty of ways to add your personal flair to these gnomes! Consider using:
- Seasonal colors like red and green for Christmas or blues and whites for winter.
- Different types of fabric or felt for unique hat styles.
- An assortment of beads or craft flowers to embellish their outfits.
- Personalized messages or lettering on the gnome hats to give them a unique identity.
How to Pack This Project Away for Next Season
To keep your gnomes looking fresh for the next holiday season, store them in a cool, dry place. Wrap them gently in tissue paper to avoid crushing any delicate features, especially the yarn beard or felt hats. If you add any additional decor, ensure it’s securely packed to prevent damage.
FAQs About How to Make a Gnome from Pinecones | Christmas Crafts Gnomes with Pinecones, Pine Cone Crafts, Ornaments
What types of pinecones work best for this project?
While any pinecone will work, larger pinecones create a more substantial gnome, while the smaller ones lend themselves to a more delicate design.
Can I use real or faux greenery for decoration?
Yes! Incorporating either can enhance the seasonal look of your gnome.
How do I adjust the size of the gnome?
Simply select larger or smaller pinecones and adjust the size of the hat and beard accordingly.
What if I don’t have a hot glue gun?
You can use craft glue, but be aware it may take longer to set and may not hold as firmly.
A Handmade Touch for the Season
Creating a pinecone gnome is not only a fun decorative activity; it’s also a meaningful way to connect with the spirit of the holiday season through craftsmanship. With each handmade piece, you’re adding a personal touch to your home that brings warmth and joy. Remember, perfection is not the goal it’s the love and effort you put into your creation that makes it truly special.
For additional inspiration, check out these tutorials for more DIY decor ideas that feature natural elements, such as making adorable gnomes and pinecone ornaments.
Conclusion
This holiday season, consider exploring more fun projects like creating these charming little gnomes. You can find an enjoyable tutorial on making adorable pine cone gnomes at Hootshack. Happy crafting!
Print
How to Make a Gnome from Pinecones
- Total Time: 45 minutes
- Makes: 1 gnome
Description
A delightful project to create charming gnomes from pinecones, perfect for adding a handmade touch to your holiday decor.
Materials
- Pinecones (one per gnome)
- Felt or fabric (for the hat)
- Small wooden balls or pompoms (for the nose)
- Scissors
- Hot glue gun and glue sticks
- Yarn or string (for the beard)
- Optional: Paint for added details
Instructions
- Prepare your pinecone by removing debris.
- Create the gnome’s hat by cutting a triangle from the fabric.
- Attach the hat on top of the pinecone using hot glue.
- Add the nose below the hat using a wooden ball or pompom.
- Create the beard by cutting yarn strands and gluing them to the pinecone.
- Finalize your gnome with paint or embellishments as desired.
Notes
Consider using seasonal colors and various embellishments to customize your gnome. Always dry-fit your pieces before gluing and work in layers for the beard.